Situatie
Some users had some problems to uninstall after effects permanently.
Solutie
Method 1: Uninstall After Effects From Creative Cloud
- Go to your taskbar and click the Creative Cloud app icon.
- The Creative Cloud center opens. Remember to sign in using your usual Adobe ID plus password. The system may also automatically sign you in depending on the settings, in which case you are spared the signing in step.
- Click on the Apps A list of all the installed apps appears.
- Head to the Installed Apps area and locate the After Effects software.
- Now click on the arrow right next to the options Open or Update. A new list of choices pops up.
- Click on Manage.
- Then click Uninstall.
- Now follow the sequence of the on-screen instructions to complete the uninstallation.
- Restart your PC.
Method 2: Uninstall After Effects Via The Programs and Features Option
These steps show you how to remove the older Adobe After Effects CC software versions on Windows 10, Windows 8/8.1 and Windows 7 computers. The process is especially very beneficial for Users who have Adobe After Effects CC 2014, 2015, 2016, 2017, and 2018 in their computers.
Again you need to have the Administrative permissions on your computer to proceed.
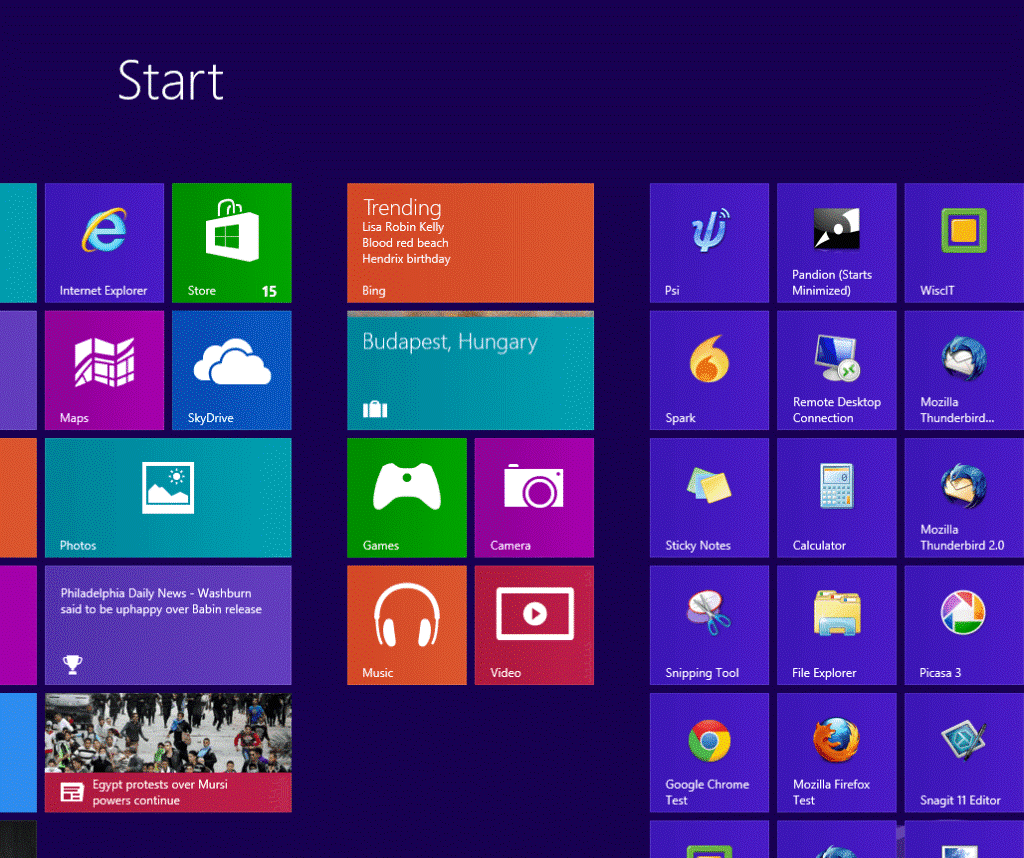
On Windows 10 PCs:
- Click on the Start menu.
- Click on Settings.
- Look for the System tab under the Settings menu.
Select the Apps and features option on the left pane.
Select the Adobe After Effects CC
The Uninstall button appears. Click on it to proceed with the uninstallation
Restart the PC.
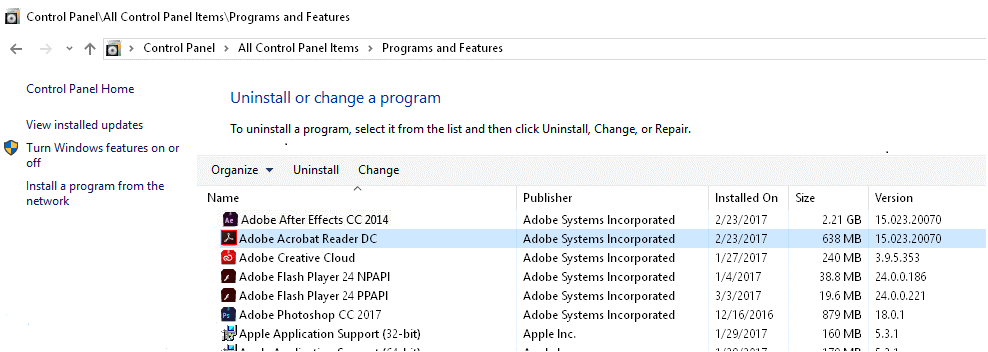
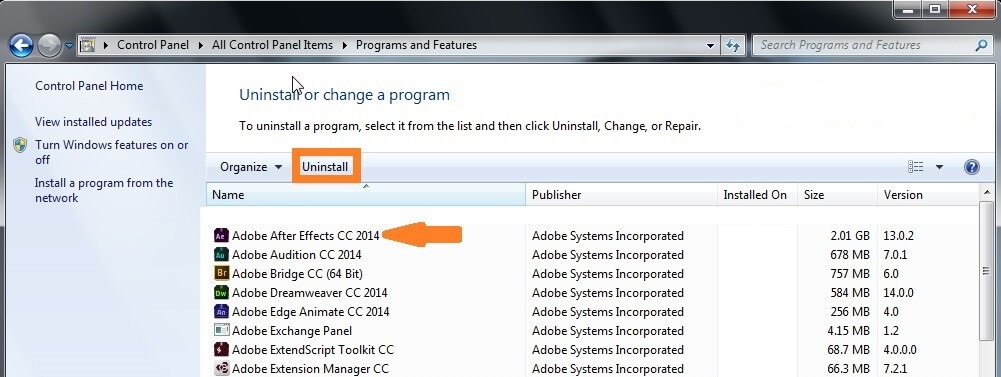
On Windows 8/ 8.1 PCs:
- Either Press the Windows Keyto view the start button. Those with Windows 8.1 can directly click the Start button (it’s on the lower left-hand corner) to access the starting screen.
- Select or search for Settingsthen click Control Panel.
- Click Uninstall a program.You can also tab on the Programs and Features alternative under Control Panel.
- Locate the After Effects application then right click on its icon. The software will be highlighted.
- Press on the Uninstall tab
- Confirm that you want to completely uninstall After Effects by clicking yes when and if prompted by the User Account Control
- Wait for the uninstall to complete then restart your PC.
On Windows 7 PCs:
- Click on the start button.
- Choose control panel.
- Click uninstall a program.
- Again identify your Adobe After CC app. and click on it.
You will still choose uninstall as above to move on.
Wait for the computer to finish up then reboot.
The process of uninstalling adobe after effects CS6, CS7, and every other CS Version is almost identical to that of After Effects CC software versions.
Indeed, the only difference is that this time you will be looking for an app. labeled After Effects CS X (where X stands for the edition instead of After Effects CC 2017 or otherwise):
You should hence refer to the steps of uninstalling the After Effects CC software mentioned above and replace the CC with CS6, CS7, or your specific copy depending on your installed Windows.
What To Do If Adobe After Effects CS6 Uninstall Failed
Sometimes you receive an error that the After Effects uninstall failed or that the PC has encountered various uninstallation errors.
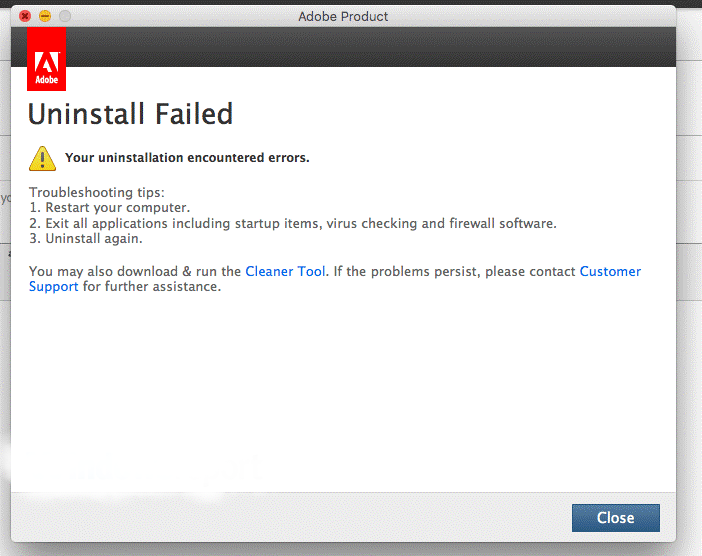
Other potential problems including the creative cloud refusing to launch and further complications when you attempt to uninstall AE from your computer’s control panel.
This means you will need to troubleshoot the system before retrying. Here are some actions to take in order to eliminate the emerging errors:
Troubleshooting Tip 1: Stop All Other Applications
Programs removal is sometimes affected by other running applications especially where the involved software share some background processes. The key here is to stop all presently running programs before starting to uninstall After Effects.
Troubleshooting Tip 2: Restart your computer
In most cases, common After Effects uninstallation issues are solved by simply restarting the computer. You may thus restart the PC then re-launch the uninstall process.
Troubleshooting Tip 3: Stop The Antivirus Temporarily
Uninstallations typically involve an Uninstaller softwarebehind the scenes so your antivirus may block the launching of the concerned uninstaller by mistaking it for malware in some cases.
Luckily, most antivirus software including BitDefender allows you to pause their activities temporarily. You should, therefore, halt your antivirus even for a couple of minutes to allow you to complete the uninstall.
Troubleshooting Tip 4: Turn off The Firewall
A Firewall including two-way firewalls for Windows 10 can also interfere and may need to be turned off to successfully run through all the uninstallation steps.
Leave A Comment?