Situatie
It’s easy to update the Microsoft Wireless Controller (for Xbox Series X|S) using a Windows 10 PC. You’ll just need to download a Microsoft app, plug in your controller, and follow the onscreen instructions.
Solutie
Pasi de urmat
Since you can purchase the Xbox Wireless Controller separately and use it with your smartphone or PC, you can also use your Windows 10 PC to update it.
- To do so, start up your Windows machine and download the Xbox Accessories app from the Microsoft Store.

Once that’s downloaded, launch the app and plug the Xbox Wireless Controller into your computer using the USB port located between the LB and RB buttons. You’ll need a USB Type-C cable to do this.

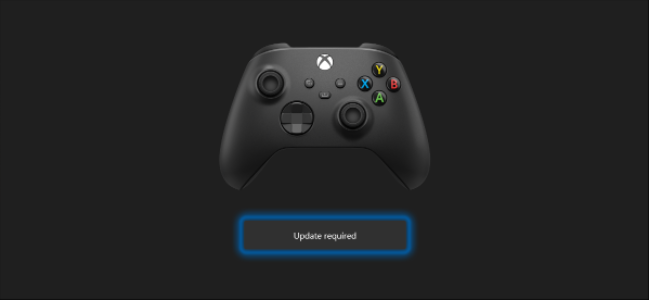
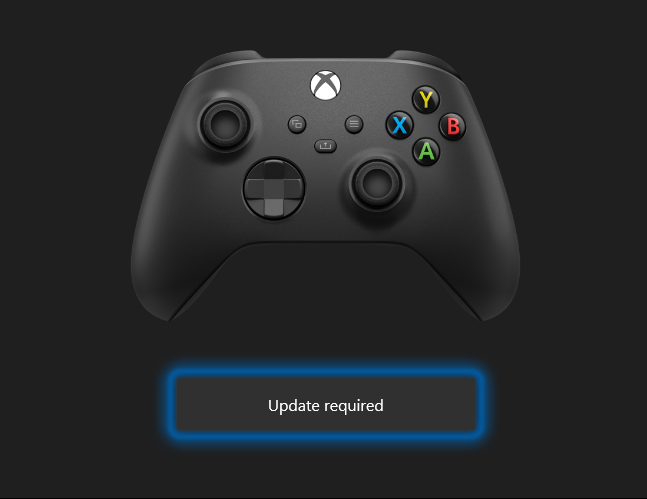
After plugging it in, the Xbox Accessories app will detect the controller. If the firmware inside the controller is not the latest version, you’ll see an “Update required” button below the image of the controller on your screen. Click that.
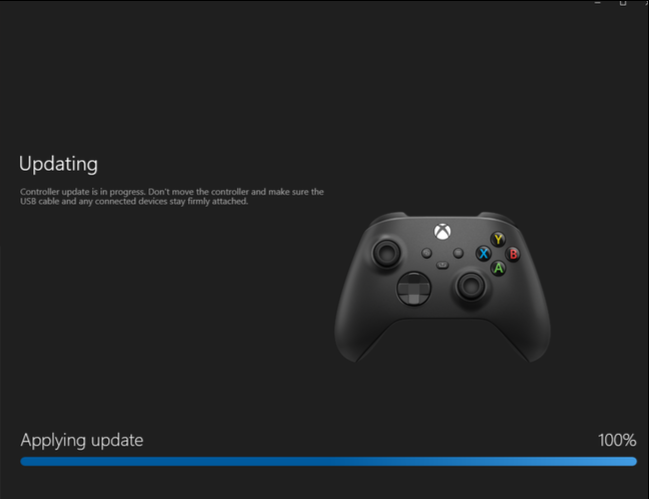
Next, you’ll see a warning asking you to make sure that the controller is connected properly and warning you not to move the device during the update. Once you’ve read it and followed the instructions, click “Continue.”

The Xbox Accessories app will now begin downloading and installing the update.
Once it’s done, you’ll see a green tick mark above the controller’s photo. Click “Next.”

That’s it! Your controller is now up-to-date.
Leave A Comment?