Situatie
Solutie
Void is an independent Linux distro, meaning it isn’t based on another existing distribution (e.g., Ubuntu is based on Debian). As such, it has a unique package manager (the X Binary Package System, or “XBPS”). XBPS is similar to other package managers in that it’s the way Void installs applications and software. Like most other tools in Void, XBPS is lightweight; as a result, it installs, updates, and deletes apps quickly and efficiently.
How to Try Void Linux and Install It
To try Void Linux, download the latest ISO file from Void’s download page. If you’re not sure which ISO to download, select “void-live-x86_64-20230628-xfce.iso” (the file name may be slightly different based on the date, but it will have “void-live-x86_64” and “xfce” in it).
Flash this ISO to a USB drive using a tool like Balena Etcher and use the drive to boot into a Void live instance.
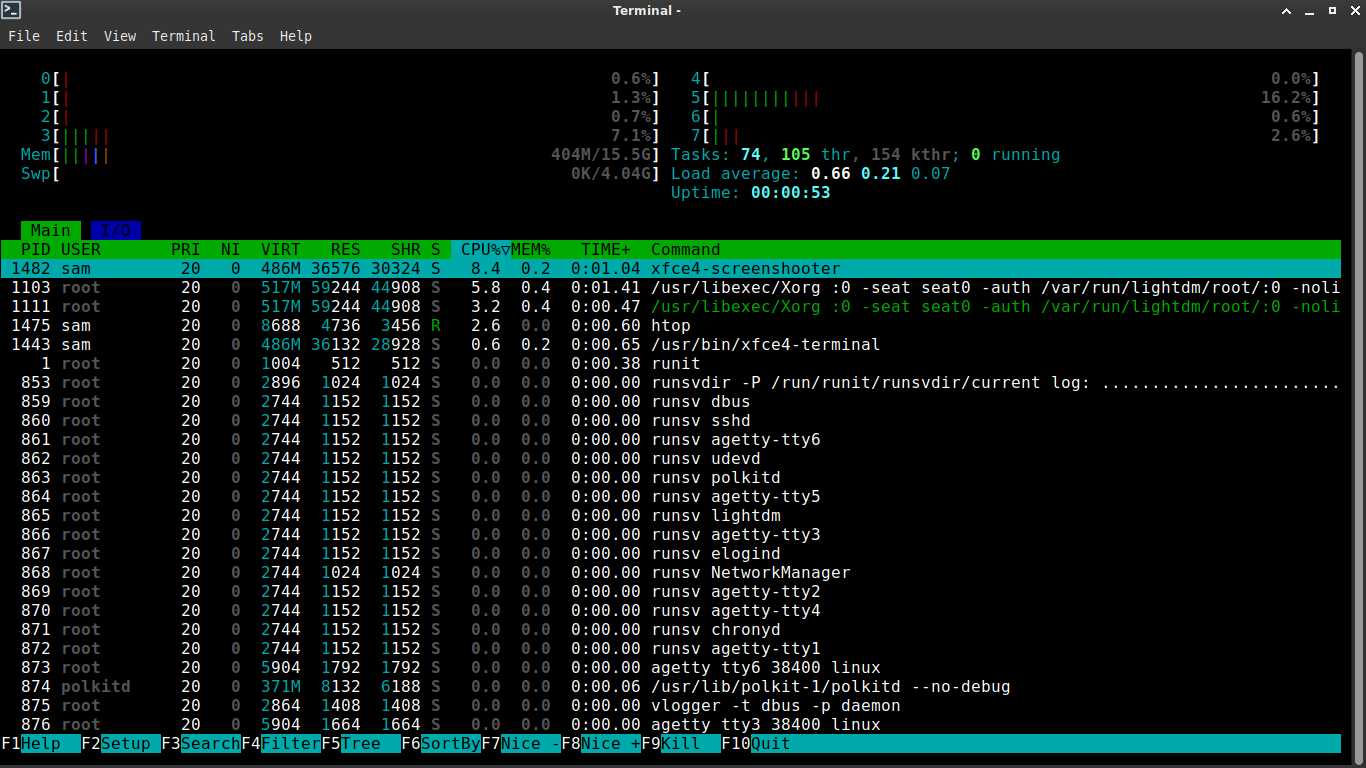
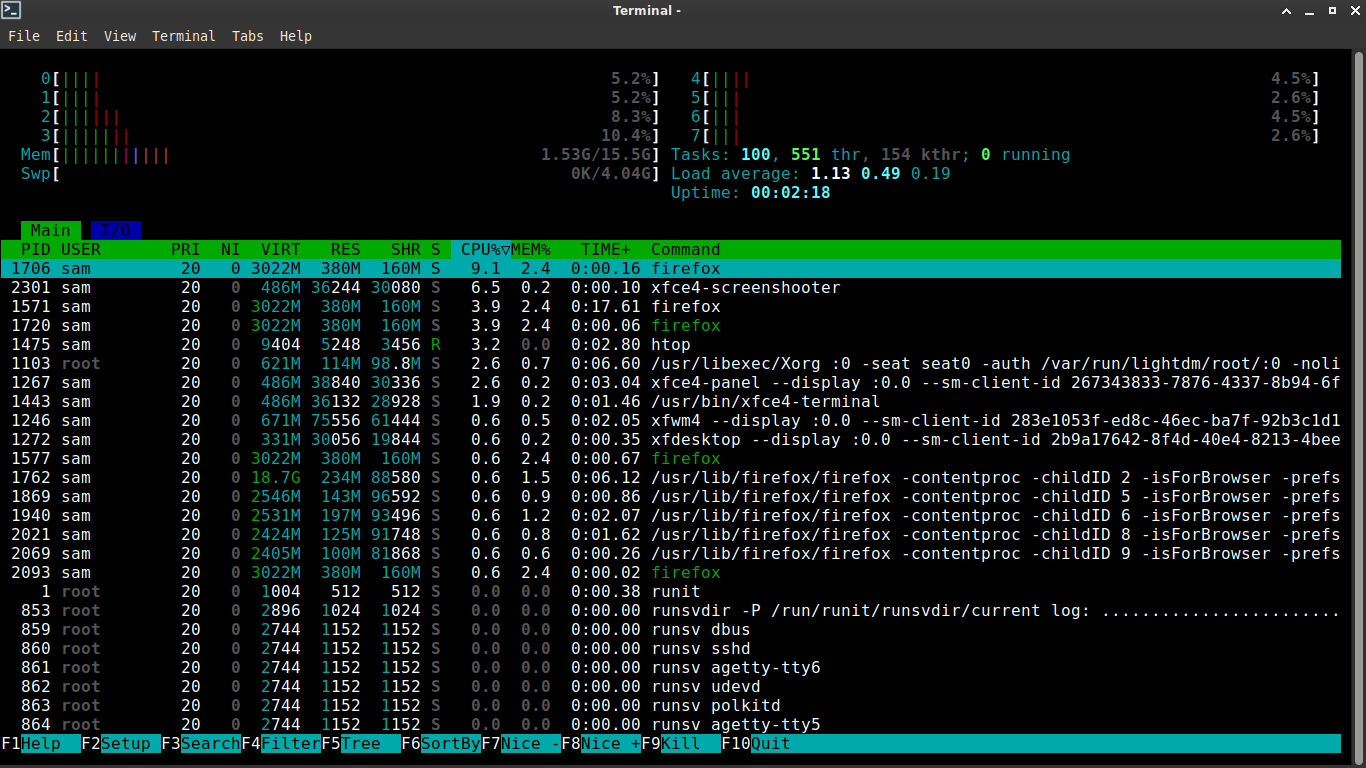
Here, you can try Void out and give it a whirl. By default, Void uses the XFCE4 desktop environment, so if you’ve used XFCE in the past (or any distro that ships with XFCE out of the box), it will feel familiar.
If you’d like to install Void, open a terminal and type sudo void-installer to launch the installation utility. This will look like an old-school installer, but the process is fairly straightforward. You’ll need to select each option with the arrow keys and hit enter to configure them.
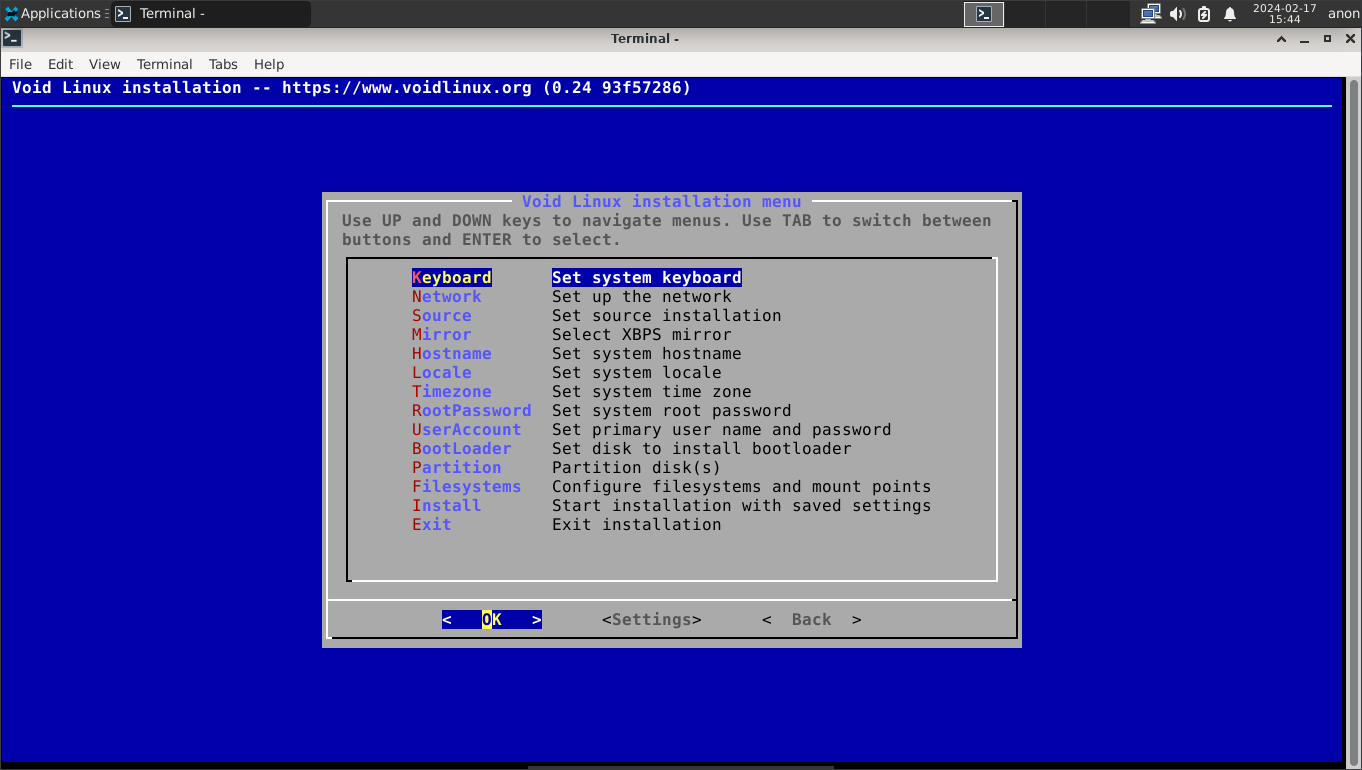
Here are my recommendations:
Keyboard: Set to “us” for United States English (standard QWERTY)
Network: If you’ve connected to WiFi (via the XFCE network options) or plugged in an Ethernet cable, this option should simply tell you the network is working properly.
Source: Select “local” to install Void from your USB drive. (Selecting “network” will download everything from Void’s repositories and result in a very basic install that may not include a desktop environment.)
Mirror: This is where Void will look for installable software through the package manager. You can either choose your region and then select the Tier 1 location nearest to you, or you can select “Default” and Void will automatically select a Tier 1 mirror for you. (If you live in the United States or Canada, the Chicago mirror is a good option.) If you are prompted to accept the change, select “Yes.”
Hostname: Select a name for your machine. This will be used to recognize it on a network.
Locale: Select the locale to configure the system’s language and region. If you live in the United States, select “en_US.UTF-8” for “English (United States of America).” If you live in Canada, select “en_CA.UTF-8” for “English (Canada).” Otherwise, find your preferred locale and hit Enter to select it.
Timezone: Select “America,” and then select a city in your preferred time zone. For example, select “Chicago” for Central Time, “New York” for Eastern Time, etc.
Root Password: Set a memorable and secure password for the root account. Make sure that you remember this, as the root account is used to make system-wide changes.
User Account: Set a user account name. Remember that it cannot start with a capital letter. Then enter the display name for this user account (what will show up on the login screen and in menus). Choose a password for this user account. This should be different from the root password for security purposes. Then select the groups this user should be added to. If you are uncertain, you can leave the defaults set and hit “OK.” You can always add users to or remove users from groups later.
Boot Loader: Select the disk you want to install the Grub bootloader to. This should be on the disk “/dev/sda.” When asked to use a graphical terminal for the bootloader, select “Yes.”
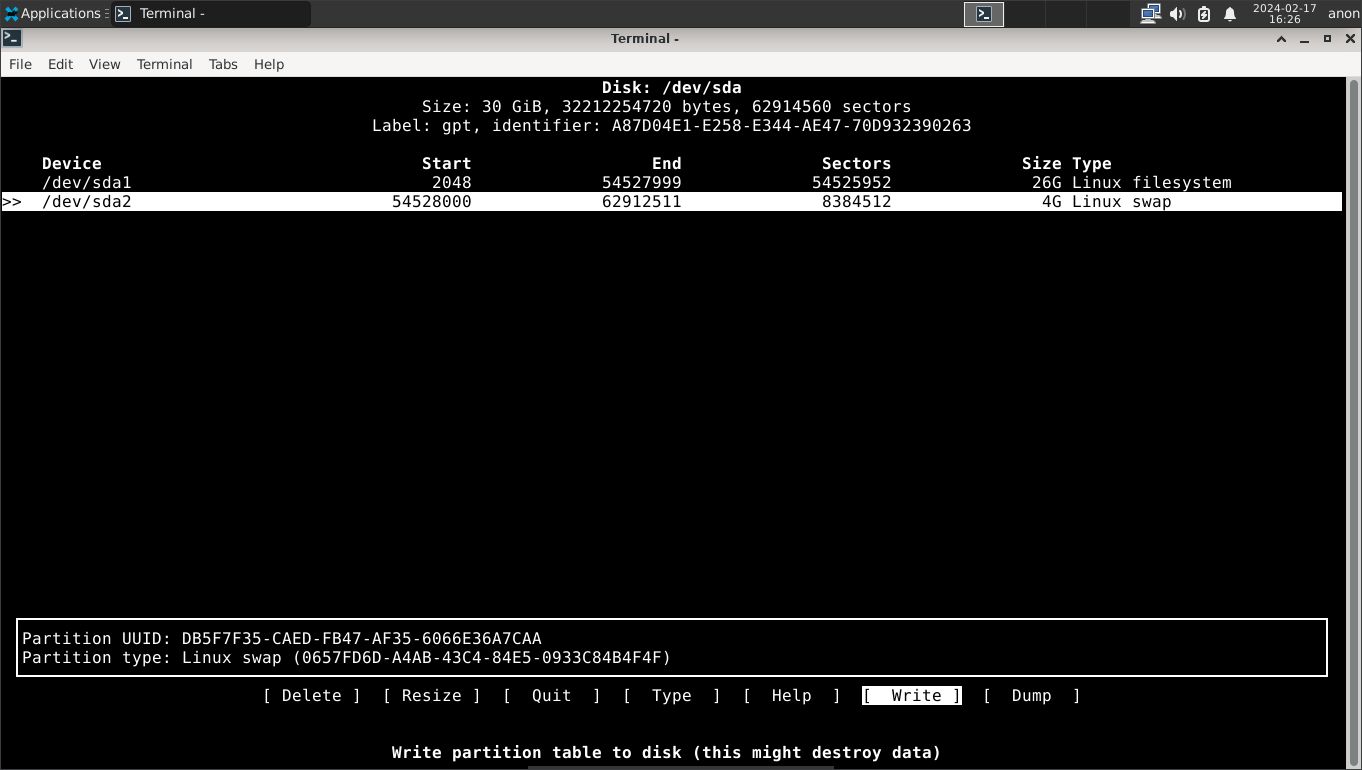
Partition: If you are installing Void Linux as the only operating system on your machine, this process is fairly straightforward. (If you are dual-booting Void Linux with another OS like Windows, refer to our guide on dual-booting to correctly partition your hard drive.) Select your disk to partition for Linux (which should be /dev/sda). Select “cfdisk.”
If you are on a UEFI system, select “gpt” for the partition table. Using the options, create a partition of 200MB by selecting “New” and typing “200M.” If you want a swap partition (recommended), create a new partition and choose its size (recommended 4GB). Select the remaining free space and create a new partition with the remaining space on the disk (which should be input by default). Now, use the “Type” option to change your 200MB partition to “EFI System,” the swap partition to “Linux swap,” and the remaining space to “Linux filesystem.” Once your disk is partitioned, select “Write,” type “yes”, and then select “Quit.”
If you are on a BIOS system, select “mbr” for the partition table. If you want a swap partition (which we recommend), create a new partition and choose its size (at least 4GB is a good idea). Select the remaining free space and create a new partition with the remaining space on the disk (which should be input by default). Now, use the “Type” option to change the swap partition to “Linux swap” and the remaining space to “Linux filesystem.” Once your disk is partitioned, select “Write,” type “yes”, and then select “Quit.”
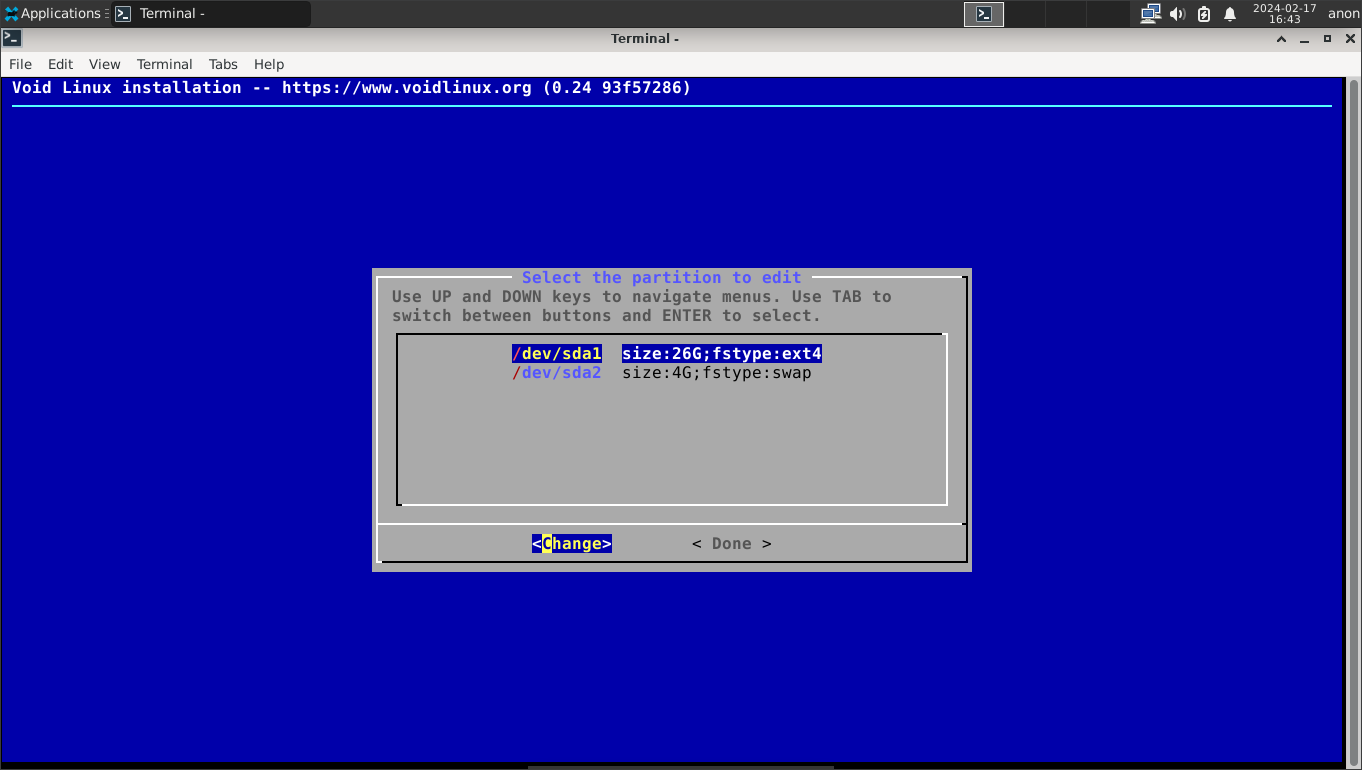
Filesystems: If you are on a UEFI system, select your 200MB boot partition, then select “vfat” for FAT32. When prompted to specify a mount point, enter “/boot/efi” and hit enter, then select “Yes.”
If you created a swap partition, select it and select “swap” and then “Yes.” Now select your main partition (the largest one) and select “ext4.” For the mount point, type “/” in the field, hit enter, and select “Yes.” Once you’re finished configuring the filesystems, select “Done.”
If you are on a BIOS system, set your swap partition to the “swap” filesystem type and your remaining partition to “ext4” with “/” as the mount point.
Install: Select “Yes” and let the installer run. Once it is finished, you’ll be asked to reboot your system. Select “Yes” to boot into your Void Linux install.
Leave A Comment?