Situatie
This article is intended for users who are not able to upgrade to Windows 11 because their PC is not currently Secure Boot capable. If you are unfamiliar with this level of technical detail, we recommend that you consult your PC manufacturer’s support information for more instructions specific to your device.
Secure Boot is an important security feature designed to prevent malicious software from loading when your PC starts up (boots). Most modern PCs are capable of Secure Boot, but in some instances, there may be settings that cause the PC to appear to not be capable of Secure Boot. These settings can be changed in the PC firmware. Firmware, often called BIOS (Basic Input/Output System), is the software that starts up before Windows when you first turn on your PC.
To access these settings, you can consult your PC manufacturer’s documentation or follow these instructions: Run Settings > Update & Security > Recovery and select Restart now under Advanced startup. From the next screen, select Troubleshoot > Advanced options > UEFI Firmware Settings > Restart to make changes.
To change these settings, you will need to switch the PC boot mode from one enabled as “Legacy” BIOS (also known as “CSM” Mode) to UEFI/BIOS (Unified Extensible Firmware Interface). In some cases, there are options to enable both UEFI and Legacy/CSM. If so, you will need to choose for UEFI to be the first or only option. If you are unsure how to make any necessary changes to enable the UEFI/BIOS, we recommend that you check your PC manufacturer’s support information on their website.
While the requirement to upgrade a Windows 10 device to Windows 11 is only that the PC be Secure Boot capable by having UEFI/BIOS enabled, you may also consider enabling or turning Secure Boot on for better security.
Solutie
Pasi de urmat
ThinkPad
- Turn on the PC by pressing the Power button. When the red or white Lenovo Logo appears, press or hold F1 until the BIOS screen appears.
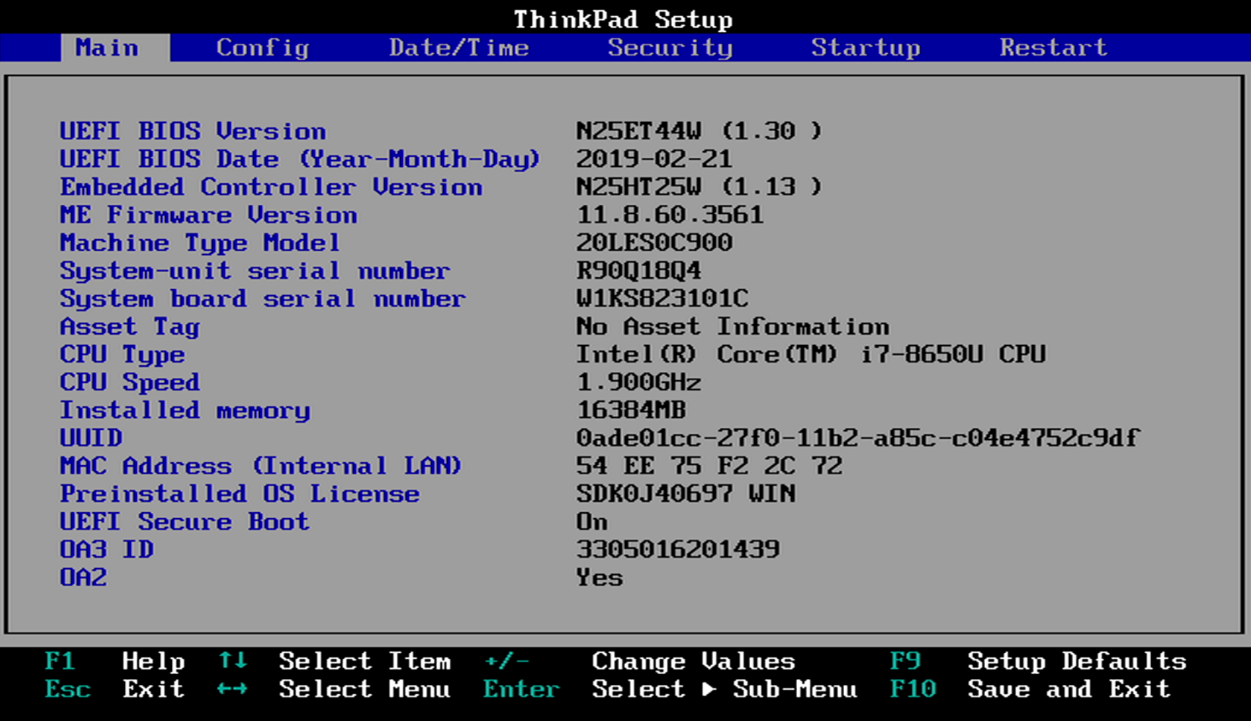
- Navigate to the Security tab using the keyboard arrow keys.
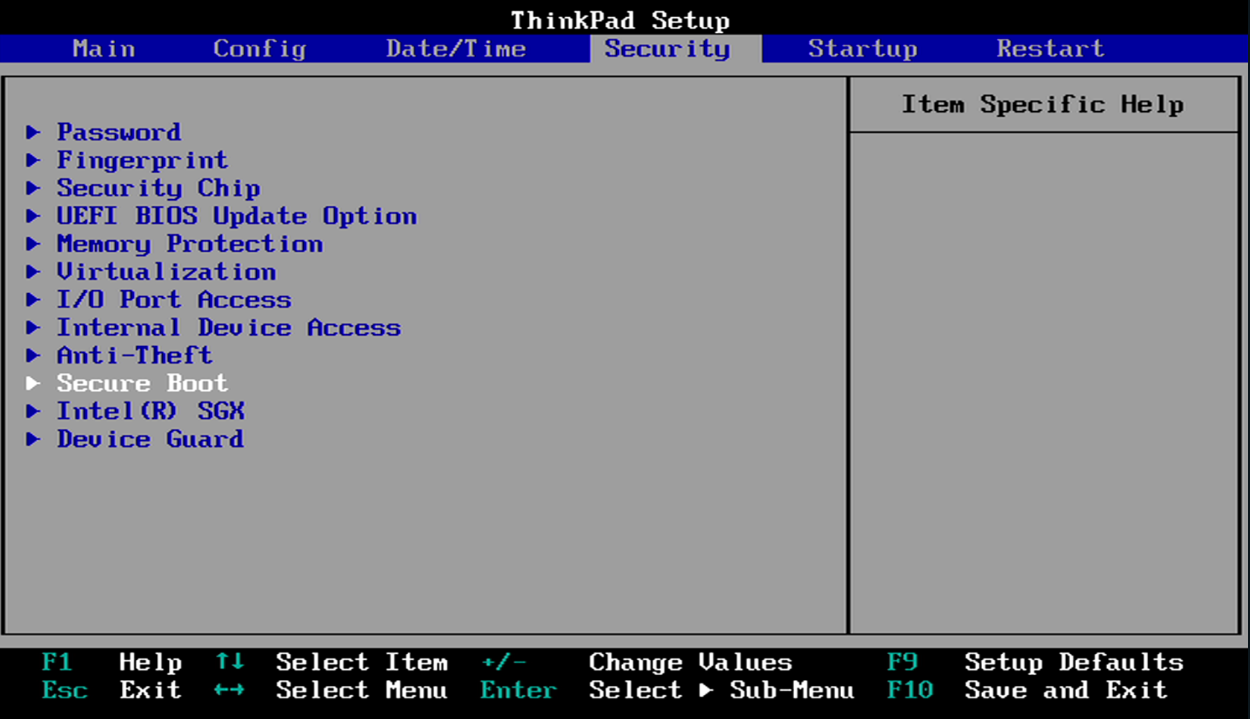
- Navigate to the Secure Boot submenu using the keyboard arrow keys, and open the menu by pressing the Enter key.

- Enable or Disable the SecureBoot function by pressing Enter on the Secure Boot menu entry.
ThinkCentre Desktops
- Turn on the PC by pressing the Power button. When the red or white Lenovo Logo appears, press or hold F1 until the BIOS screen appears.
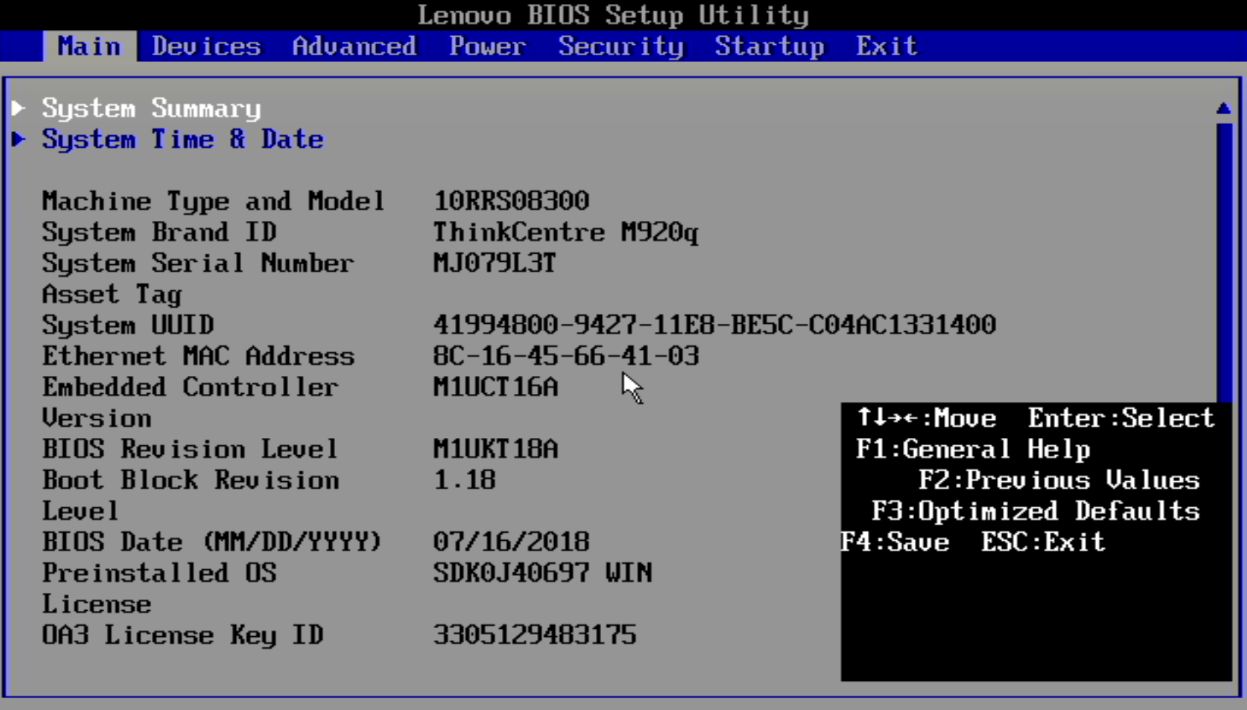
- Navigate to the Security tab using the keyboard arrow keys.
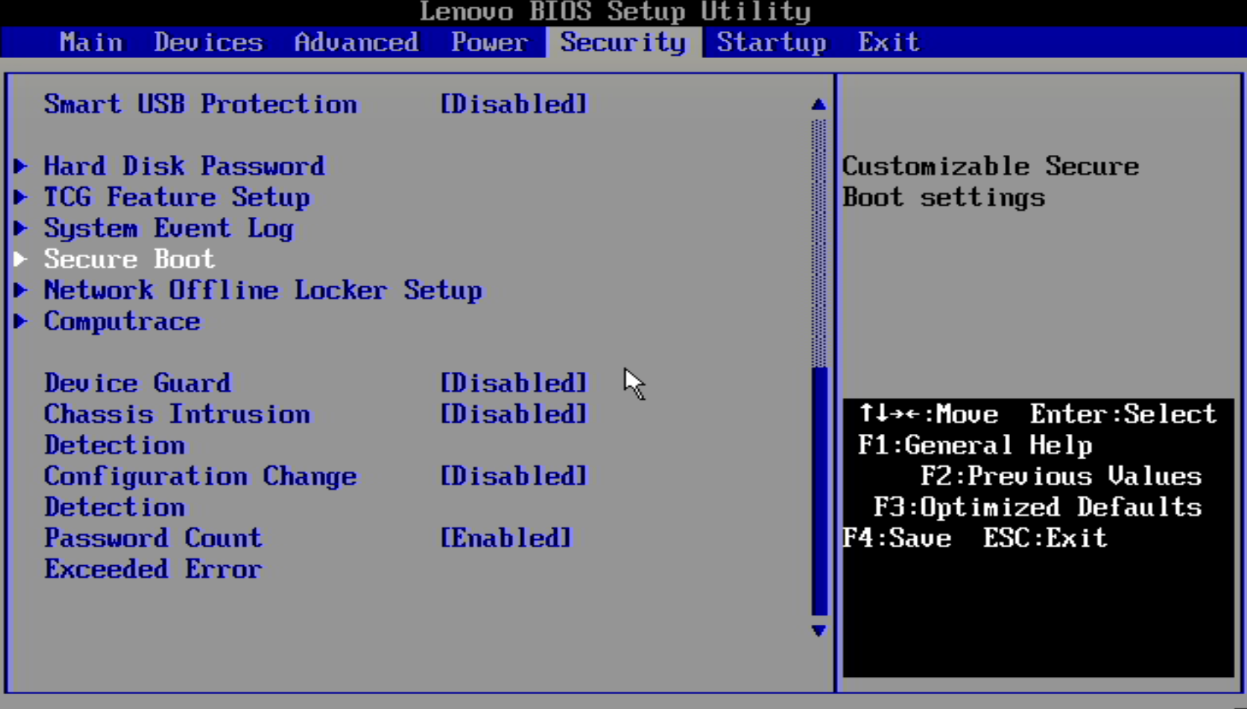
- Scroll down using the keyboard arrow keys until the Secure Boot submenu is illuminated. Open the menu by pressing the Enter key on the keyboard.

- Enable or Disable the SecureBoot function by pressing Enter on the Secure Boot menu entry.
ThinkStation BIOS may have one of three different BIOS, two are very similar and one is new.
- For each, turn on the PC by pressing the Power button. When the red or white Lenovo Logo appears, press or hold F1 until the BIOS screen appears.
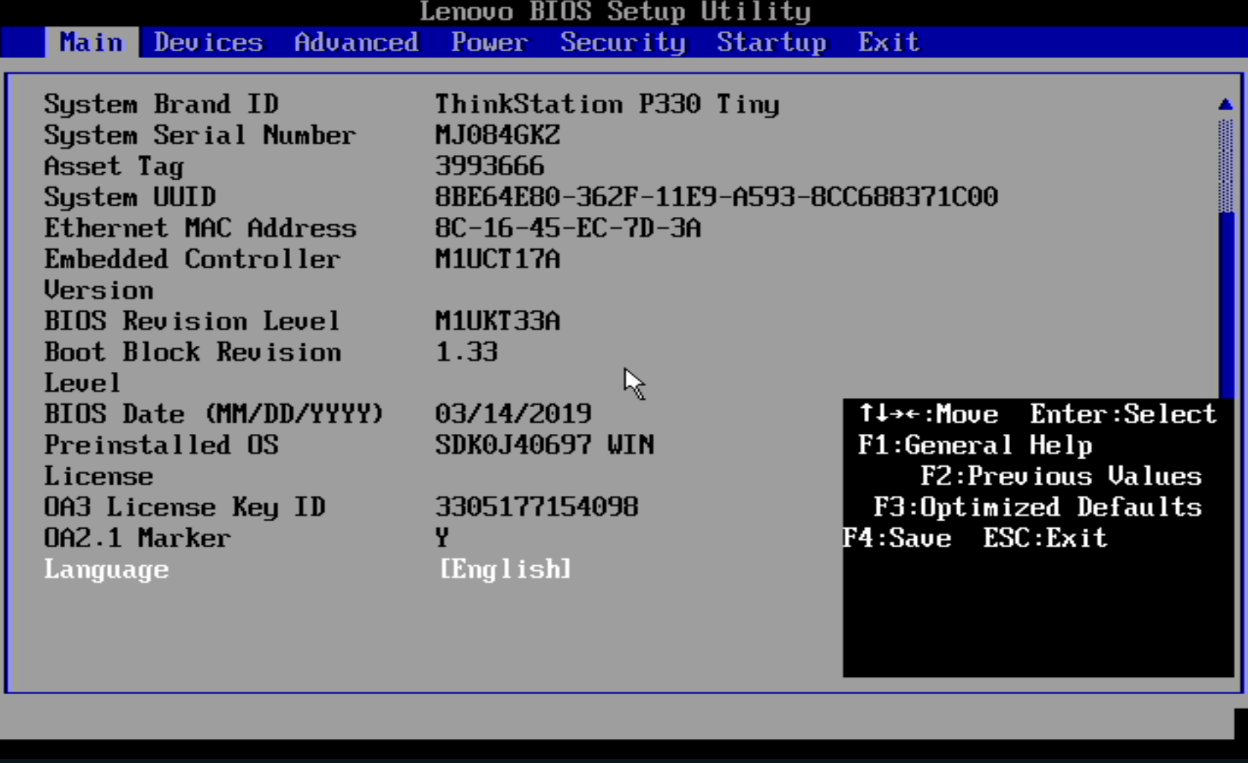
- Navigate to the Security tab using the keyboard arrow keys.
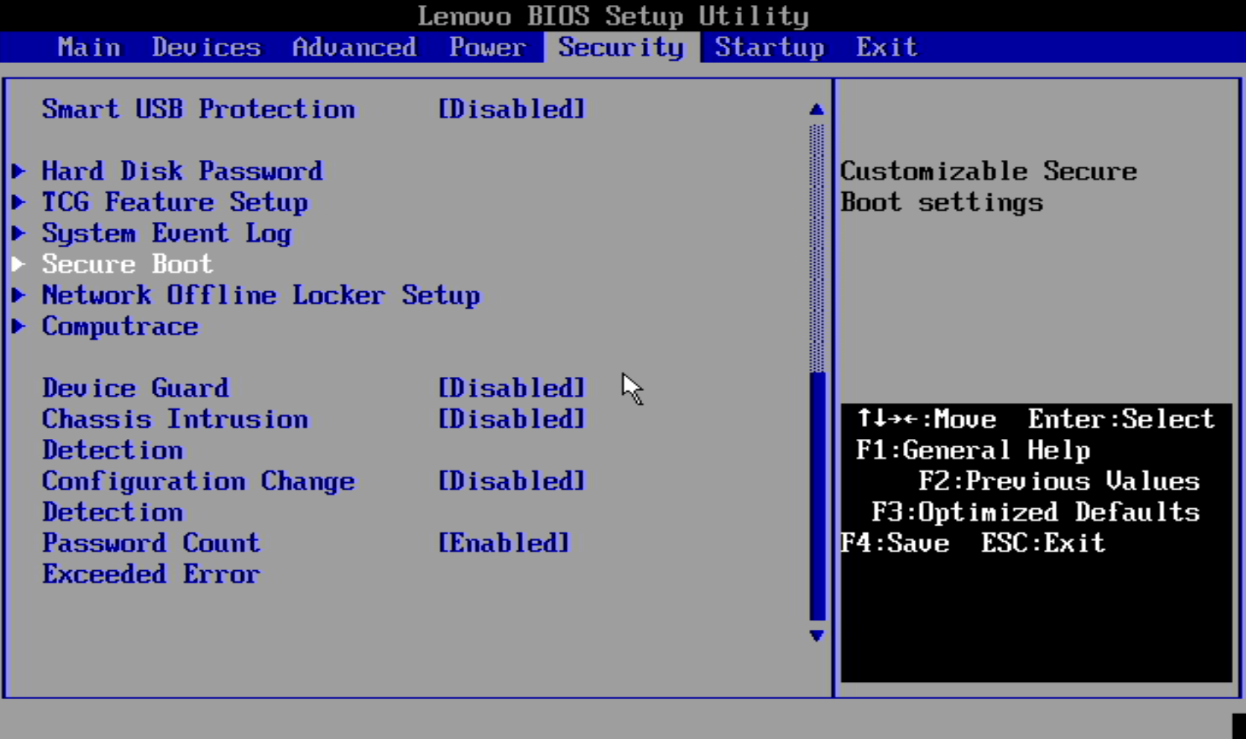
- Scroll down using the keyboard arrow keys until the Secure Boot submenu becomes illuminated. Open the menu by pressing the Enter key on the keyboard.
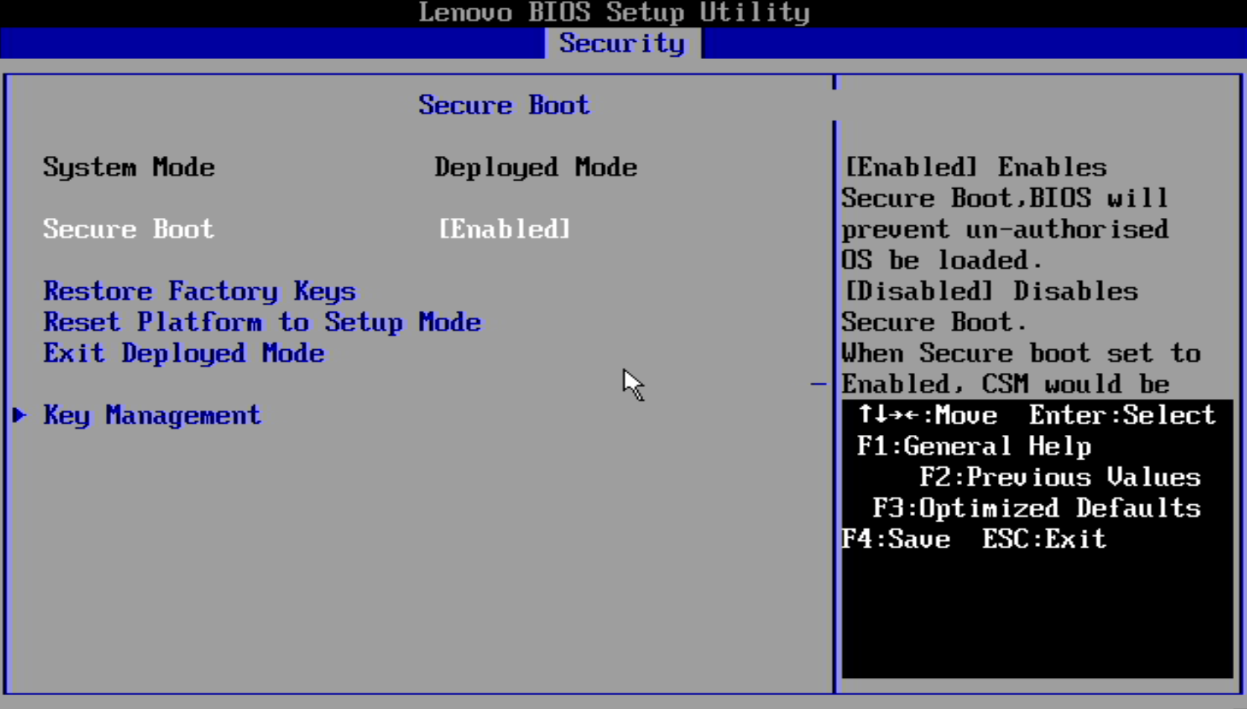
- Enable or Disable the SecureBoot function by pressing Enter on the Secure Boot menu entry.
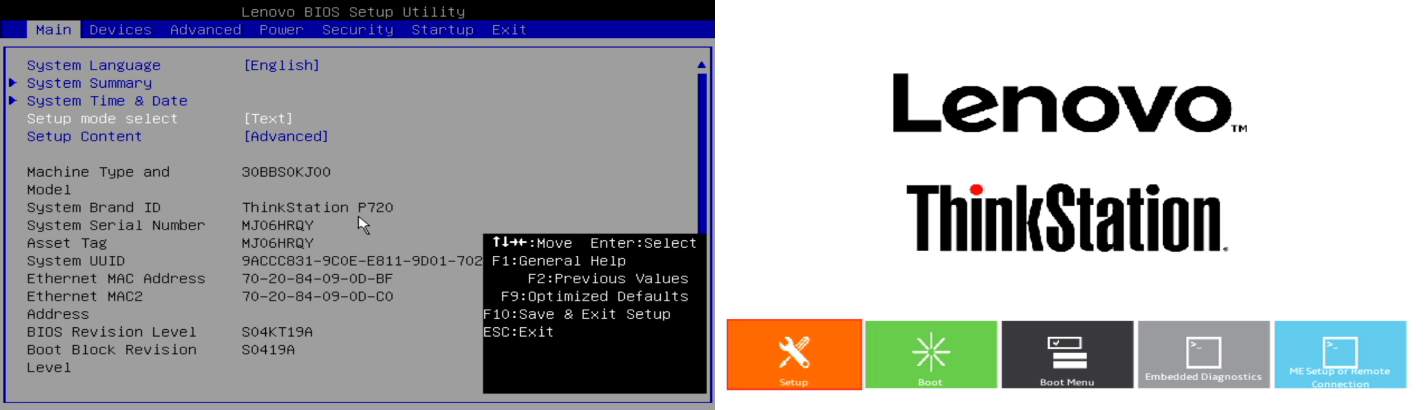
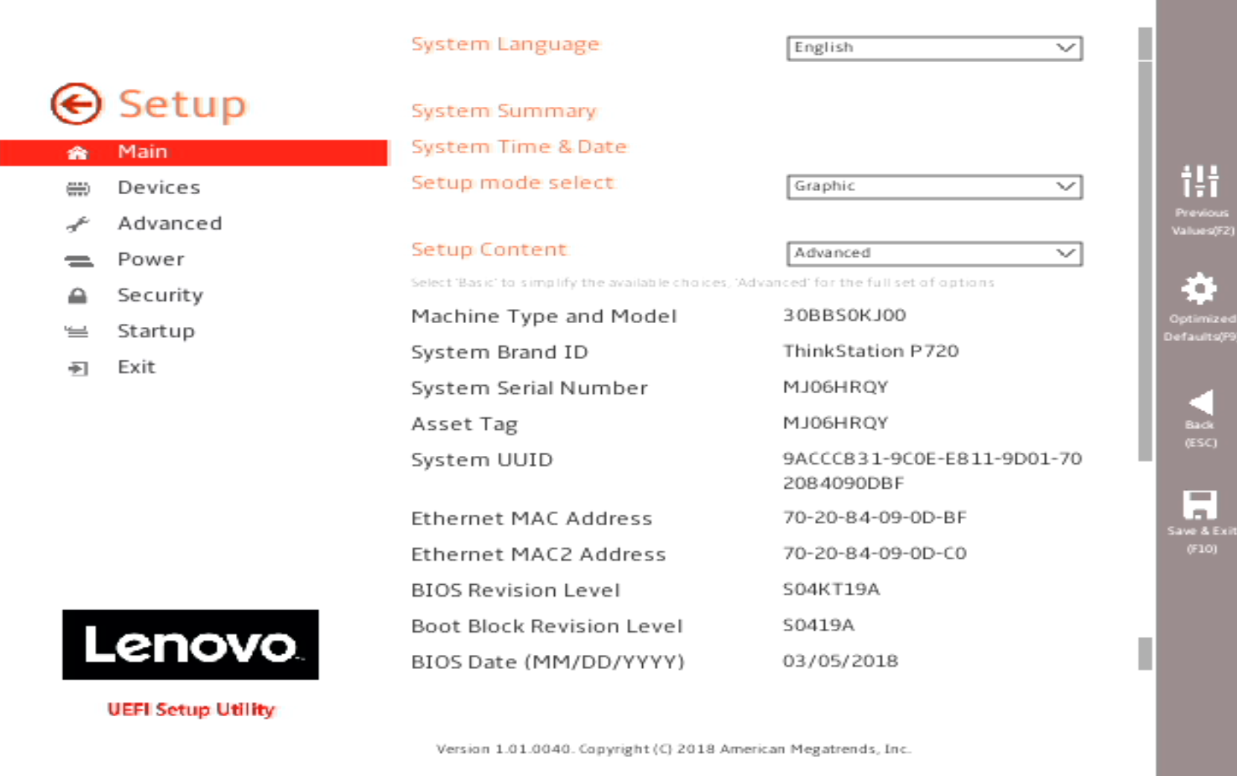
While similar to the P series tiny desktops, the tower desktops have a slightly different looking BIOS, or an entirely different looking BIOS. Enter in the same way.
- When the red or white Lenovo Logo appears, press or hold F1 until the BIOS screen appears.
- On the left is the traditional Text based menu splash screen. On the right is the Graphical Menu splash screen.
- Navigate to the Security tab using the keyboard arrow keys. On the Graphical Menu system the mouse or keyboard arrow keys may be used to enter the Setup submenu.
- Click or navigate using the keyboard arrow keys to the Security submenu.
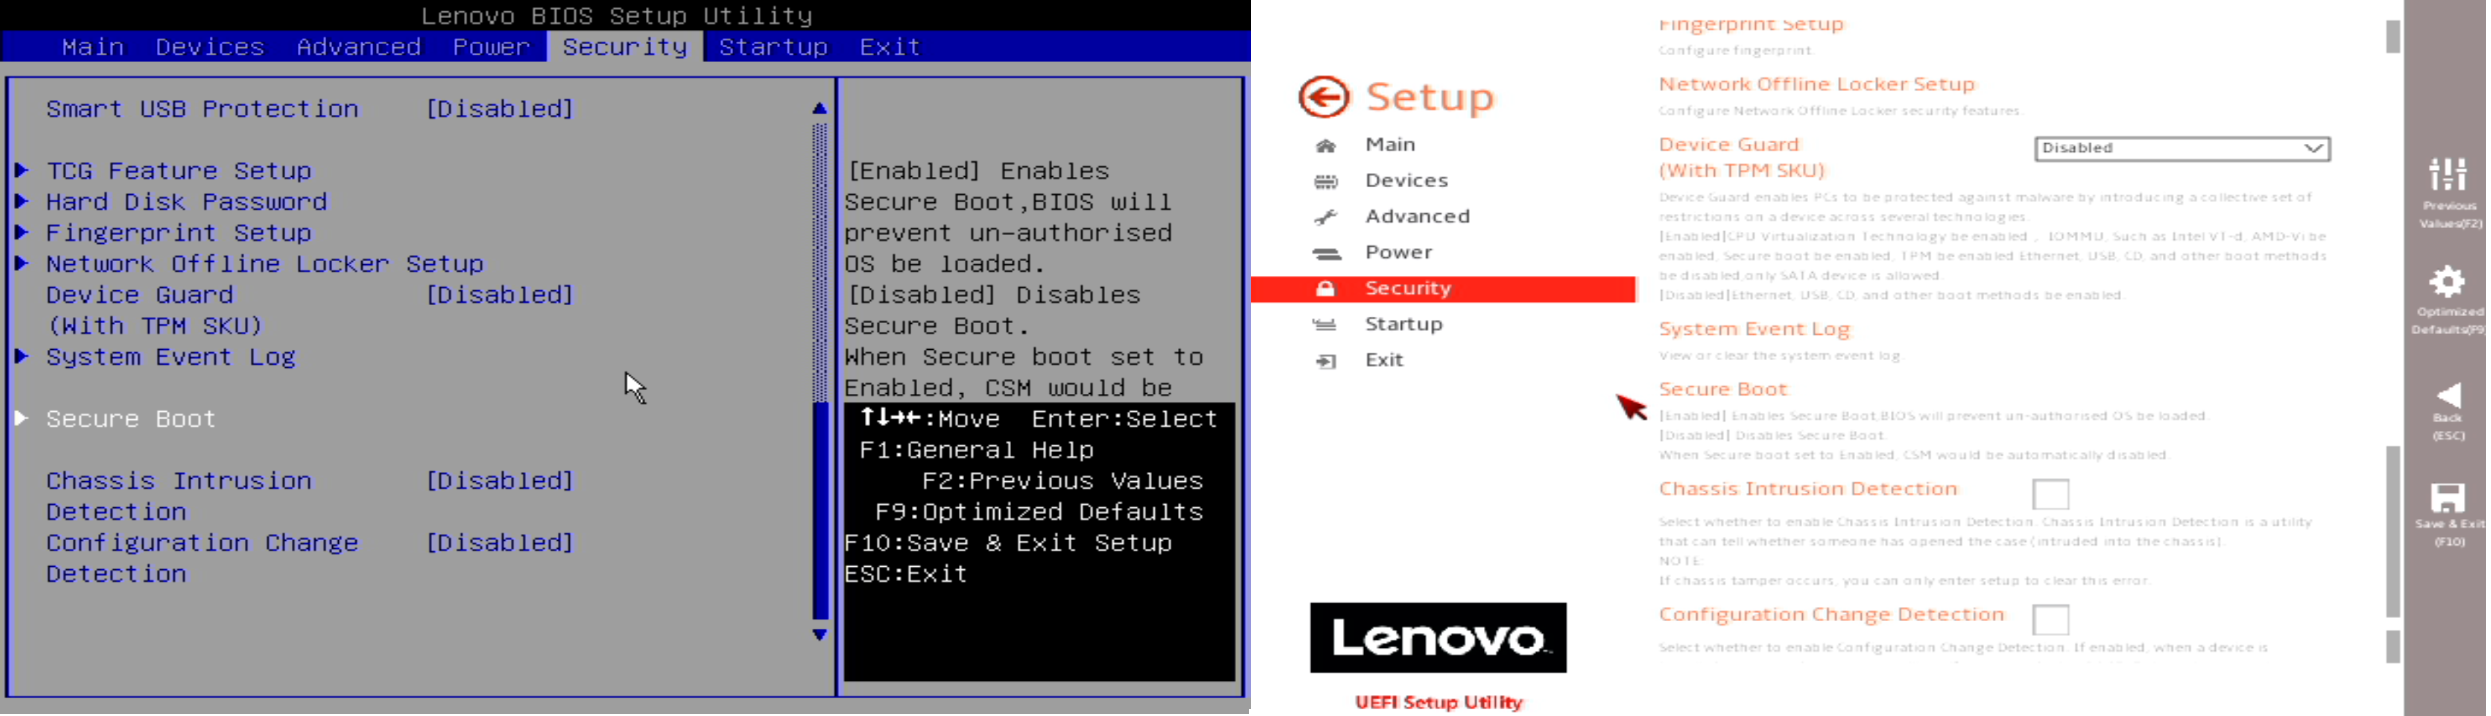
- In the Text Menu system, scroll down using the keyboard arrow keys until the Secure Boot submenu is illuminated. Open the menu by pressing the Enter key on the keyboard.
- In the Graphical Menu system, scroll down with the mouse or keyboard arrow keys until locating the Secure Boot submenu. Open the menu by double-clicking or pressing the Enter key.

- Enable or Disable the SecureBoot function by pressing Enter on the Secure Boot menu entry. In the Graphical menu system, click the drop-down and select Enable or Disable using the mouse.
Leave A Comment?