Cum să mutați jocurile descărcate Nintendo Switch pe cardul microSD
Soluții pentru problemele tale IT


Cortana will not respond if your microphone does not work. To check if it’s working:
Syncing Messages via iCloud lets you have access to all your conversations and associated pictures and files on all the devices you’ve connected with your iCloud account. However, Messages storage can really add up if you send and receive lots of images or videos.
 IDG
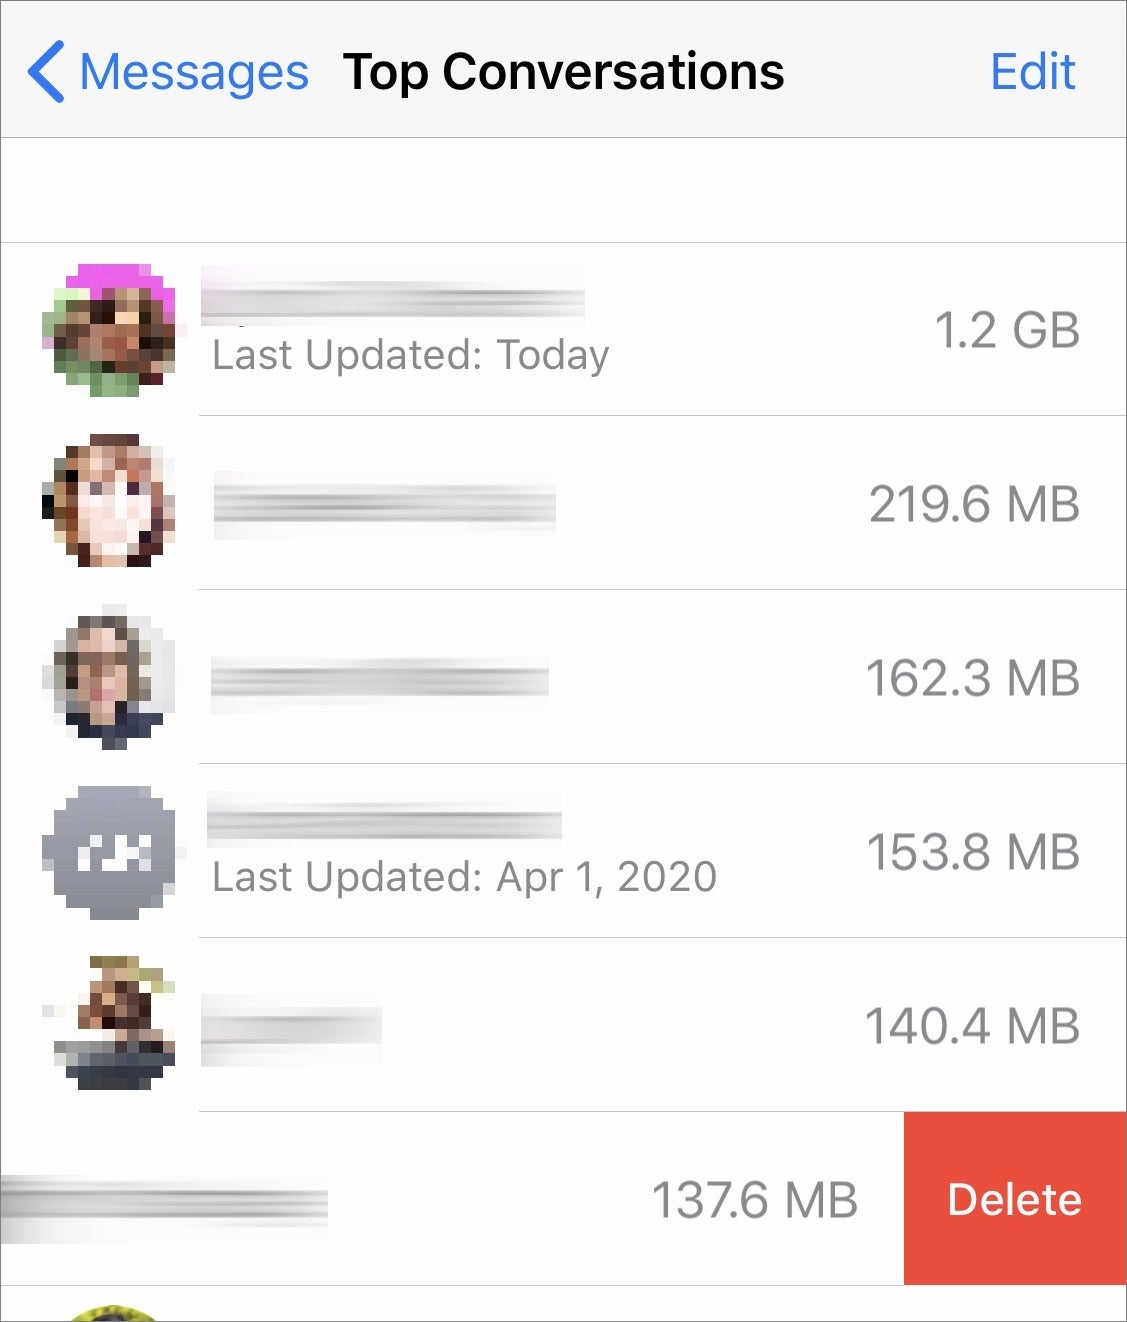
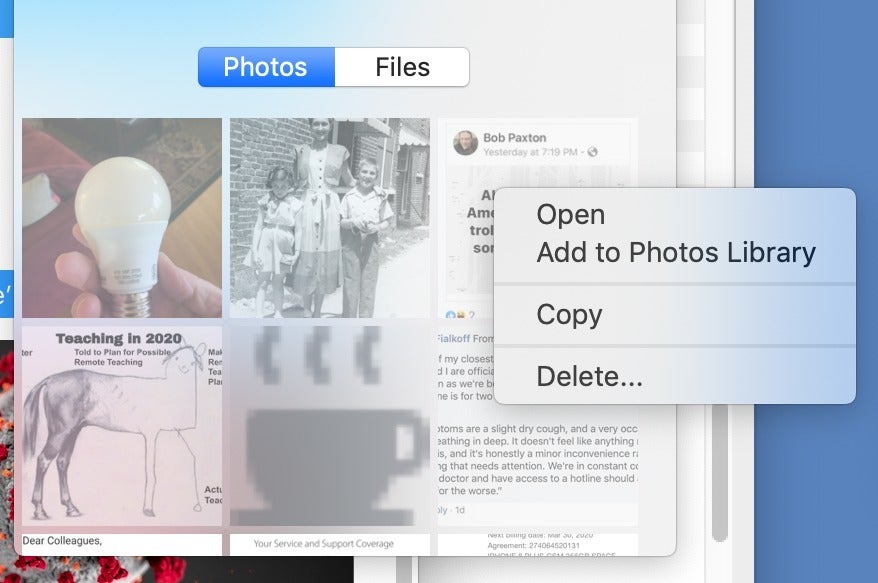
IDGIn iOS or iPadOS, you can find conversations that contain the proportionately largest collection of attachments. Go to Settings > account name > iCloud > Manage Storage > Messages > Top Conversations. There you see a list by descending order of storage consumed of all your Messages conversations. You can swipe left and tap Delete to remove that conversation or swipe all the way from the right to left—but be wary! There’s no confirmation prompt, and all the texts and attachments are removed on all connected devices!
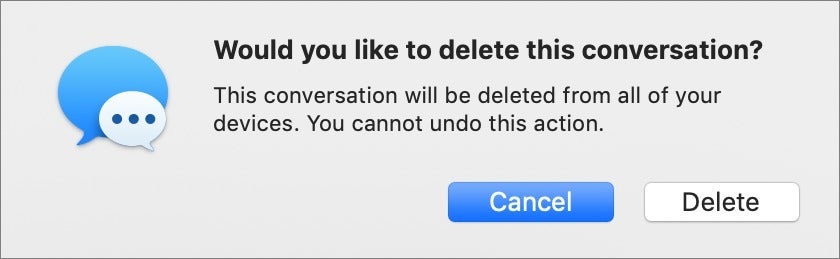
In macOS, select the conversation in Messages, and then select File > Delete Conversation.
 IDG
IDGComplete removal is probably not desirable, unless you want no record of those communications. (Hey, some breakups are bad.)
 IDG
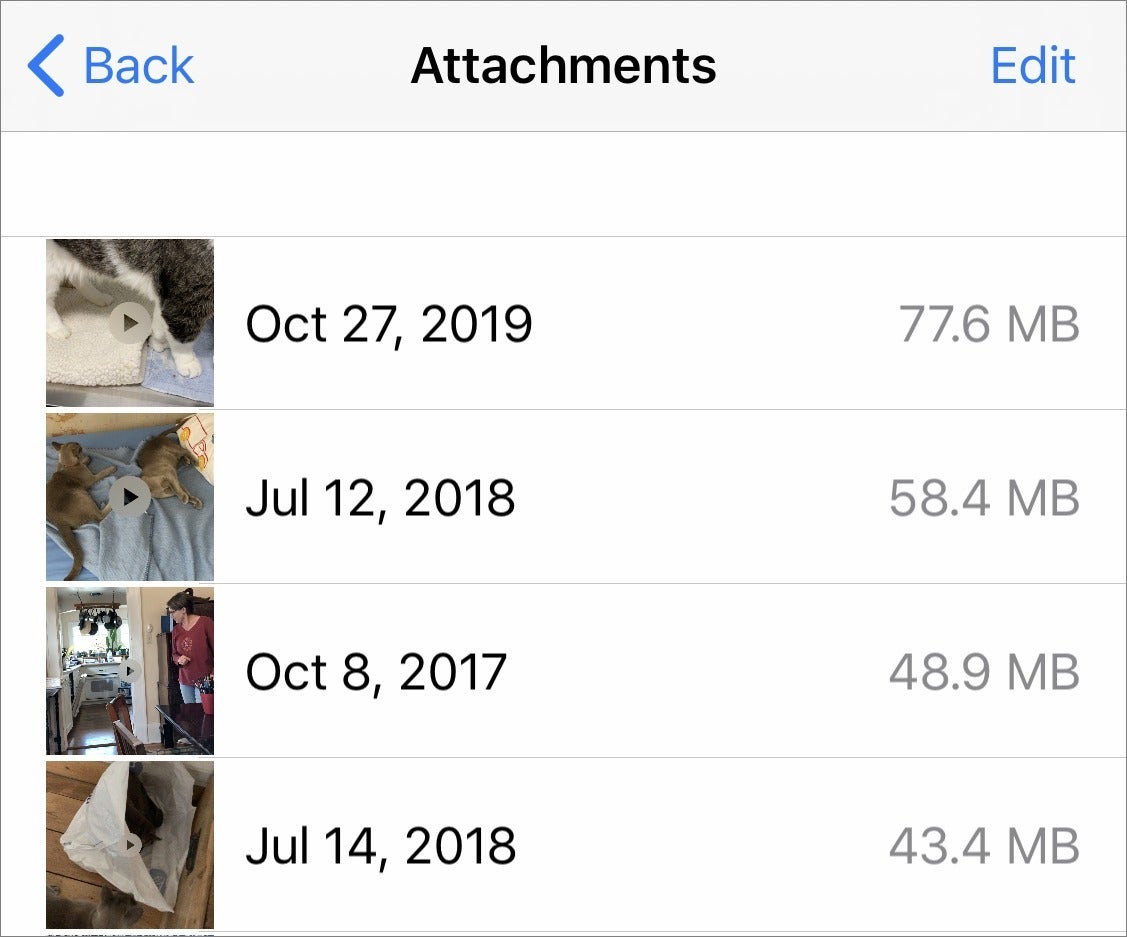
IDGYou can pick off the lowest-hanging fruit via iOS and iPadOS in reducing storage by going to Settings > General > iPhone/iPad Storage > Review Large Attachments. The Review Large Attachments link shows beneath the tap target how much storage files occupy.
In the Attachments view, tap the attachment and tap the Share button to save or export the item first. There’s no way to select and export multiple items.
You can swipe left on any attachment and then tap delete or swipe all the way from the right to left to delete it. There’s no prompt, so be careful. You can also tap Edit, select items, and tap the trash can icon to delete multiple files at once.
You would think you would be able to review attachments in the same iPhone/iPad Storage view by tapping Messages and then tapping links below the Documents heading, which shows a total of storage consumed next to each item. However, at least in the version of iOS at this writing, almost nothing appeared in the lists by category when I tapped them. There may be an issue in what’s stored locally on the device and what’s in iCloud, but I’d expect the two to be linked.
There’s an easy way to export attachments in bulk, too.
In iOS and iPadOS:
You can repeat that action for Screenshots (by tapping the Screenshots button at the top of the view), but there’s no way to access files.
 IDG
IDGIn macOS:
Sadly, our friends don’t all have iPhones. That means some of our Message chats are peppered with green bubbles and send over regular SMS instead of via Apple’s ultra-fast iMessage system. But it’s not just the color and speed that makes iMessage superior: it’s also the clarity and downright watchability when dealing with videos.
If you thought the latest Game of Thrones episode was hard to see, clearly you’ve never sent a video from Messages on your iPhone to a friend with an Android phone. If they responded with something like, “What is this?!”, it probably wasn’t because of the content—it’s because they could barely see what was going on in the clip. By the time it reached their device, the video is a blurry, garbled mess. That carefully edited HD clip you took on your new iPhone was reduced to an unwatchable sludge once it reached your friend’s phone. And the same is true of the videos they send you.
The phenomenon can also affect group messages. As they say, once bad apple can spoil the bunch, so if one of the recipients in your group is on an Android phone, then the entire message will be sent over SMS. Hence, all users will see blurry, barely watchable videos, even iPhone users with iMessages enabled.
What gives? While it might seem like it’s the result of sabotage between platforms, that’s not the case. It has to do with compression. Apple handles the iPhone-to-iPhone delivery of texted videos, so no matter the size, videos are sent and received in their original quality. However, that’s not the case when not using Apple’s system from start to finish—your carrier gets in the way, and that’s when things break down.
Sent Pictures are mostly OK (large ones will be compressed but still viewable), videos files are hit hard. Texting from Android to Android will see minor compression, but it’s compounded when going from iPhone to Android or from Android to iPhone, since Apple’s system gets in the way. Even when sending relatively short video clips (around 15MB to 20MB), they’ll be compressed on one end and stay that way, resulting in a blurry, unwatchable video.
How can you fix it? Convince all of your friends and family to get an iPhone, of course, so everything you send will be over iMessage. Since that’s probably not realistic, here are some workarounds.
The reason why texting video between iPhones and Apple’s Messages app doesn’t result in blurry photos is because Apple controls the compression on both ends. The same is true when you’re using another messaging service, such as Facebook Messenger, WhatsApp, Viber, etc. If you send a video using any of these services, it’ll reach your recipient with its quality intact (as long as you don’t run into any file-size limitations). However, you need to convince your friends to sign up and use the same service you use.
If there’s one messaging service that tried and true, it’s good, old-fashioned email. We all know how it works: launch your client of choice, create a new message, choose the video you want, and hit send. And you’ll be sure that it arrives in the same quality as it was sent.
It’s always handy to have a copy of Google Photos on your iPhone. It creates a library of every photo on your iPhone that can be viewed anywhere, and it also lets you share your photos with anyone, no matter what phone or device they have. Unless you have lots of space on your Google Drive and choose to save the “original” resolution, the quality will be a bit downgraded, but nothing like what happens when you try to text over Messages.
After you take a video, you don’t have to leave it in Apple Photos in order to share it. Open your photo in Photos and tap the share button to get a variety of options, including saving to Dropbox, Google Drive or your cloud-based storage service of choice. From there, you’ll be able to send a link with the full-sized file in tow.
Android has finally gotten around to using RCS instead of SMS on Android, so if your friend is using a newer phone with Google’s Messages, they should see a new option for Chat, which brings iMessage-like features such as typing indicators and texting over Wi-Fi. While it won’t turn your Galaxy-using friends’ bubbles blue on iPhones, it should help increase the quality of the photos and videos your receive from them. Photos and videos taken within the Messages app are still compressed, but far less than before. (Unfortunately, this has no effect on the iPhone videos being sent to Android phones.) They can enable chat (if it’s available) by tapping Settings in the overflow menu in the top right corner of the main conversation list.
[mai mult...]RTX Voice makes an immediate difference in Zoom meetings and Twitch broadcasts.
RTX Voice is an exciting new feature that eliminates background noise from your voice chats — including everything from Twitch game streaming to Discord and Zoom, WebEx, or Slack calls. The feature leverages NVIDIA’s AI capabilities to cut out ambient noise from your surroundings. Best of all, it is available to download on older GeForce GTX cards as well. If you stream regularly and have issues with loud ambient noise, RTX Voice is the solution you’ve been waiting for. Here’s how to set it up on your NVIDIA GPU.
What is RTX Voice, and why is it a big deal?
RTX Voice relies on NVIDIA’s AI smarts to eliminate background noise from your microphone. Basically, if you’re streaming on Twitch or use Discord for voice chats when gaming, enabling RTX Voice makes a noticeable difference in cutting out ambient noise from your surroundings.
The best part about RTX Voice is that you can use it for video calls on Zoom, Skype, WebEx, and Slack.
But what makes the feature stand out is that it isn’t limited to game streaming services. You can use RTX Voice on Zoom, Skype, WebEx, and Slack, and it does a fantastic job eliminating background noise when you’re in a video call. With everyone working from home for the foreseeable future, RTX Voice could not have launched at a better time.
The feature is particularly great at cutting out keyboard sounds, and if you use a mechanical keyboard, RTX Voice makes all the difference. It is astonishing just how well it works in real-world use: I used Audacity to record a few minutes’ worth of audio and started clattering away on my mechanical keyboard (I’m using one with Cherry MX Brown keys) at the same time, and the feature eliminated all the keyboard chatter.
That’s not all, because RTX Voice works with incoming audio as well. So if you’re a video call and you notice a lot of interference from someone else, you can toggle RTX Voice for incoming audio and you’ll immediately see a difference. Basically, if you’re attending a lot of meetings from home these days and have an NVIDIA video card, RTX Voice is a no-brainer.
RTX Voice currently works with these apps
RTX Voice works best on game streaming services like Twitch Studio and Discord, but it isn’t limited to these clients. You can also use it on video calling services like Zoom, WebEx, Skype, and Slack. Here’s the full list of services:
NVIDIA notes that WebEx, Skype, Zoom, and Slack users may see a few issues when using RTX Voice. The feature itself is still in beta (the current version is 0.5.12.6), and any potential issues should be ironed out in the coming weeks.
How to enable RTX Voice on your NVIDIA GeForce RTX GPU
It’s pretty straightforward to install and get started with RTX Voice on your GeForce RTX GPU. Before you start, make sure you’re running the latest Game Ready driver for your video card. If not, download the latest driver for your RTX card.
Here’s the breakdown:
It’s as easy as that. I’ll go into more detail on setting up RTX Voice down below.
How to enable RTX Voice on your NVIDIA GeForce GTX GPU
Although RTX Voice is designed for NVIDIA’s GeForce RTX cards, you can install it on an older GeForce GTX video card. The workaround was first spotted on Guru3D forums, and I tested the feature on a GTX 1080 and GTX 1070, and it worked just fine. You don’t need the dedicated Tensor cores on the Turing-based RTX cards; the CUDA cores on the older GTX series cards are more than adequate.
That said, you will need to tweak a few settings to get RTX Voice working on your GeForce GTX video card. Before you start, make sure you’re running the latest Game Ready driver for your video card. Download the latest driver from here.
Got the latest driver on your GTX video card? Here’s how to install RTX Voice: