How I use the Microsoft to do App to maximize my Productivity
The Microsoft To Do application, sometimes abbreviated informally but widely known as To Do, provides a central hub for arranging personal or professional tasks. An intuitive layout greets you with options for creating lists, setting reminders, scheduling tasks for later, and dividing projects into more digestible parts.
My personal preference involves pairing it with Outlook, which synchronizes tasks across devices and ensures that no important duty slips through the cracks. Many users favor its simple layout, reminiscent of handwritten to-do lists, though it’s backed by powerful cloud synchronization, which I’ll go into later.
To access To Do, go to the Windows search bar (or press Windows+S) and search for To Do. Press Enter to open the app. If you are prompted, log in to your Microsoft account.
Setting up the To Do app requires a Microsoft account . You can use your existing credentials from Outlook. Microsoft To Do appears to be a simple tool at first glance, and it is really intuitive with its simple design. However, there are tons of features available.
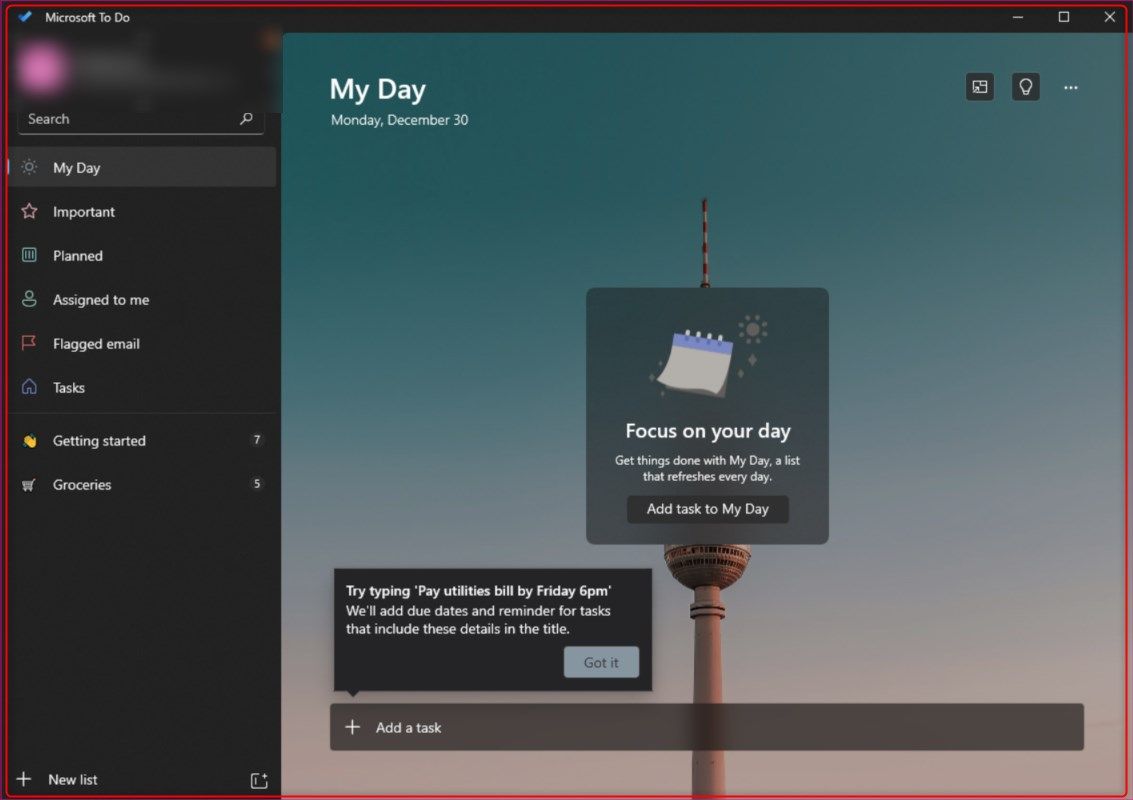
The “My Day” feature stands out for its focus on daily intentions. A fresh screen greets you each morning, helping you to identify priorities for that specific day. To me, this is important since it clarifies what needs to be done to help tick things off and maintain consistent progress.
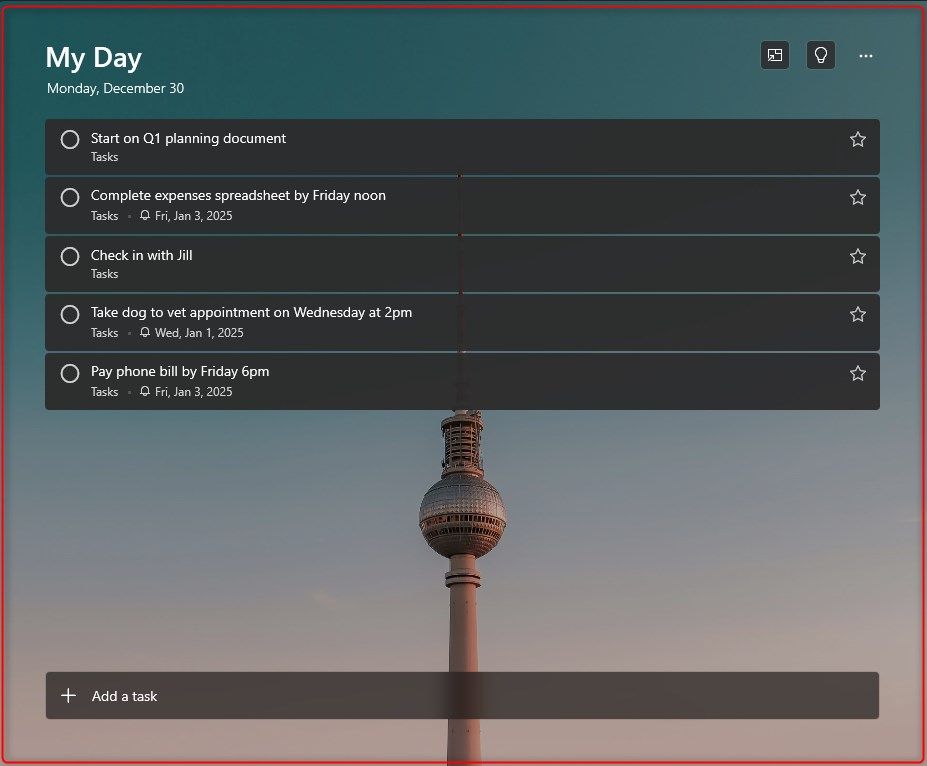
You can also set a due date or reminder by typing what needs to be done and by when, and the program will handle it for you. As someone who forgets things constantly, having timed alerts and notifications makes sure I never miss an appointment or deadline.
One aspect of staying motivated includes the psychological trick of self-imposed deadlines. Setting an arbitrary (but realistic) completion date for certain tasks gives you a mild sense of urgency without being too stressful (at least for me, anyway).
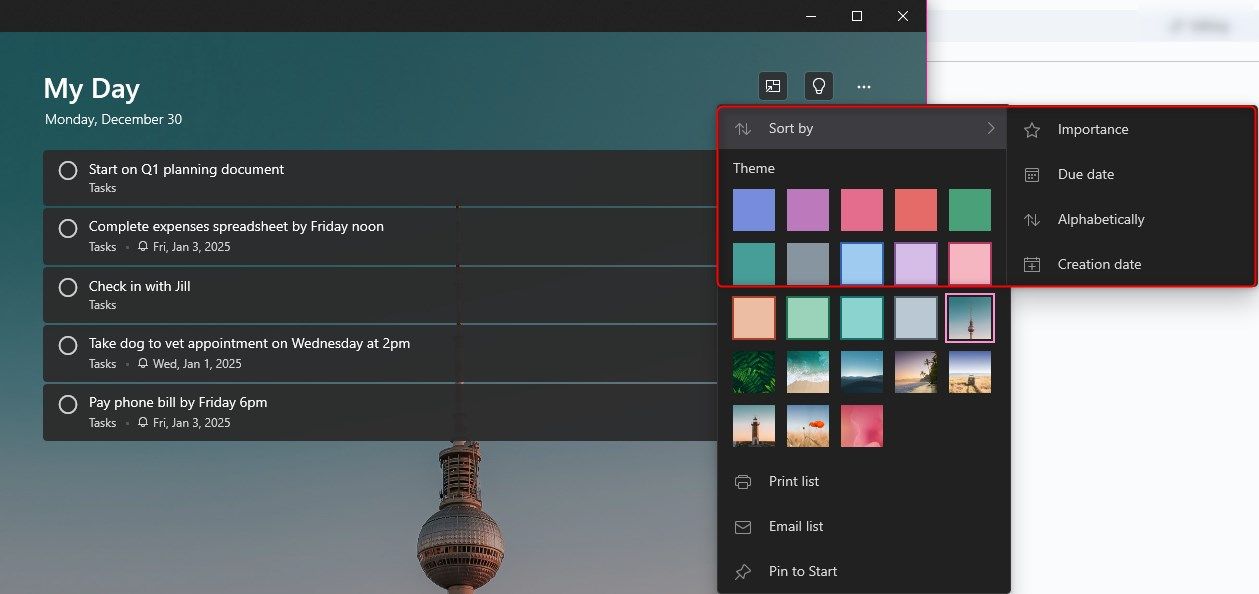
You can click on the star icon next to the task to mark it as important, and also sort the tasks by importance, due date, alphabetically, or by creation date:
Well, you may not have to change it completely. To Do integrates with other Microsoft services like Planner and Outlook, which keeps it all in sync across different platforms. Those comfortable with a pen-and-paper approach to scheduling might prefer the app’s minimal design. But you can also explore color-coded categories, collaborative sharing, and customized settings to have a more tailored experience, without it getting overwhelming.
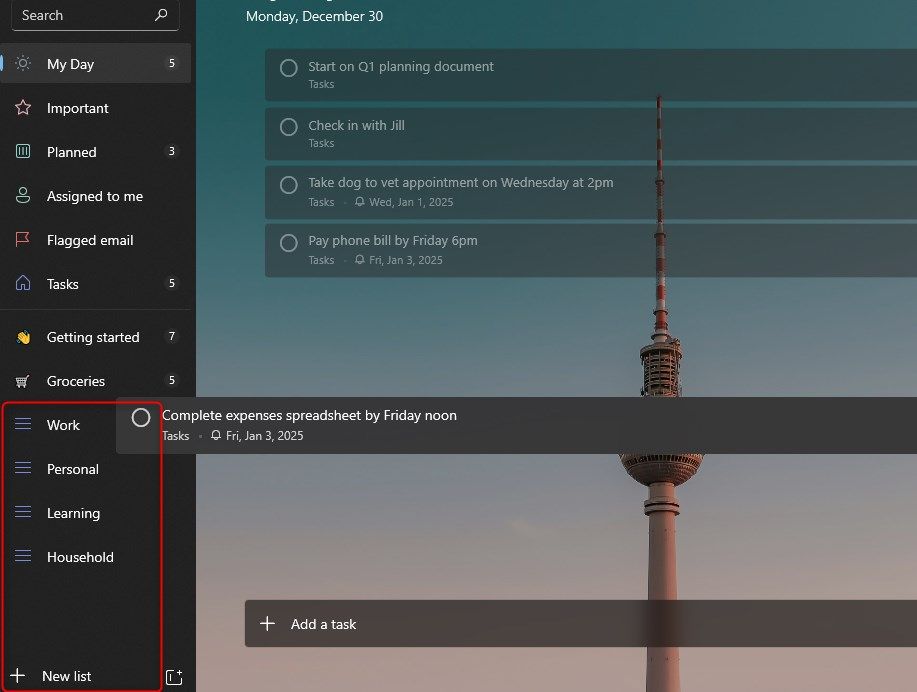
Some people like to keep everything in a single master list, though I find separate categories more practical. I prefer starting with broad categories, such as “Work,” “Personal,” “Learning,” or “Household.” Each category sits in its own list, easily accessible from the left-hand panel as shown below:
You can also drag any of the tasks from “My Day” to any other list (don’t worry, it will still remain in the “My Day” section, since it just gets copied).
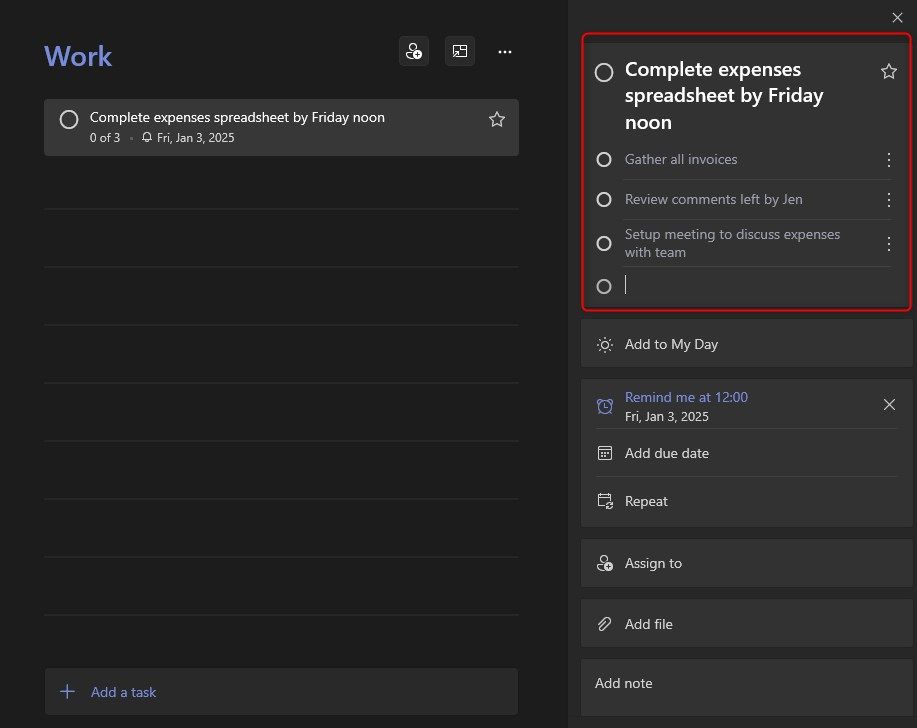
My “Work” list usually splits further into separate tasks when tasks have multiple steps involved. Subtasks inside each task item break down broader assignments into discrete, bite-sized chunks. This approach transforms intimidating objectives into sequences of manageable steps:
You can also upload any supporting files to help get that task done. Just click “Add file” in the task window. Another trick involves reorganizing my tasks as situations evolve. Sometimes an unexpectedly large assignment arrives in my inbox, derailing the original plan for the day. I open Microsoft To Do, drag the new item into the correct list, and assign the new deadlines accordingly. That approach avoids confusion since I’m not scribbling on sticky notes or burying tasks in email threads.
The app becomes sort of a centralized command center for all professional and personal responsibilities. My calendar remains a separate space for meetings and time-based events, while Microsoft To Do covers the domain of tasks and reminders. Both function together, each with a distinct purpose.
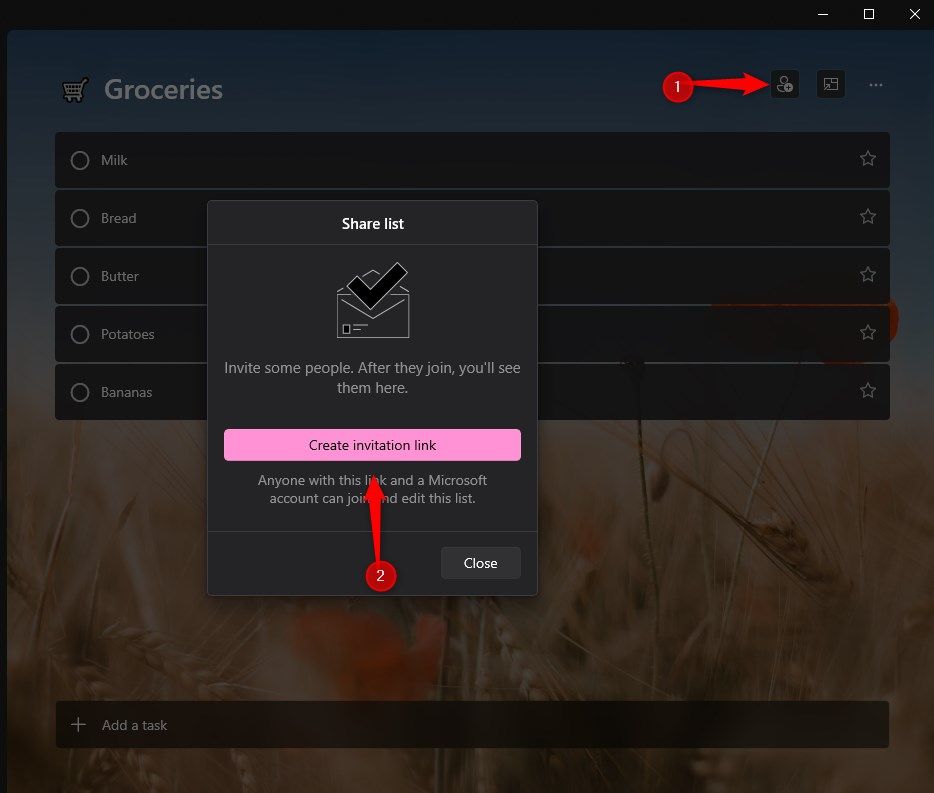
Recently, I had to plan a birthday for a family friend and I ended up using Microsoft To Do to create a list. The list helped us all stay organized and get everything done without overcrowding the group chats. To share a list, go to the list and click on the person icon on the left-hand side of the screen. From here, you can create invitation links to other Microsoft users. You can do the same for any type of list (such as a grocery list) as shown below: