Cum instalăm backiee Wallpaper Studio pe Windows 10/11
Dorim să instalăm aplicația backiee – Wallpaper Studio direct pe laptop pentru acces mai rapid cu ajutorul microsoft store.
[mai mult...]Soluții pentru problemele tale IT

Dorim să instalăm aplicația backiee – Wallpaper Studio direct pe laptop pentru acces mai rapid cu ajutorul microsoft store.
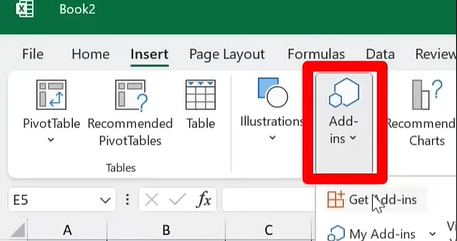
[mai mult...]1.Go to the Insert tab->Select Add-ins->Get Add-ins
2. We need to type “Ai added formula”
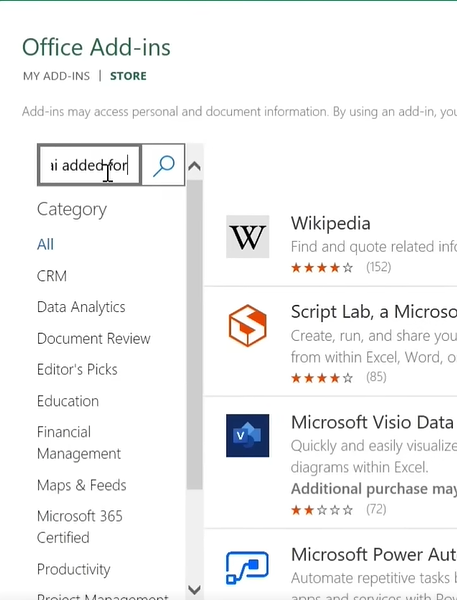
3. Select AI-aided Formula Editor->Add

1.Pentru a elimina protecția de scriere a stickului USB, vom folosi o metodă rapidă prin Command Prompt, folosind comenzi DiskPart:
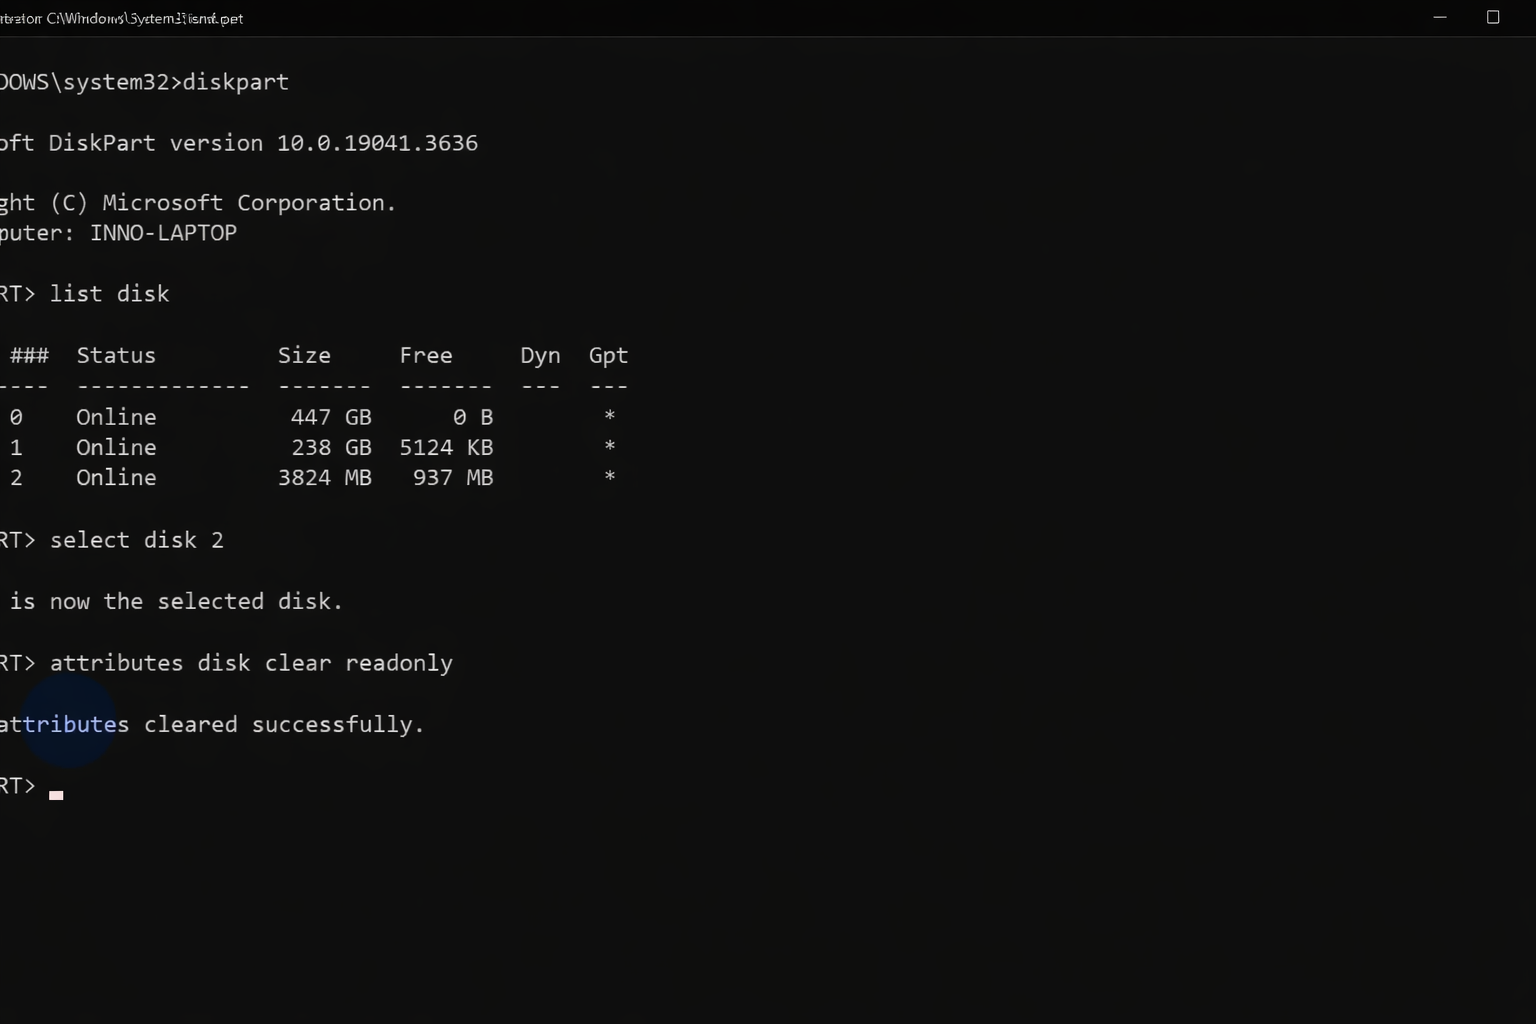
Dupa aceasta metoda se va incerca formatarea disk-ului.
2. A doua varianta este cea in care putem folosi un Tool (ex: MiniTool Partition Wizard)
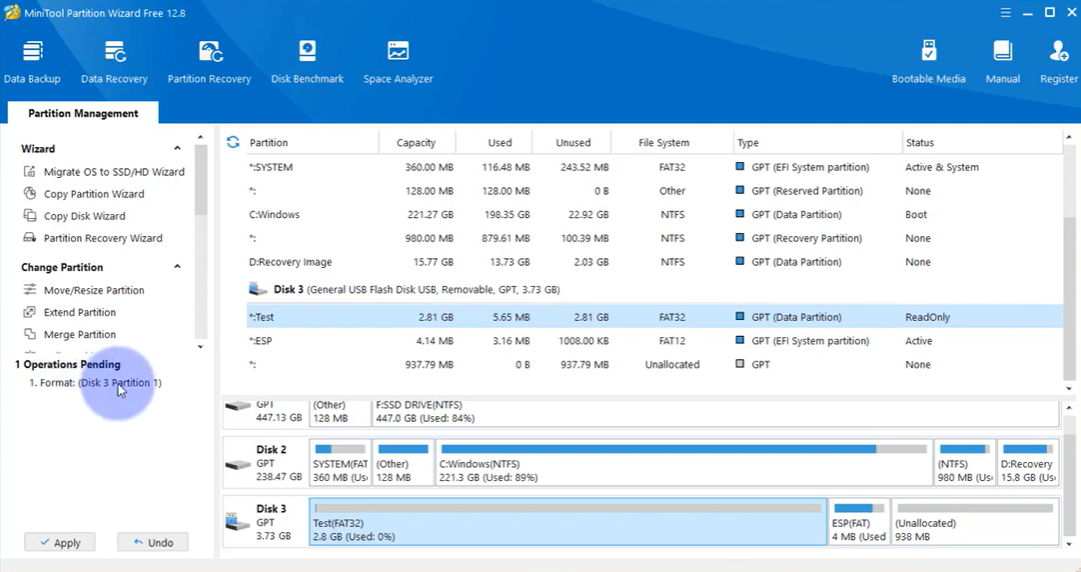
Se va selecta Format Partition->click pe Apply.
[mai mult...]The ESP32 is a powerful, low-cost microcontroller with built-in Wi-Fi and Bluetooth, making it ideal for hosting lightweight web servers directly on embedded devices. An ESP32 web server allows users to configure devices via a browser, monitor sensor data, control hardware remotely, and expose REST APIs for IoT systems.
This guide explains how ESP32 web servers work, available frameworks, architectural choices, and best practices for production-ready systems.
1. ESP32 Networking Fundamentals
Wi-Fi Modes
AP mode is commonly used for first-time configuration, while STA mode is used during normal operation.
TCP/IP Stack
The ESP32 uses the lwIP TCP/IP stack, providing TCP, UDP, DHCP, DNS, and HTTP/HTTPS functionality. The number of concurrent sockets is limited and must be considered in system design.
2. Web Server Models on ESP32
Blocking (Synchronous) Server
Synchronous servers do not scale well and can block other tasks.
Asynchronous Web Server (Recommended)
3. ESP32 Web Server Frameworks
Arduino WebServer
A simple, synchronous server suitable for small projects and quick prototypes.
ESPAsyncWebServer
ESP-IDF HTTP Server
The native Espressif HTTP server with tight FreeRTOS integration and HTTPS support. Best suited for production firmware.
4. HTTP Fundamentals
ESP32 web servers commonly implement REST-style APIs.
5. Serving Web Content
Static Files
Embedded HTML
Small pages can be embedded directly as strings in firmware, reducing filesystem dependencies but increasing maintenance complexity.
6. Dynamic Content and APIs
7. Real-Time Communication
8. FreeRTOS Integration
9. Security Considerations
10. Performance Optimization
11. OTA Updates via Web Server
ESP32 web servers frequently include OTA (Over-The-Air) firmware updates. This allows firmware to be uploaded directly through a browser.
12. Debugging and Testing
Common issues include heap fragmentation, socket exhaustion, and watchdog resets.
13. Example Applications
14. Recommended Development Path
The ESP32 is well-suited for lightweight web servers when designed within its constraints. By using asynchronous architectures, managing memory carefully, and applying proper security practices, responsive and reliable embedded web interfaces can be built directly on the ESP32.
[mai mult...]