Situatie
If your network-capable printer is not automatically detected by Windows, you will need to set it up manually. This will involve going to your printer menu, configuring a TCP/IP a port, and installing the drivers.
Solutie
Pasi de urmat
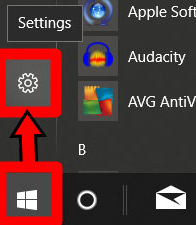
- Open the Windows Start menu. This is the button in the bottom left corner of your screen that is shaped like the Windows logo.
- Then click to Settings. This is the gear-shaped icon just above the power button in the Start menu.
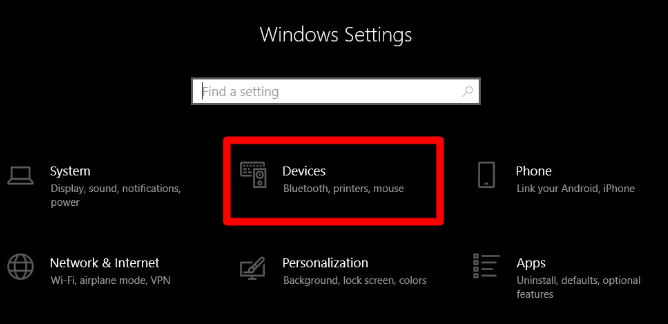
- Then click on Devices.
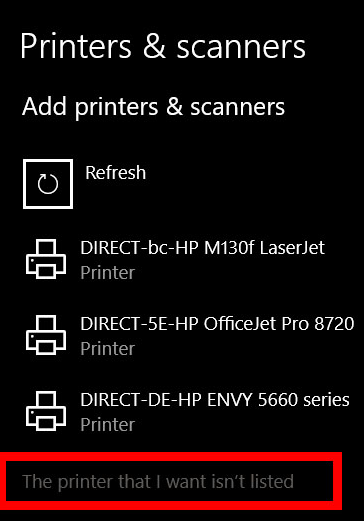
- Next, select Printers & Scanners. You can find this in the left sidebar.
- Then click Add a Printer
Once Windows detects your printer, all you have to do is follow the on-screen instructions for setting it up. If this is the case, you can stop at this point. However, if Windows does not auto-detect your printer, proceed to the next step.
- Click “The printer that I want isn’t listed.” Once you select this, the “Add Printer” screen will pop up.
- Choose “Add a local printer or network printer with manual settings,” and click next.
- Click on “Create a New Port” and select Standard TCP/IP from the drop-down box.
Type in your printer’s IP address or URL (e.g. printer-one.school.edu) and click next. At this point, your computer will try to detect the TCP/IP port. This might take some time. Select the appropriate device type. Use one of the following methods to identify/install the appropriate printer driver:
- In the drop-down menu for Standard Device Type, select the device type that corresponds with your printer brand. For example, if you have a Canon printer, choose either Canon Network Printer or Canon Network Printing Device. Windows will then detect the driver model. You will notice that once it detects the driver, your printer will be added to the list of devices in the Printer & Scanners menu.
- Install the print driver. Click on the box that says Have Disk. You will be instructed to install the driver from the manufacturer’s installation disk (or a download of the driver) and copy it from where the driver is located.
Set up optional preferences. Type a printer name if you want to. Otherwise, click Next. In the next window, you could also set up set up printer sharing if you like (generally you should not do this). Once done, click on Next.
Print a test page. You will get a message that you have successfully set up the printer. From here, you can print a test page or click on Finish.
Leave A Comment?