Situatie
Assigning permissions for each file and folder individually can be complex and time consuming. To avoid going through the annoyances of changing permissions for a bunch of folders individually, we can use Group Policy to do it. In this article, you will see the process of assigning file and folder permissions across a domain through GPO. These instructions can be extremely helpful, and save your time if you have to assign permissions to a large number of systems with a common setup.
Solutie
Steps to Assign File/Folder Permissions
- Go to “Start Menu” ➔ “Administrative Tools”, and click “Group Policy Management” to access its console.
- In left panel of “Group Policy Management Console”, you have to create a new Group Policy Object or edit an existing Group Policy Object.
- To create a new GPO, right click “Group Policy Objects”, and select “New” from the context menu. It shows “New GPO” window.
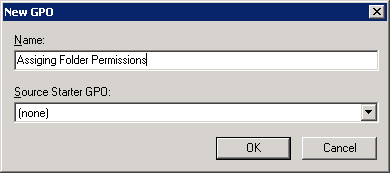
- Enter a name for the Group Policy Object (GPO) (in this case it is Assigning Folder Permissions), leave “Source Starter GPO” as “(none)”.
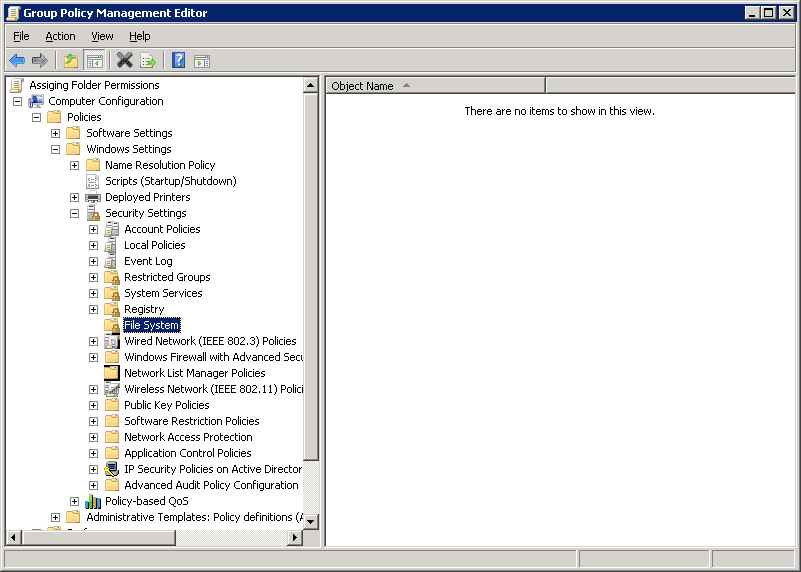
- Right-click on the newly created “User Folder Permissions” GPO, and select “Edit GPO”. Group Policy Management Editor window appears on the screen
- Navigate to “Computer Configuration” ➔ “Policies” ➔ “Windows Settings” ➔ “Security Settings” ➔ “File System”

- Right-click on “File System” in the left pane and select “Add File…” It shows the following dialog box.
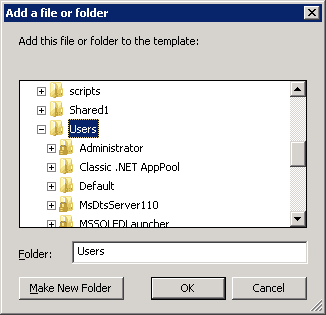
Browse the folder or file that you wish to assign permissions on, and left click to select it. Click “OK”. - “Database Security” window appears on the screen
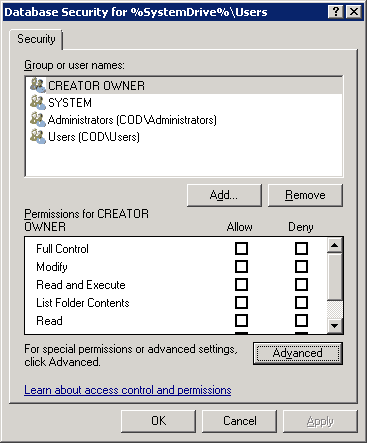
- Click “Advanced” button to access “Advanced Security Settings” window. Stay on the “Permissions” tab that appears by default.
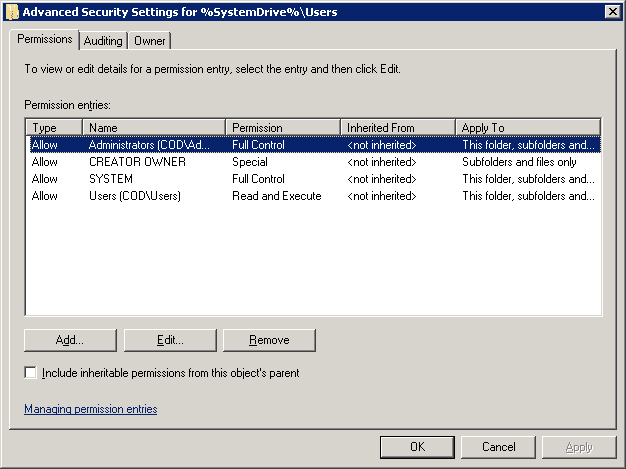
- On this tab, either select an existing user and click “Edit…” or click “Add…” to add a new user to the permissions.
- “Permissions Entry for…” dialog box opens up. Here, you will see that there is a list of permissions available for your users, and you can also choose where you want to apply those permissions.
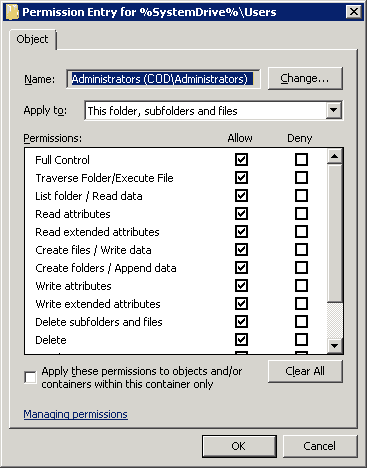
- Use the drop-down menu in the “Apply to” field to assign selected permissions to desired folders.
- Check the permissions as needed. These are self-explanatory.
- Click “OK” to apply the permissions. It takes you back to “Advanced Security” window.
- Now, move to the “Auditing” tab. Under this tab, you can do audit settings for the folder, so that any change done to this folder or its permission will be audited. Configure the auditing settings as per requirement.
- Similarly, you can do ownership settings for the folder under “Owner” tab.
- Once you have done “Permission”, “Auditing” and “Ownership” settings, click “OK” to close “Advanced Security…” window.
- Click “OK” to close “Database Security…” window. Next, you will see “Add Object” window.
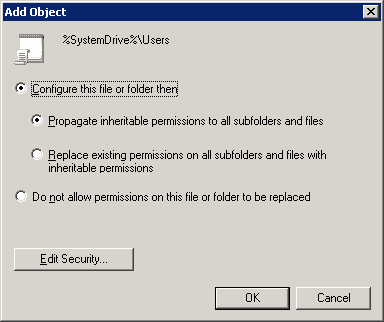
- There are three options on the “Add Object” window:
- Configure this file or folder then: Select this option to apply the settings. It contains the following two options.
- Propagate inheritable permissions to all subfolders and files: Selecting this option means, all the subfolders and files will inherit permissions from the parent folder. In case of a mismatch or conflict, explicit permissions that were assigned to the subfolders or files will override the inherited permissions.
- Replace existing permissions on all subfolders and files with inheritable permissions: This option will overwrite all the settings on all subfolders and files with the ones on the parent, so ultimately they will have identical permissions to the parent folder.
- Do not allow permissions on this file or folder to be replaced: Use this setting for subfolders and files that you do not want to inherit permissions. For this, make an additional entry for those subfolders and files that will not inherit permissions e.g. let’s say you want the “A” folder to inherit permission but don’t want “B” folder to inherit permissions, in that case create an entry for the “B” folder.
NOTE: In this case, option “a” has been selected. Click “OK” to close the “Add Object” window.
- Configure this file or folder then: Select this option to apply the settings. It contains the following two options.
- Close “Group Policy Management Editor” window.
- Right-click the domain you want to apply this GPO to, and then select “Link an Existing GPO…” option from the context menu. “Select GPO” window opens up.
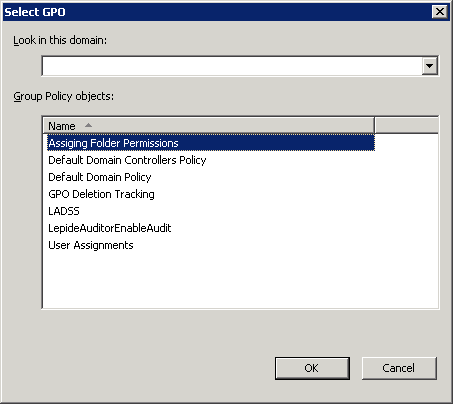
- Select the new “Assigning Folder Permissions” GPO, then click OK.
- In the right pane, stay on the “Linked Group Policy Objects” tab that appears by default.
- Right-click on the “Assigning Folder Permissions”, and select “Enforced” from the context menu. A confirmation message appears on the screen.
- Click “OK” to close the dialog box.
Leave A Comment?