Cum dezactivam Spell Check din windows 10 in 3 pasi simplii Data 08/06/2018 Autor Cristian Anghel Categorie Configurare program, OS - Windows 4 913 Configurare noua (How To) SituatieSpell check este auto correctul pentru windows. Daca vreti sa il dezactivati, puteti urma pasii de mai jos: Solutie Pasi de urmat 
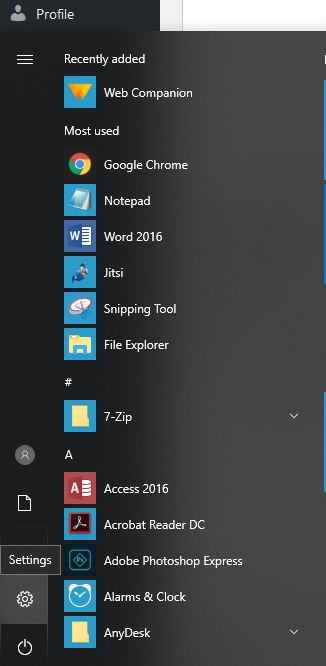
Apasati Tasta Windows + S – simultan si selectati Settings 
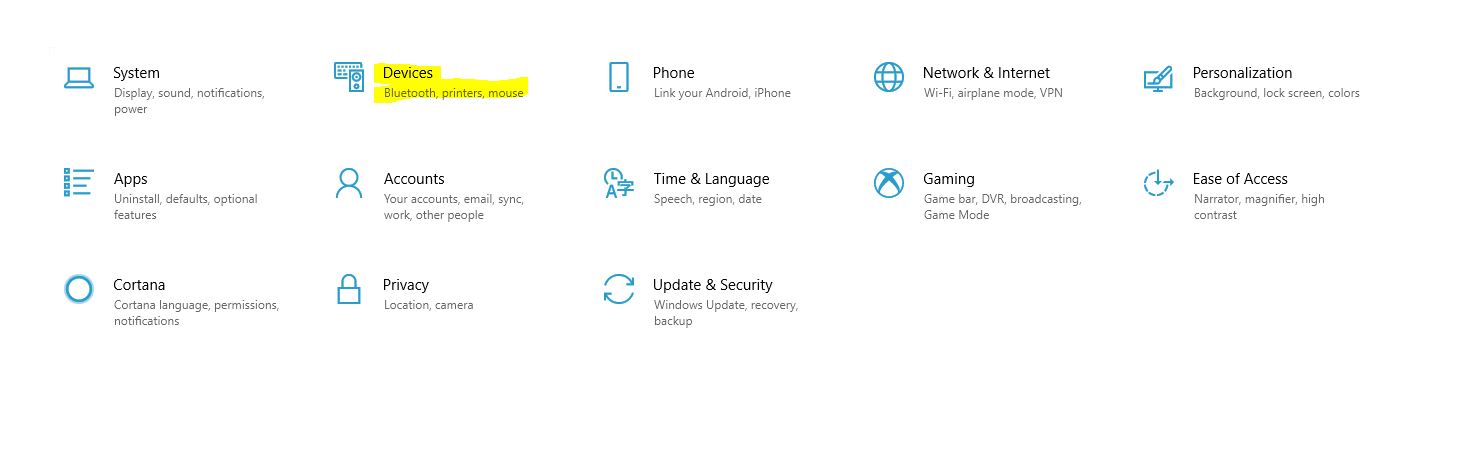
Din urmatorul meniu, selectati Devices. 
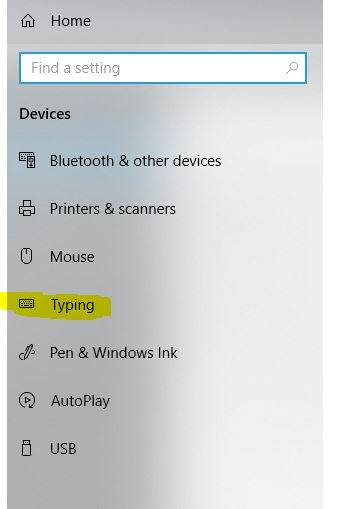
Din meniul de Devices, selectati “Typing” 
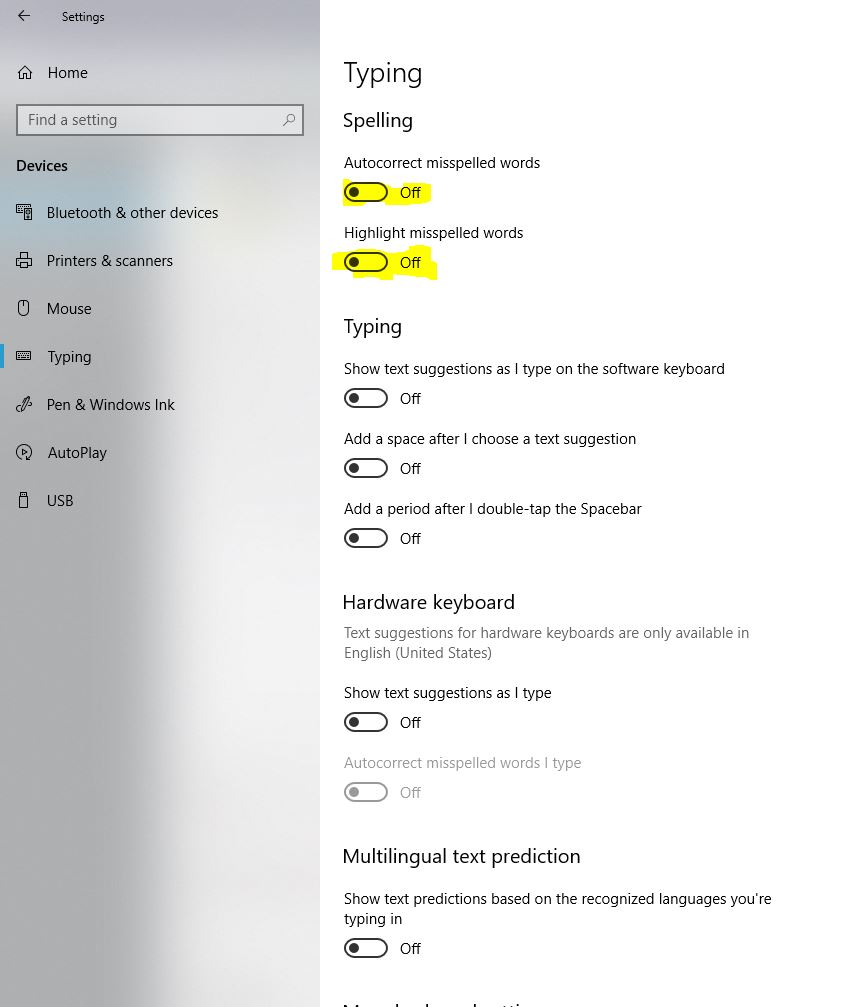
Pentru a dezactiva spell check, selectati optiunea Off Tip solutiePermanent Etichetare: autocorrectwindows 10 autocorrectWindows Spell check Voteaza Up Down (23 din 42 persoane apreciaza acest articol) ShareTweetShare Despre Autor Cristian Anghel Solutii Asemanatoare How to uninstall KB5063878 to fix SSD disappearing issue on Windows 11 1 How to reset settings to defaults on Chrome -3 How to enable G-Sync on Windows 11 1 8 pași esențiali după upgrade-ul la Windows 11 0 Windows Notepad este acum un instrument de scriere real datorită acestei actualizări AI 0 This new feature lets you Quickly recover Windows 11 after a boot failure -2 Leave A Comment? × Cancel Reply Save my name, email, and website in this browser for the next time I comment. × three = twenty seven
Leave A Comment?