Situatie
Metwork discovery is a feature that allows you to find quickly all the devices connected to the network by using File Explorer.When this feature is enabled, using the Network tab in File Explorer, you can see all the devices, and you can even browse their available resources, such as shared folders and printers, and more others. The only caution is that network discovery doesn’t always work as you expected, and sometimes, you may not be able to find any computer, or you may see some of them, but others might be missing.
Solutie
Pasi de urmat
Fix network discovery enabling feature
If you can’t see any of the network devices in File Explorer, it’s probably because network discovery isn’t enabled.
In order to enable network discovery with Control Panel, use these steps:
Open Control Panel on Windows 10.
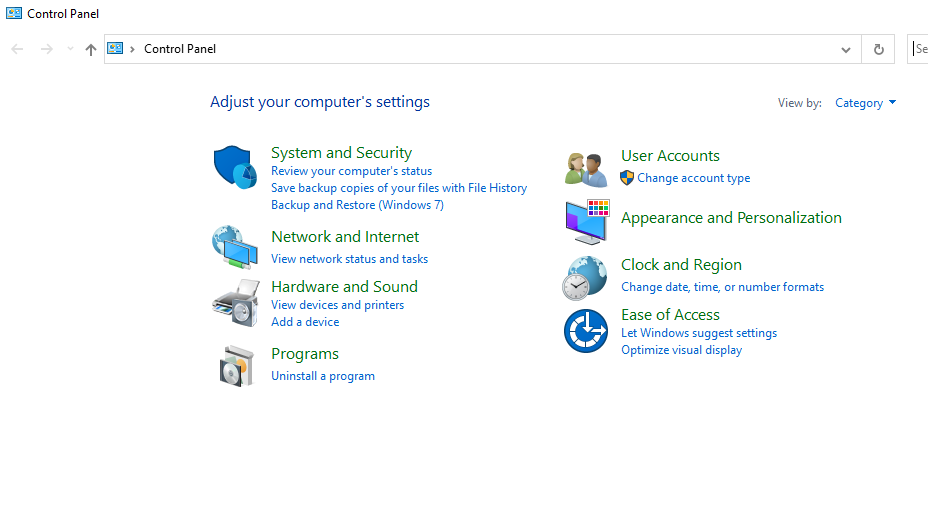
Click on Network and Internet.
Click on Network and Sharing Center.
Click the Change advanced sharing settings option from the left pane
.
Expand the Private network profile.
Under the “Network discovery” section, select the Turn on network discovery option.
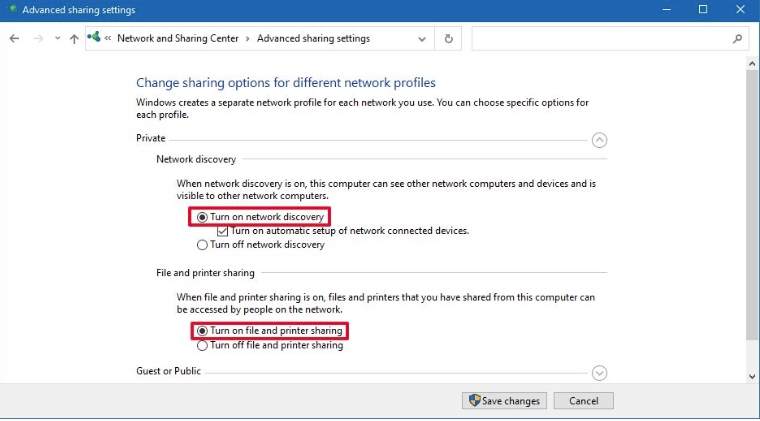
Under the “File and printer sharing” section, select the Turn on file and printer sharing option.
Click the Save changes button.
Fix network discovery enabling SMB protocol
If network discovery is working, but you’re missing some devices, such as an old computer, hard drive connected to the network, or Network-Attached Storage (NAS), then it’s possible that those devices are still relying in the old version of Server Message Block (SMB) protocol.
It’s not recommended to use SMBv1 for security reasons, but if you must access devices using network discovery, you may need to enable the feature.
To enable SMB version 1 on Windows 10, use these steps:
Open Start.
Search for Turn on Windows features on or off and click the top result to open Windows Features.
Expand the SMB 1.0/CIFS File Sharing Support branch.
Select the SMB 1.0/CIFS Client option.

Click the OK button.
Click the Restart now button
Once you complete the steps, open File Explorer, and in the Network tab, you should now see the missing devices.
Fix network discovery using troubleshooter
In the case that network discovery still not working, it’s possible that there’s a networking problem, which you might be able to resolve using the network troubleshooter.
To run the network troubleshooter to fix network discovery, use these steps:
- Open Settings on Windows 10.
- Click on Update & Security.
- Click on Troubleshoot.
- Click the Additional troubleshooters option.
- Select the Network Adapter option.
- Click the Run the troubleshooter button.

7.Select the network adapter connected to the network — for instance, Wi-Fi.
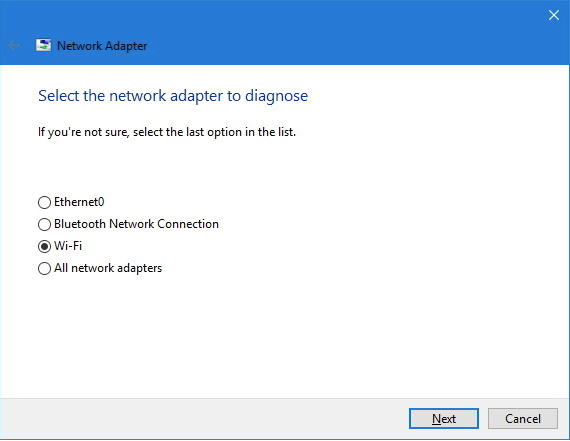
8. Click the Next button.
After you complete the steps, the troubleshooter will try to fix the network problem. After the process completes, open File Explorer and confirm that devices are now appearing in the Network tab. If everything is working again, you’re all done. If it’s still not working, try the following method.
Fix network discover resetting adapter
If the troubleshooter didn’t work, you can use the network reset feature, which removes and reinstalls all the network adapters on your computer. This process resets all the networking components and restores the defaults settings, which can help to fix network discovery problems.
!!! :These steps will reset your wireless credentials, as such you must know your Wi-Fi password before proceeding, so you can reconnect later.
To reset the network adapter settings to fix network discovery problems, close all your running applications, and use these steps:
- Open Settings.
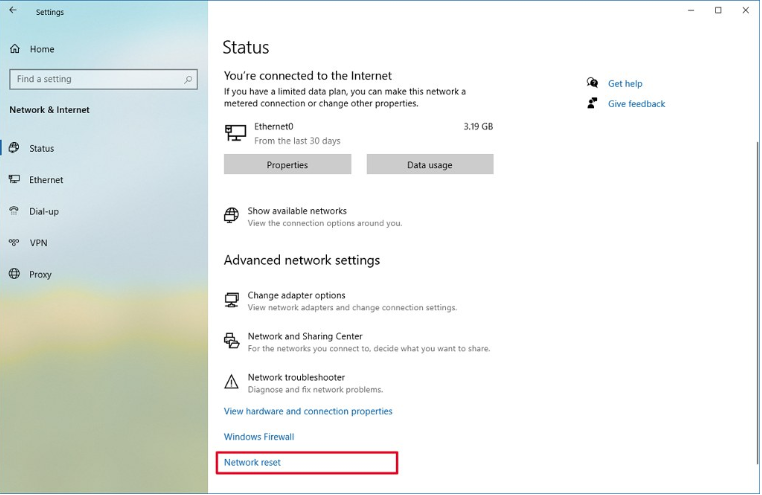
- Click on Network & Internet.
- Click on Status.
- Click the Network reset option.

- Click the Reset now button.

7.Click Yes to confirm.
8.Click the Close button.
9.Restart your computer.
Tip solutie
PermanentImpact colateral
Once you complete the steps, you may need to reinstall other networking software, such as VPN client or virtual switch software (if applicable). Also, you’ll need to manually reconnect to any wireless network, which may require to enter the passcode again.After you’re connected to the network, open the Network tab in File Explorer, enable network discovery by clicking the message on the top, select the Turn on network discovery and file sharing option, and click the No, make the network that I am connected to a private network option. After enabling the feature, devices should now appear in File Explorer.
Leave A Comment?