Situatie
New to the Mac ecosystem? You might be wondering how to increase or decrease the computer’s volume. Just like Windows, you can use keyboard shortcuts. And to make this easier, you can add a volume slider to the menu bar as well.
Solutie
Use Function Keys on the Mac Keyboard
The easiest way to adjust the volume on your Mac is by using the media keys on your keyboard. Similar to Windows, the Mac keyboard has a function row at the top. Macs give preference to media keys instead of function keys. So you can press the F10 button to mute the volume, the F11 button to decrease the volume, and the F12 button increases the volume. To actually use them as function keys, you have to hold the Fn button and then press one of the function keys.

You can also adjust the volume in small increments. To do this, hold the Option+Shift buttons when using the F11 or F12 buttons.
How to Adjust Volume Using the Touch Bar
If you’re using a MacBook with a Touch Bar, you can use the Control Strip to adjust the Volume. Here, you’ll see a Volume button on the right side of the Touch Bar. Tap on it to reveal the Volume slider. Slide your finger left or right to decrease or increase the volume.

How to Add a Volume Slider to Menu Bar
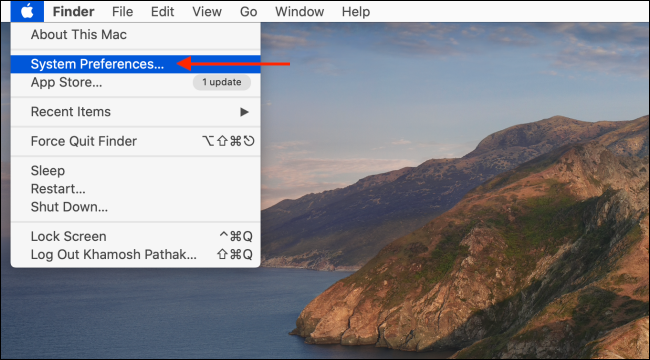
If you’re a visual person, or you use the mouse often, it’s best to add the volume slider right to the menu bar. This way, you can quickly see if you’re muted or not. To add the Volume feature to the menu bar, click the “Apple” icon in the menu bar and choose the “System Preferences” option.
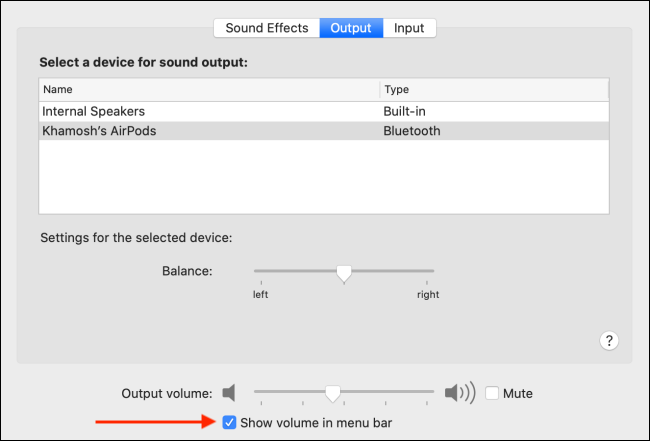
Here, choose the “Sound” option.

Now, go to the “Outputs” tab, and check the “Show Volume in Menu Bar” option.
Click the new “Volume” button found in the menu bar to adjust the volume.
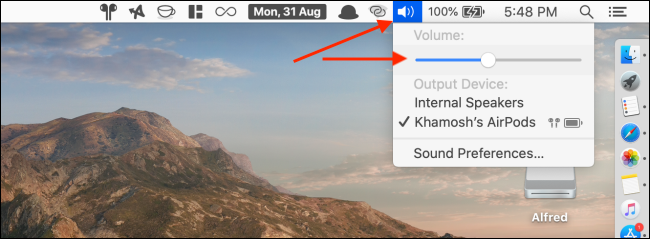
From here, you can switch the sound output devices as well.
Leave A Comment?