Situatie
Want to take screenshots of your VR PC games? Here’s how you can by using Oculus Dash.
Users who hook up their Quest 2 headsets with their Windows desktops or laptops can play some great PC VR (virtual reality) games from the Oculus Rift Store. Some players also like to capture screenshots when they play VR games. However, users can’t capture screenshots from PC VR apps with the Oculus/trigger button method.
Oculus Dash is the home environment for launching PC VR apps in Quest 2 headsets. That home environment includes two different tools with which you can capture snapshots. This is how you can capture screenshots from PC VR apps in Quest 2 within Oculus Dash. You can capture PC VR game screenshots with that tool like this:
Solutie
Pasi de urmat
Connect your PC and Quest 2 headset to enter Oculus Dash.
Press the Library button on Oculus Dash’s taskbar.
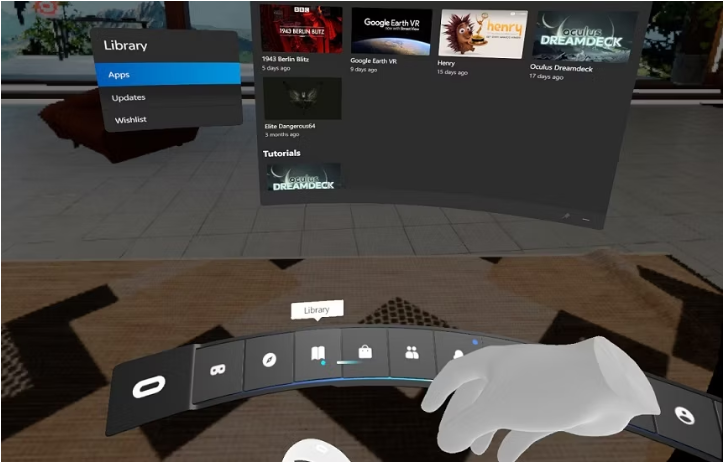
Then select a game to run from your app library.
Set up a screenshot position within your game.
Press the Oculus (O) button on the controller to bring up the Oculus Dash interface without closing the app.
Then press the clock on the taskbar to bring up the battery and volume indicator panel.
Select the Screenshot option within the battery panel.
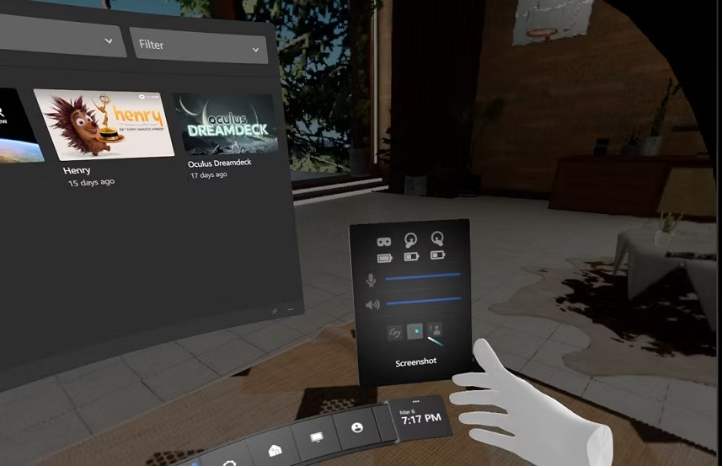
The screenshot tool will capture the snapshot five seconds after you activate it. Bring the game app back up as quickly as you can by selecting Return to capture a snapshot like the one below.

The five-second screenshot time limit is a little awkward, but that gives you enough time to return to the game app and capture the snapshot. However, you’ll hardly have any time to set up a snapshot after selecting to take a screenshot. So, it’s best to get yourself positioned for a screenshot before activating the screen-capturing utility.
Leave A Comment?