Situatie
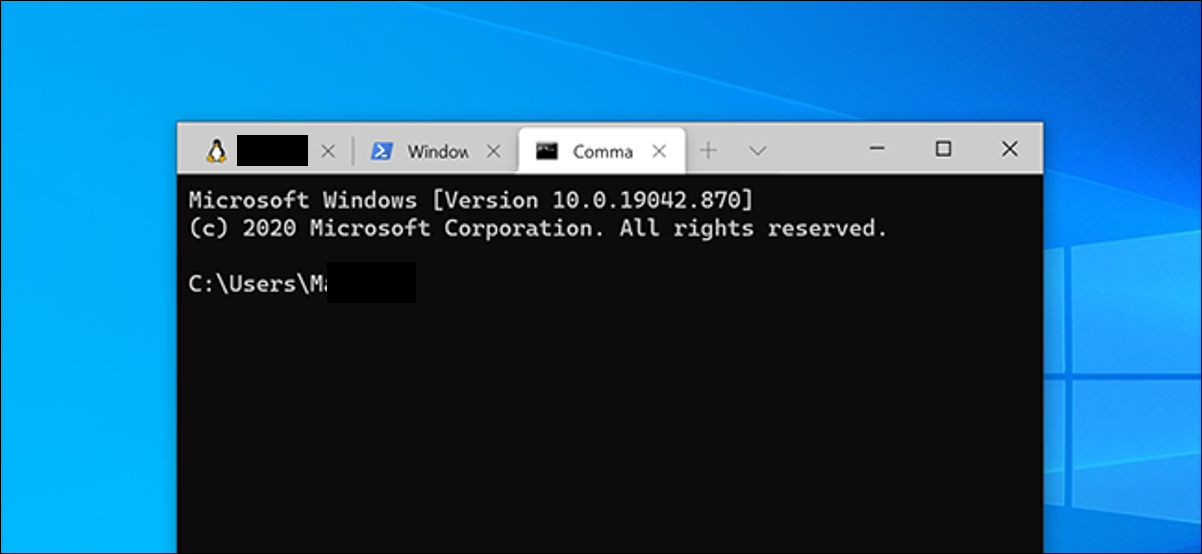
When you open Windows Terminal, PowerShell launches as your default shell. If you want, you can change this default shell to something of your liking, like Command Prompt or Ubuntu (Linux). This is done by changing a bit of code in the settings file.
Solutie
Pasi de urmat
You can set any shell available in Windows Terminal, including Command Prompt, Ubuntu (Linux), and Azure Cloud Shell, as the default in Windows Terminal. To do this, open the “Start” menu, search for “Windows Terminal,” and click the app in the results.

On the Windows Terminal window, click the down-arrow icon at the top and select “Settings.”

Windows asks how you want to open the settings file. Select “Notepad” in the list and click “OK.”

In settings, scroll to the section for the shell that you want to make the default. There’s a heading at the top of each section saying what each shell is for.
Now, copy the text that’s written next to “guid” in your shell section. You don’t need to copy the double quotes. Just copy the text inside of the quotes—including the brackets.

Scroll to the top of settings and find the “defaultProfile” field. Remove the text that’s written next to this field and paste your copied guid here. Press Ctrl+V to quickly paste your code.

Now, click File > Save in Notepad to save your changes.

Your selected shell is now the default shell in Windows Terminal. To make PowerShell the default shell again, copy PowerShell’s guid and paste it next to “defaultProfile” in the settings file.


Leave A Comment?