Situatie
To disable BitLocker with PowerShell commands on Windows 11 Pro, follow these steps:
Solutie
1. Open Start
2. Search for PowerShell, right-click the top result, and select the Run as administrator option
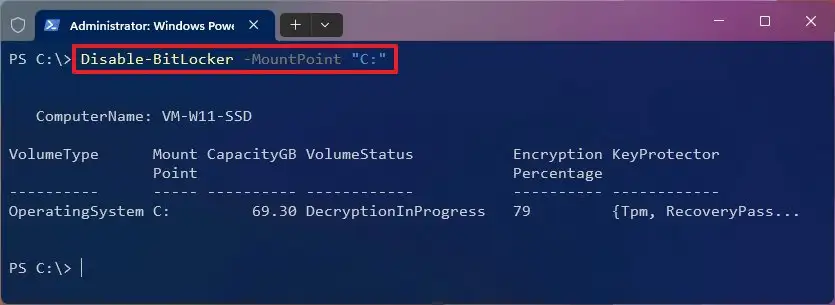
3. Type the following command to disable BitLocker on Windows 11 and press Enter:
Disable-BitLocker -MountPoint “C:”
4. (Optional) Type the following command to disable BitLocker for all drives on Windows 11 and press Enter:
$BLV = Get-BitLockerVolume
Disable-BitLocker -MountPoint $BLV
Once you complete the steps, the system will decrypt the drive and disable BitLocker permanently on Windows 11.
5. To suspend BitLocker with PowerShell commands on Windows 11 Pro, follow these steps:
6: Open Start
7. Search for PowerShell, right-click the top result, and select the Run as administrator option
8. Type the following command to suspend BitLocker on the system drive and press Enter:
Suspend-BitLocker -MountPoint “C:” -RebootCount 0
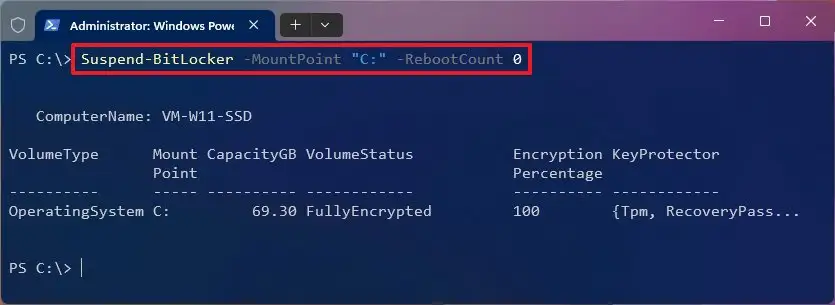
After you complete the steps 6 to 8, the system will temporarily disable BitLocker on the system drive, allowing you to perform tasks that might otherwise cause problems. The “-RebootCount 0” option specifies the number of times the computer will reboot before re-enabling BitLocker. You can change the number to a maximum of 15.
If you want to resume the protection immediately, you can use the same instructions outlined above, but in step 3, run the Resume-BitLocker -MountPoint “C:” command.
Leave A Comment?