Situatie
With this update, Microsoft introduced a feature called Reserved Storage. As the name suggests, Windows automatically began reserving a certain amount of space, which was primarily used for installing updates without any issues.
Since then, the reserved storage feature has been a part of Windows, and you can still find it on your Windows 11 system. At the time of its release, Microsoft announced that Windows would set aside at least 7GB of space as reserved storage, regardless of how much disk space you have. This means it doesn’t matter whether you have only 50GB or 500GB of space, Windows will allocate at least 7GB for reserved storage.
There may also be times when Windows does not have any update files to store in reserved storage. In such situations, Windows will allocate the reserved storage to temporary files created by installed apps and to system cache data in order to improve overall functionality. These temporary files and cache data are regularly monitored by Storage Sense, and once it determines that the temporary data is no longer necessary, it is automatically removed from reserved storage.
For instance, if you have 7GB of reserved storage and want to install a Windows update that is around 10GB in size, Windows will use the remaining 3GB from the available free storage on your computer. However, if you don’t have that extra 3GB of free space, you might encounter an error message or receive suggestions from Microsoft to free up some disk space.
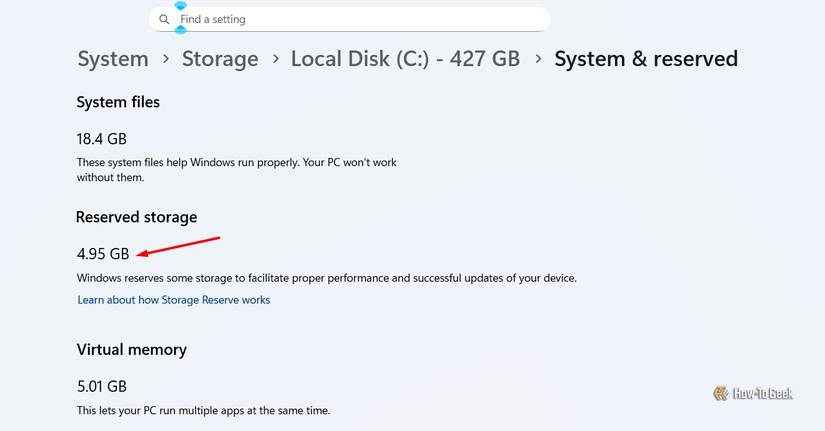
All that being said, to check how much reserved storage you have on your Windows 11 computer, open the Settings menu, then navigate to System > Storage > Show More Categories > System & Reserved. In the Reserved Storage section, you’ll find the amount of storage Windows has set aside. In my case, it’s 4.95GB.
Solutie
Usually, I would not recommend disabling reserved storage on your Windows 11 system. However, there may be times when you urgently need additional storage and cannot think of any files to delete. In such a situation, your first course of action should be to remove unnecessary items that are occupying important space on your Windows 11 system. If that doesn’t help, you can consider uninstalling optional features and unused languages to free up space on your device.
Get-WindowsReservedStorageState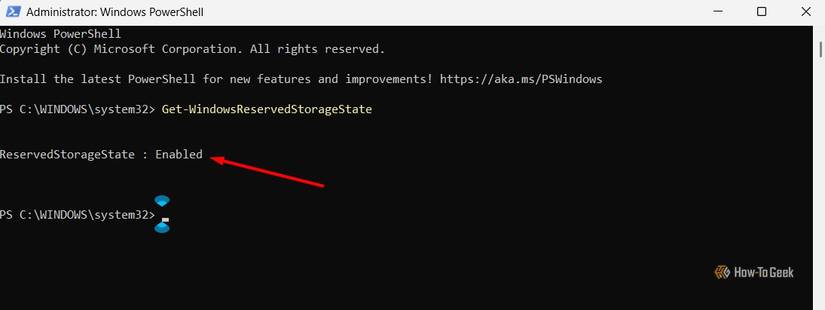
If you see the message “Reserved Storage is Enabled,” it means you can disable the reserved storage. To do so, type the following command and press Enter.
Set-WindowsReservedStorageState -State Disabled
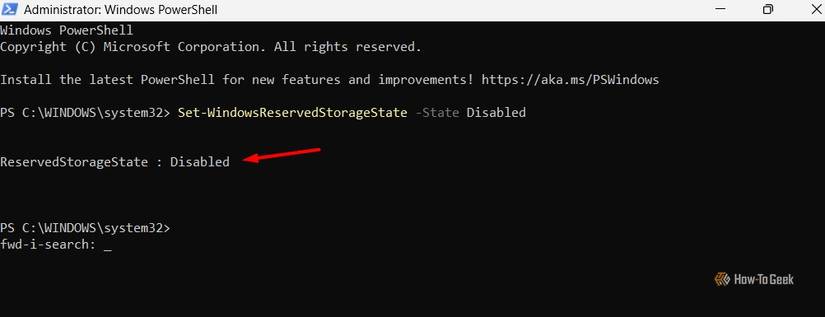
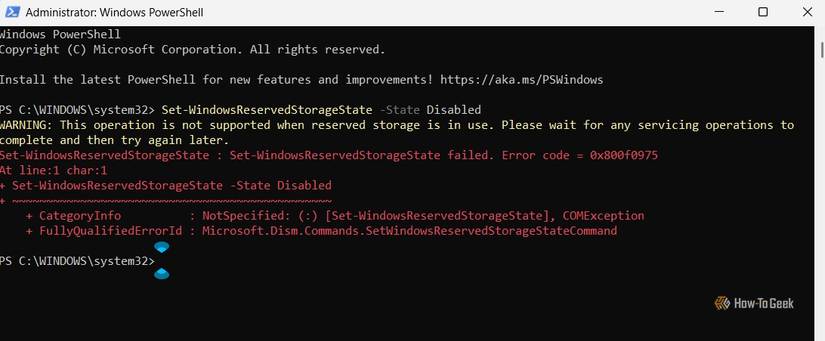
Windows will now quickly release the amount of reserved storage on the drive where the operating system is installed. However, you might encounter an error stating, “This operation is not supported when reserved storage is in use.” This means that a Windows update has been downloaded and needs to be installed. So, install the update before disabling reserved storage.
Set-WindowsReservedStorageState -State EnabledThis was all about reserved storage, how it functions, and how you can disable it. In essence, reserved storage is an important Windows setting that you can disable to gain a bit of extra free space on your computer. However, you should only take this approach if you are truly in need of additional storage on your device and cannot find any files to delete to create space.
Leave A Comment?