Situatie
Exchange admins have to regularly monitor the mailboxes on the server to ensure business continuity. For instance, they have to keep an eye on the size and quota of different mailboxes. This is because some users may not keep their mailbox tidy or archive items frequently which can lead to high storage usage.
The admins can create Exchange user mailbox size report for all users on the server to monitor mailbox storage. In this post, we’ll discuss the ways to create and schedule mailbox size reports in Exchange server 2019, 2016, 2013, 2010, and 2007.
Solutie
Pasi de urmat
You can create Exchange mailbox size report by using Get-MailboxStatistics cmdlet in Exchange PowerShell console. The Get-MailboxStatistics cmdlet can be used to obtain various details about a mailbox, such as the size of mailbox, number of messages it contains, etc. Below is a single-line script to obtain mailbox sizes.
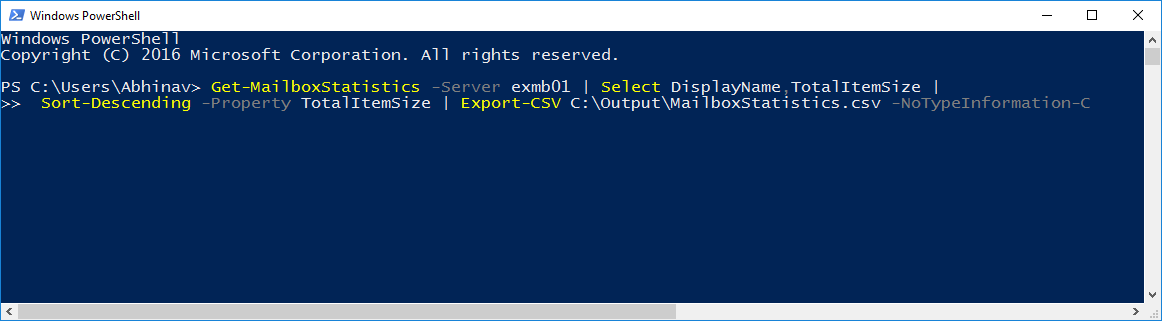
Running this script will provide you a report in CSV file format, saved as MailboxStatistics.csv. This report will list all the mailboxes on the server along with their sizes, starting from the largest mailbox to the smallest mailbox.
If you want to schedule a fresh and up-to-date Exchange user mailbox size report daily, you can do it with Windows Task Scheduler.
You can create a task with Windows Task Scheduler to automatically run the script for Exchange Mailbox size report for all users. You can schedule this task to run every day or every week, depending on your requirements. To create this task, follow these steps:
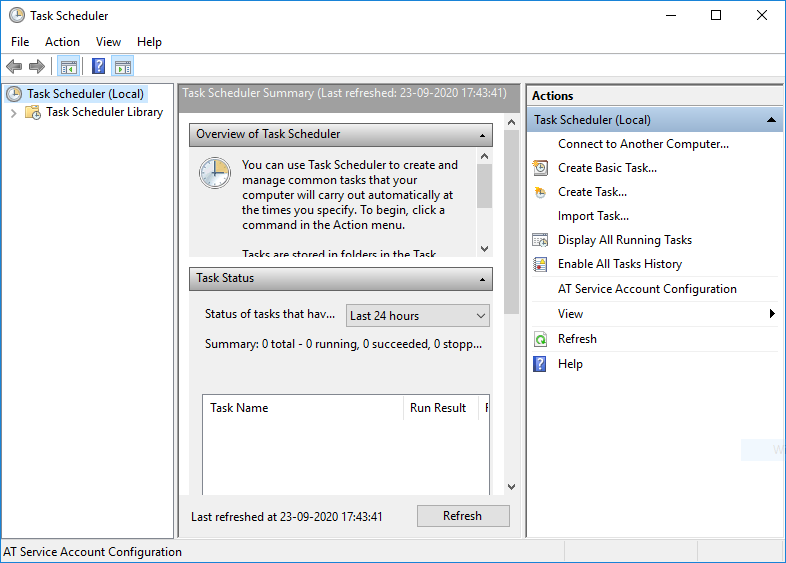
- Launch Windows Task Scheduler and click Create Basic Task
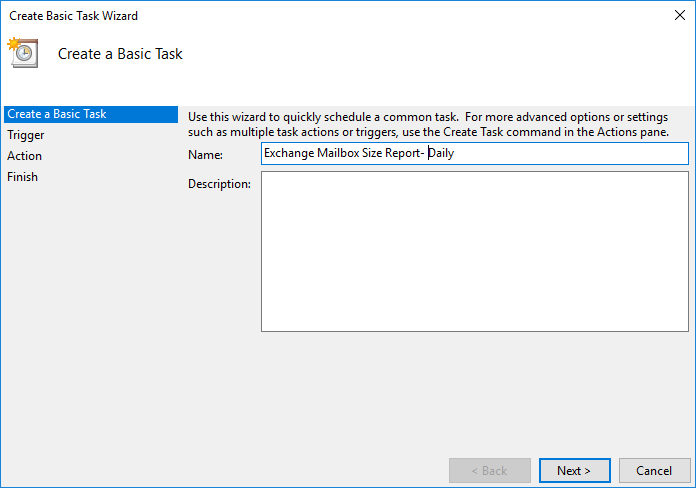
- In the Create Basic Task Wizard that pops up, enter the task’s name and description (optional). Then click Next
- Select the appropriate Trigger for initiating the task (Daily, for instance) which defines the frequency of the task, and click Next
- Select the time to run the task, and click Next
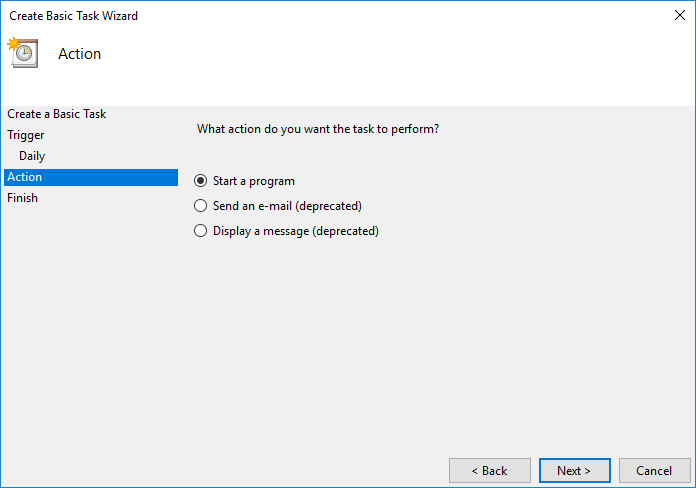
- For Action to perform, select Start a program, and click Next
- Enter the following in Program/script field in Start a Program section: C:\Windows\System32\WindowsPowerShell\v1.0\powershell.exe
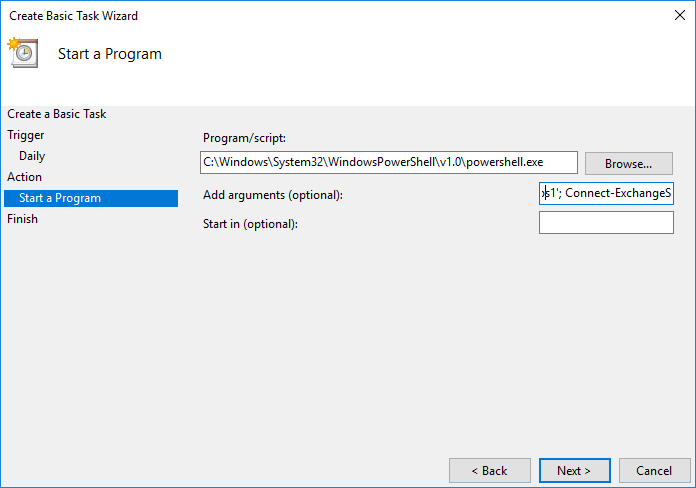
- In Add arguments field, enter the appropriate code depending on the Exchange server version you are using (refer to the table below) and click Next
| Exchange Server | Argument |
| Exchange 2019, 2016, and 2013 | -NonInteractive -WindowStyle Hidden -command “. ‘C:\Program Files\Microsoft\Exchange Server\V15\bin\RemoteExchange.ps1’; Connect-ExchangeServer -auto ; |
| Exchange 2010 | -version 2.0 -NonInteractive -WindowStyle Hidden -command “. ‘C:\Program Files\Microsoft\Exchange Server\V14\bin\RemoteExchange.ps1’; Connect-ExchangeServer -auto; < Report Generation Command >” |
| Exchange 2007 | -PSConsoleFile “C:\Program Files\Microsoft\Exchange Server\RemoteExchange.ps1″ Connect-ExchangeServer -auto; < Report Generation Command >” |
| Note: If you have changed the default location of installation directory of Exchange server on your system, change the path in the script accordingly. Also, replace with the single-line Get-MailboxStatistics script, shared in the beginning of this article. |
- Select “Open the Properties dialog” checkbox and click Finish.
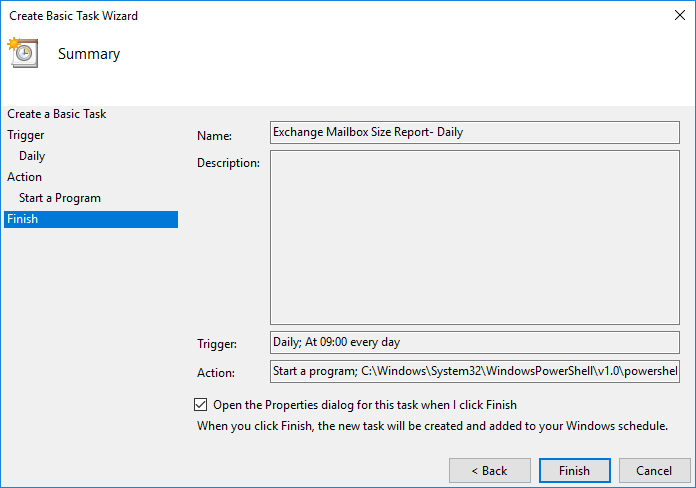
- In the properties window that pops up, select Run whether user is logged on or not and click Finish. You can also change the system account by clicking Change User or Group.

Leave A Comment?