Situatie
The Hyper-V role can only be enabled on Windows 10/11 Enterprise, Windows 10/11 Pro, Windows 10/11 Education. If you are running Windows 10/11 Home, you cannot find Hyper-V role in the system.
Solutie
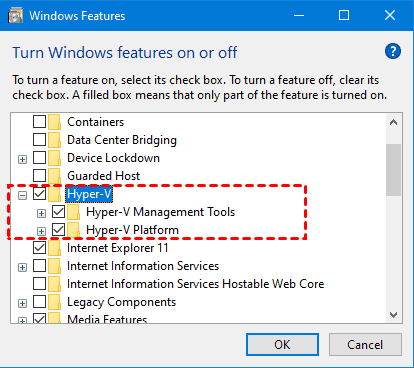
1. Launch Control Panel, open Turn Windows feature on or off (or you can search for “Windows features” on taskbar) to check if the Hyper-V option has been checked.
2. If not, go to the opened Windows Features wizard, select all the Hyper-V features and click OK. This process may take a while to apply the changes on Windows 11 Pro.
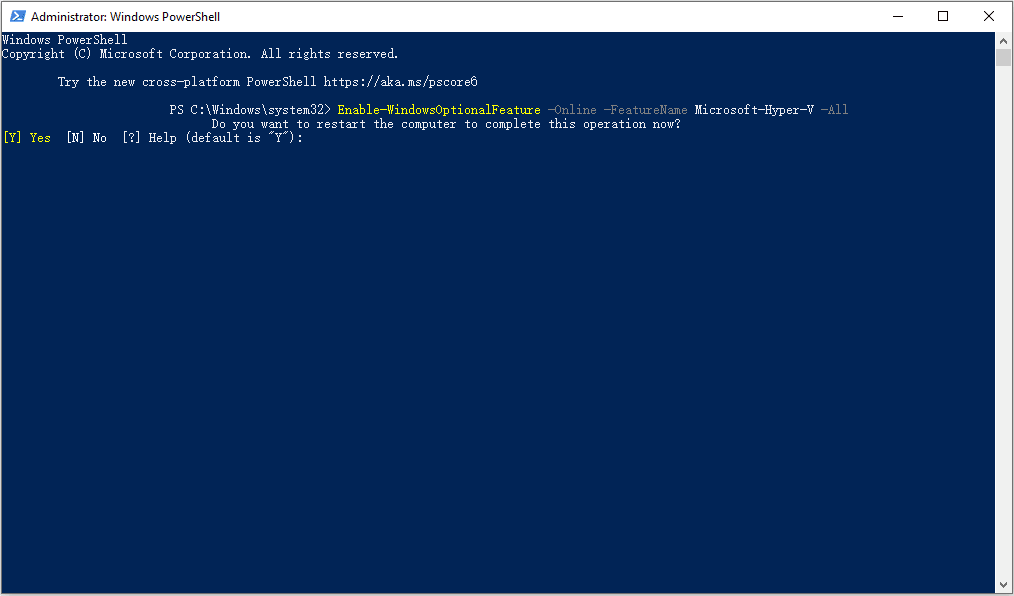
2. Enable Hyper-V on Windows 11 with Windows PowerShell
- Press Win key and type “PowerShell” to run it as administrator.
- Type the command and press Enter to run the cmdlet:
- After the process is completed, restart your PC. And then the Hyper-V should be enabled on your computer.
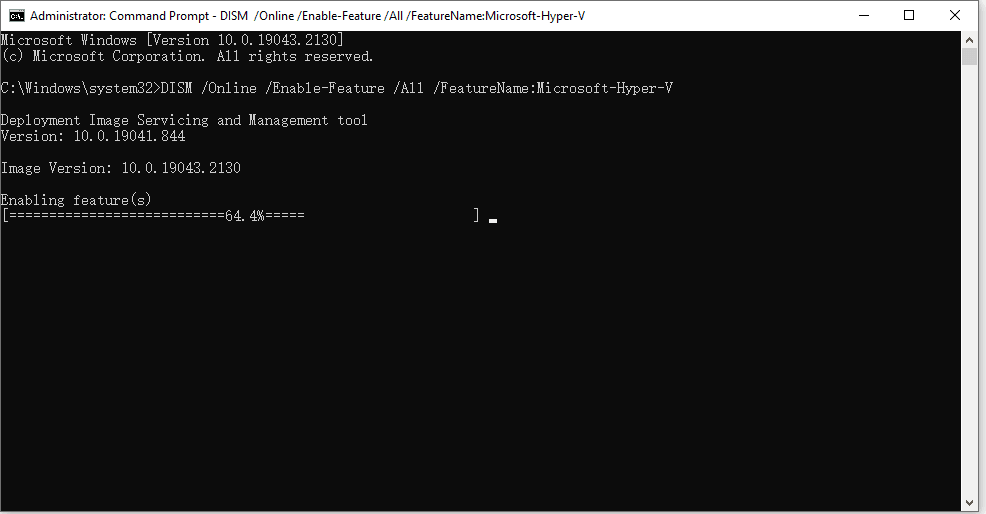
Enable Hyper-V on Windows 11 using Command Line
1. Search for “CMD” and choose Run as administrator
2. Type the following command and press Enter to run it:
3. The DISM tool will start installing the Hyper-V feature. Once the progress reaches 100%, you need to restart your computer to complete the operation.
Leave A Comment?