Situatie
Solutie
Homebrew is a package manager that many Mac users have come to rely on. Using the command-line brew program, you can install a huge range of software, ranging from other command-line tools to full-blown GUI apps. At its simplest, this is just a case of running brew install:
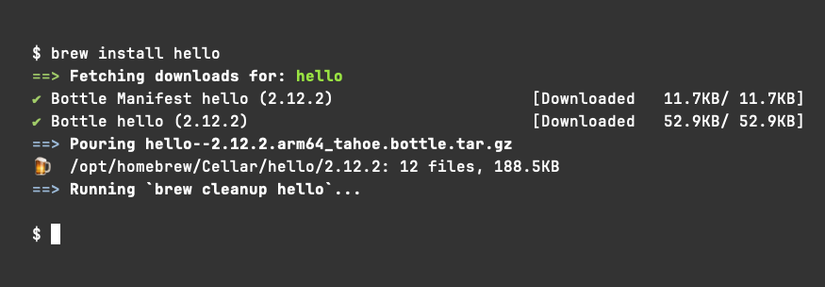
This command will, for example, install the hello package, a sample package just to test that Brew is running OK. If you don’t already use it, you should install Homebrew right away.
Homebrew Bundle is a brew feature that lets you manage and automate your brew installations. Using it, you can list the software that you want on a system, then run brew bundle to do everything automatically. This includes installing missing formulae, upgrading casks, and even managing software from the Mac App Store.
Bundle works by reading a Brewfile, which lists the packages you want installed. You can have a single Brewfile to manage everything installed on your system, user-specific Brewfiles, or even per-project Brewfiles to isolate dependencies.
How to create a Brewfile
A Brewfile is a text file that you can easily edit by hand. At its simplest, a Brewfile is a list of the individual formulae you want to have installed:
brew "jq"brew bundle add "jq"
By default, this will create a file named Brewfile in your current directory, if one doesn’t already exist. If you want to use a different file, pass a path using the –file option:
brew bundle --file=~/my-brewfile add "jq"
If you don’t even want to think about the location of this file, use the –global option instead:
brew bundle --global add "jq"
This will cause Brew to use a common file that’s unique to your user, typically somewhere in your home directory.
Once you’ve got a Brewfile you’re happy with, you can use it to keep packages up-to-date and consistent. To make sure all software listed in a Brewfile is installed, use the default install subcommand and pass the location of your Brewfile via the –file argument:
brew bundle install --file=./my.Brewfile
Brew will check the packages in your Brewfile and check their current status on your system. It will tell you if each package is already in use, or if it was installed or upgraded:
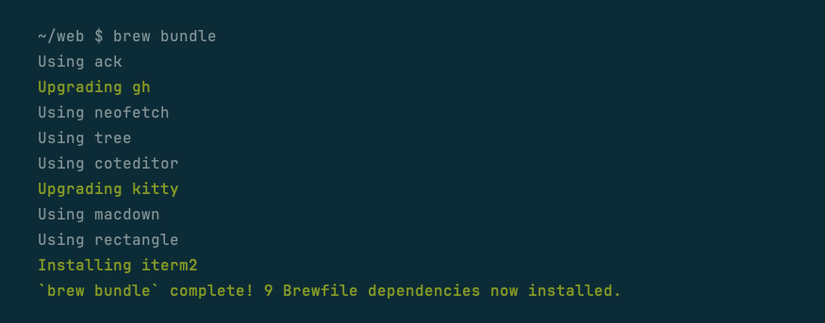
Note that brew bundle’s job isn’t necessarily to install software, but to ensure you have that software installed via brew. So anything that is already installed will be left alone, unless it needs to be updated.
Tips and tricks to manage installations with Brewfiles
brew bundle --global dump
The dump command is a great way to get started, but you’ll probably be horrified by the number of packages you’ve installed and forgotten about. Take this opportunity to remove anything you no longer want from your Brewfile; it will then be removed when you run brew bundle.
If you use the –describe option with dump, the resulting Brewfile will contain a short description of each package. This is very useful when you’re trying to work out what you have installed!
Homebrew will leave packages installed, even if you remove them from your Brewfile—unless you tell it to clean them up. You can do so with a subcommand:
brew bundle cleanup
You can also use an option:
brew bundle install --cleanup
The latter lets you install, upgrade, and clean up, all at once.
If you find brew bundle useful and want to explore the limits of what it can do, take a look at the advanced functionality Brewfiles support:
# install packages depending on the OS
brew "gnupg" if OS.mac?
brew "glibc" if OS.linux?

# install a vscode extension
vscode "editorconfig.editorconfig"

# Runs `brew install --cask --appdir=~/my-apps/Applications`
cask "firefox", args: { appdir: "~/my-apps/Applications" }
You can even use Brewfiles to install software from the Mac App Store, using the mas command-line tool:
mas "GitBar", id: 6686394657Brew is already a convenient way of installing software, but Brewfiles make it easy to keep your system up-to-date and consistent with others that you may use. Ensure you always have the software you expect to hand with a quick brew bundle install.
Leave A Comment?