Cum instalati extensia Turn Off The Lights
Pentru ochii sensibili la lumina recomand folosirea extensiei Turn Off The Lights. Extensia functioaneaza doar pentru video. Pasii de urmat pentru a instala extensia sunt urmatorii:
[mai mult...]Soluții pentru problemele tale IT
Pentru ochii sensibili la lumina recomand folosirea extensiei Turn Off The Lights. Extensia functioaneaza doar pentru video. Pasii de urmat pentru a instala extensia sunt urmatorii:
[mai mult...]Dorim sa mutam Controller-ul Unifi pe un alt Server/CloudKey, dar o parte din dispozitive sunt greu accesibile pentru a fi resetate fizic si adoptate in noul Controller. Asadar, cum rezolvam situatia data din fata pc-ului?
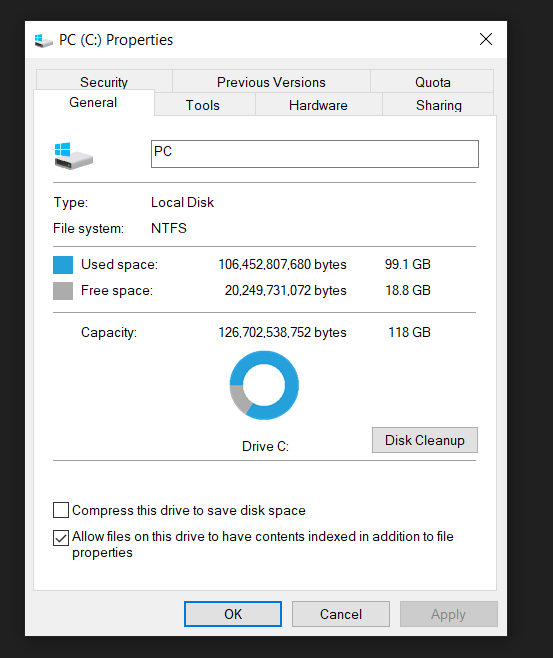
[mai mult...]Fiecare unitate de pe computer ar trebui să aibă un nume unic și semnificativ, dar de obicei sunt numite „Local Disk” sau „New Volume” în mod implicit. Literele de unitate se pot schimba atunci când este adăugat un disc nou, dar puteți avea o etichetă de unitate persistentă. În acest tutorial vă vom arăta diferite modalități de a eticheta sau redenumi o partiție în Windows 10.
Daca doriti mai multa securitate in OneNote 2016, atunci este posibil sa vreti a va proteja sectiunile notebook-ului cu ajutorul unei parole. Nu puteti proteja prin parola notebook-urile, ci numai sectiunile din acestea. Cu toate acestea, daca protejati fiecare sectiune dintr-un notebook, atunci, practic, intregul notebook este protejat.
[mai mult...]AirPods work seamlessly with the iPhone and iPad. But the process on the Mac is not at all transparent. Wondering how to connect and use your earbuds on your Mac with ease? We’ve got you covered.
[mai mult...]Hosting a Zoom meeting with a large number of participants can be tough. Adding a co-host to your session allows you to share host privileges, letting them take some of the workload like managing participants and screen sharing. Here’s how it’s done.
[mai mult...]