Situatie
By default, Windows Defender in Windows 10 does not scan mapped network drives. In this post, we will show you how to configure Windows Defender to make it scan mapped network drives during a full scan, for better and improved security and protection. Mapped network drives can always be scanned during a quick scan and custom scan.
You can configure Windows Defender to scan for malware and PUPs in the contents of mapped network drives when running a full scan, by using any of the three following ways;
- Group Policy Editor.
- Registry Editor.
- PowerShell.
Solutie
Pasi de urmat
Enable Scan Mapped Network Drives in Windows Defender
1] Via Group Policy Editor
Press Windows key + R. In the Run dialog, type gpedit.msc, hit Enter to launch Group Policy Editor.
In the left pane of Local Group Policy Editor, navigate to the following location:
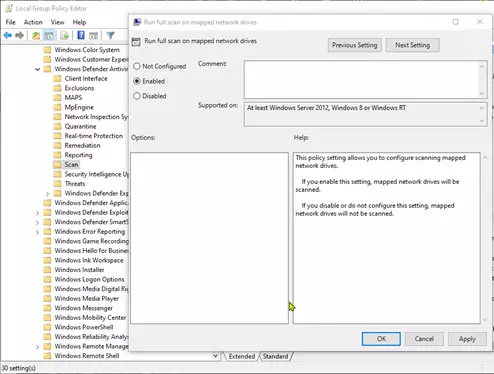
Computer Configuration > Administrative Templates > Windows Components > Windows Defender Antivirus > Scan
This policy setting allows you to configure scanning mapped network drives.
- If you enable this setting, mapped network drives will be scanned.
- If you disable or do not configure this setting, mapped network drives will not be scanned.
In the right pane of Scan in the Local Group Policy Editor window, double-click Run full scan on mapped network drives policy to edit its properties.
To include Mapped Network Drives during a full scan, select the radio button for Enabled. Otherwise, select the radio button for Not Configured or Disabled and click Apply > OK, to exclude Mapped Network Drives during a full scan.
Not Configured is the default setting.
2] Via Registry Editor
Press Windows key + R. In the Run dialog box, type regedit, hit Enter, click Yes on UAC prompt to launch Registry Editor.
Navigate to the following Registry key:
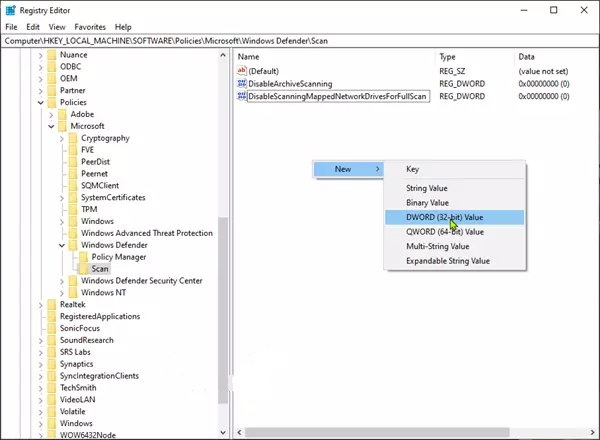
HKEY_LOCAL_MACHINE > SOFTWARE > Policies > Microsoft > Windows Defender > Scan
If you don’t have the Scan key, create it by right-clicking Windows Defender, then click New > Key.
Now, you can create a new DWORD (32-bit) Value named DisableScanningMappedNetworkDrivesForFullScan.
Now double-click this newly created value to edit its properties.
- To enable it, give it a value of 0
- To disable it, give it a value of 1
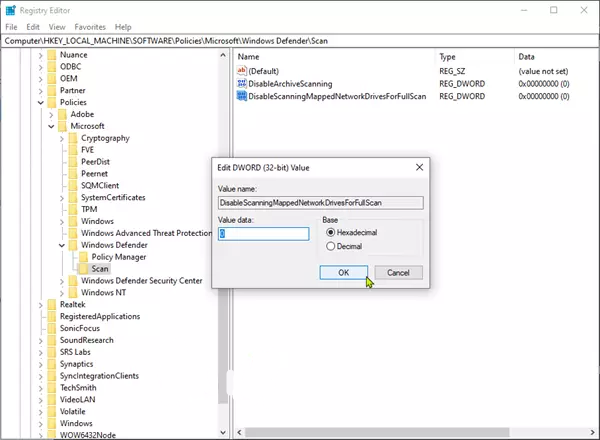
Restart your PC.
3] Using PowerShell
Open Windows PowerShell (Admin). In the PowerShell environment, type or copy-paste one of the following commands and hit Enter:
To enable scanning of network drives:
Set-MpPreference -DisableScanningMappedNetworkDrivesForFullScan 0
To disable scanning of network drives:
Set-MpPreference -DisableScanningMappedNetworkDrivesForFullScan 1
A restart is not required here. The setting is applied instantly.
Leave A Comment?