Situatie
There are two ways to connect a Switch Pro Controller to your Nintendo Switch: wirelessly with the “Sync” button and with a USB-C cable.
Solutie
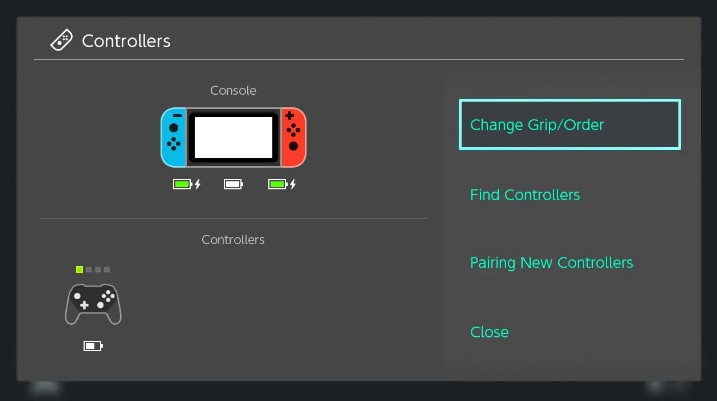
To wirelessly connect your Switch Pro Controller to your Nintendo Switch, go into the Controllers menu at the bottom of your Nintendo Switch’s screen (the icon has an image of a Joy-Con controller). Next, select “Change Grip/Order”.
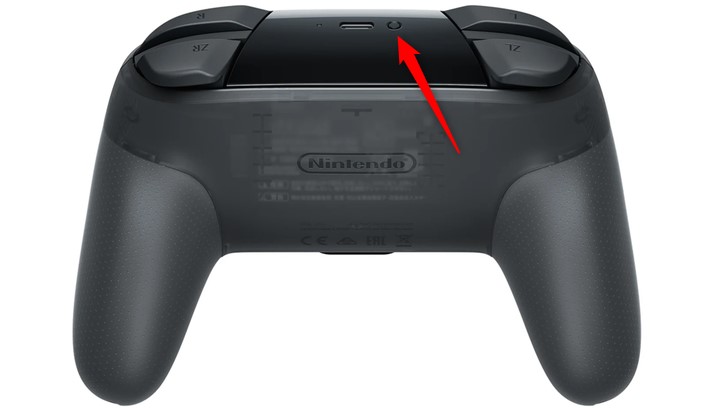
At this point, you need to press and hold (long-press) the “Sync” button to connect your Switch Pro Controller to your Nintendo Switch. The “Sync” button is located at the top of your controller; next to the USB-C port.
After you let go of the “Sync” button, you’ll see your Switch Pro Controller’s icon appear on-screen. Press the A button to confirm the connection and you’re done. This method also works with the Nintendo Switch Lite.
If you want to connect a wireless controller to your Nintendo Switch without the “Sync” button, all you need to do is connect your Switch Pro Controller and your Nintendo Switch with the USB-C cable that came with your Switch Pro Controller.
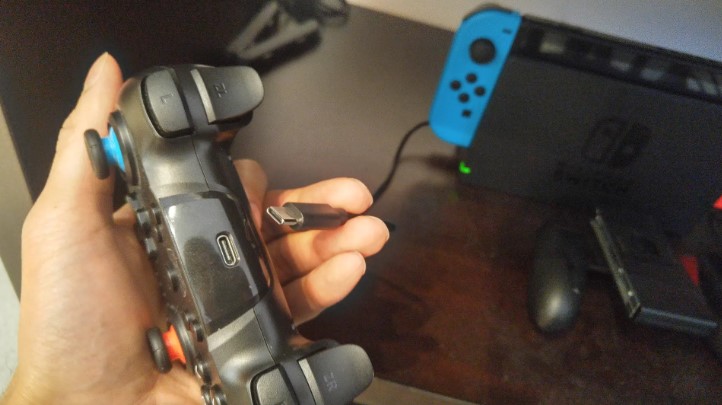
First, plug the USB-C end of the cable into the USB-C slot on top of your Switch Pro Controller. Then, plug the USB-A (also known simply as USB) end of your cable into one of the USB-A ports on your Nintendo Switch’s dock.
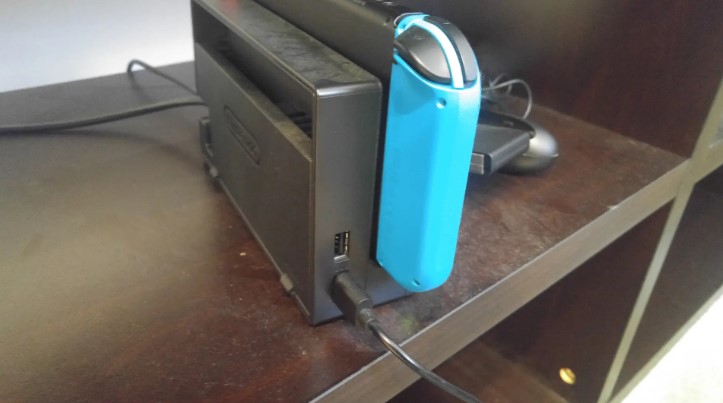
Once you do this, your Switch Pro Controller automatically connects with your Nintendo Switch. The USB-A ports (there are two of them) are on the bottom-left side of your Nintendo Switch’s dock. The Nintendo Switch (the tablet part) must be in the dock for this charging cable connection method to work.
Leave A Comment?