Situatie
Just because a Wi-Fi network is not broadcasting its name doesn’t mean you can’t connect to it. Here, we’ll show you a couple of ways to connect to a hidden Wi-Fi network on Windows 10.
Any security expert will tell you hiding your Wi-Fi network’s name doesn’t really offer security. You should go other routes if you’re looking to keep your home network secure. As you’re about to find out, connecting to a hidden network is fairly straightforward. In both methods below, you’ll need the name and the password of the Wi-Fi network you want to connect to. So keep these details handy and then follow either method.
Solutie
A quick way to connect to a hidden Wi-Fi network on Windows 10 is by using the network icon on the Windows taskbar.
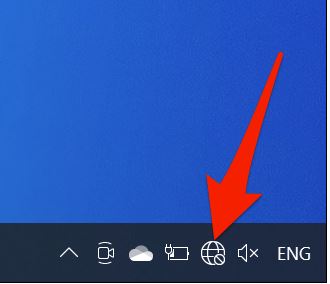
- To use this method, find the network icon (a globe icon) on your Windows taskbar and click it.
- In the menu that opens after clicking the network icon, select “Hidden Network.”
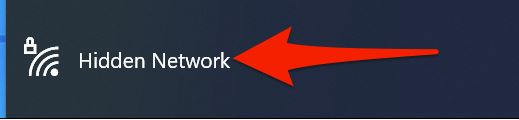
- From the expanded “Hidden Network” section, choose “Connect” to connect to a hidden Wi-Fi network.
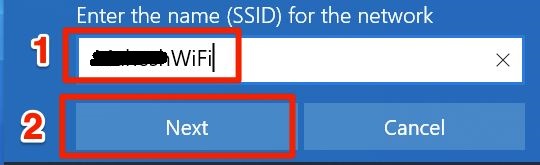
- The “Hidden Network” section will ask you to enter your hidden Wi-Fi network’s name. Click the text field in the section and type that name. Then hit “Next.”
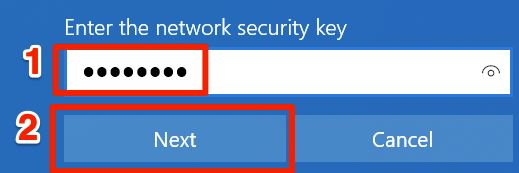
- If your specified Wi-Fi network is password-protected, click the text field in the “Hidden Network” section and type the password. Then click “Next.”
- The “Hidden Network” section will now ask if you’d like to make your PC discoverable on your hidden Wi-Fi network. You’ll see that Microsoft recommends you click “Yes” if you are on a home network. If you are on a public network (like cafes), click the “No” option.