Situatie
Whether you want to focus on a particular part of a picture, remove distracting detail from the edges of a graphic, or reshape an image to fit a specific layout, the Crop tool in Microsoft Word, Excel, and PowerPoint is a useful and versatile feature.
Solutie
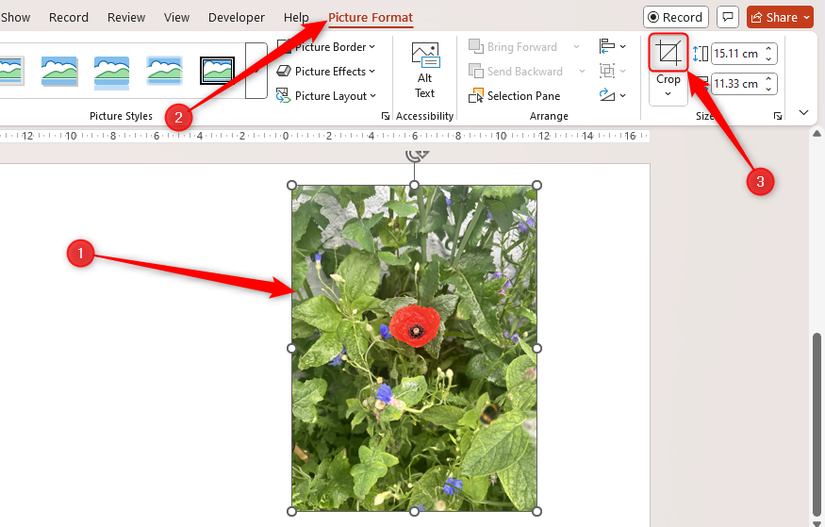
To manually crop a picture in Microsoft Word, Excel, or PowerPoint, select it, and in the Picture Format tab on the ribbon, click the top half of the split “Crop” button.
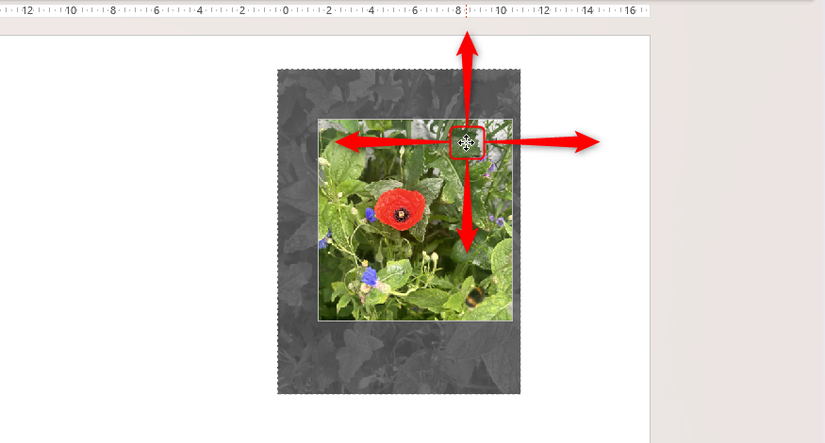
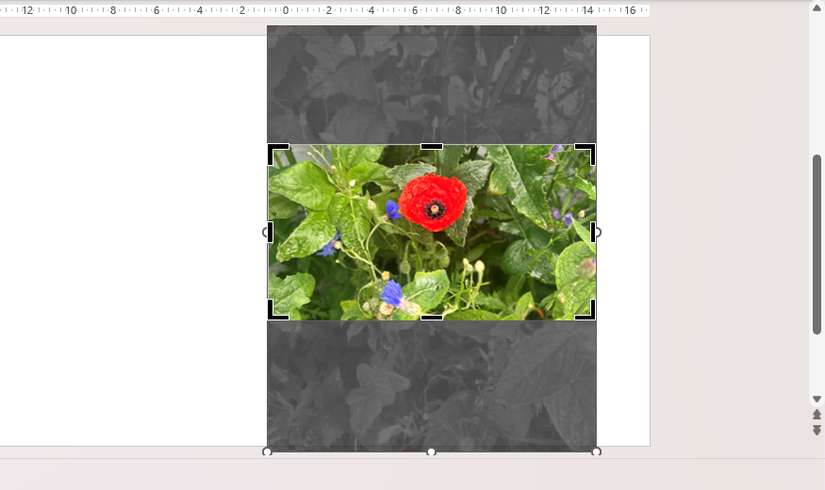
Then, click and drag the cropping handles inwards. The top, bottom, left, and right handles let you crop one side of the picture, and the corner handles let you crop two adjacent sides simultaneously.
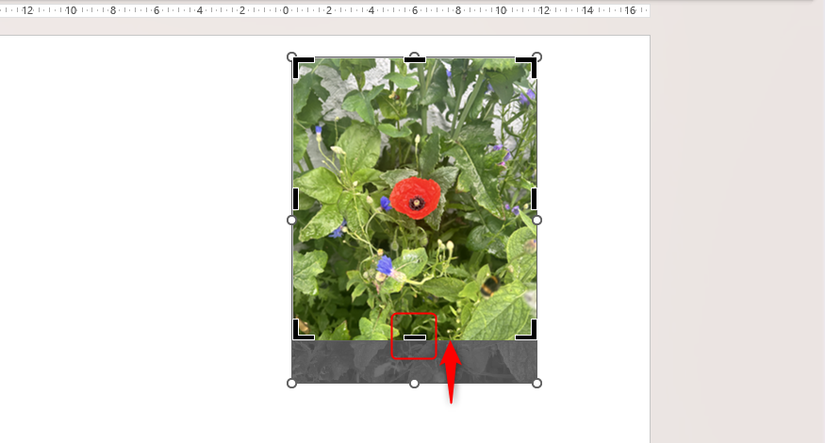
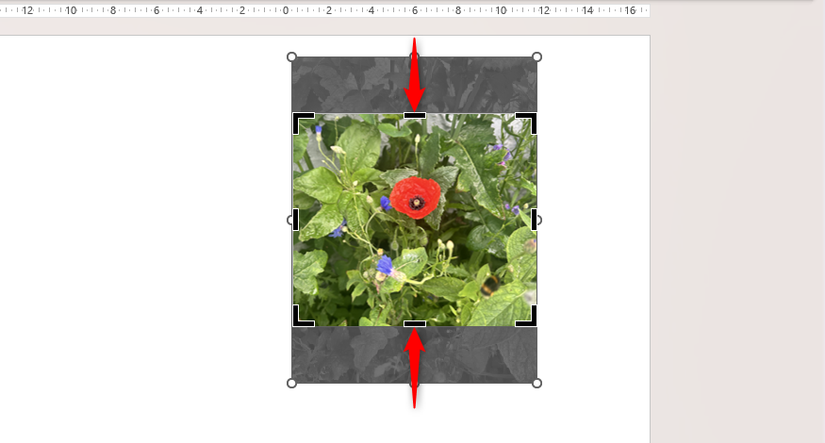
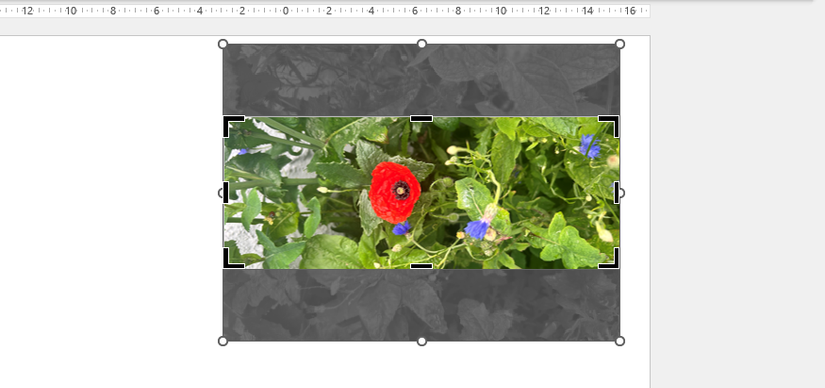
As you perform this action, notice that the cropped-out areas turn gray. To crop two opposite sides equally and simultaneously, press and hold Ctrl as you click and drag one of the top, bottom, left, or right cropping handles.
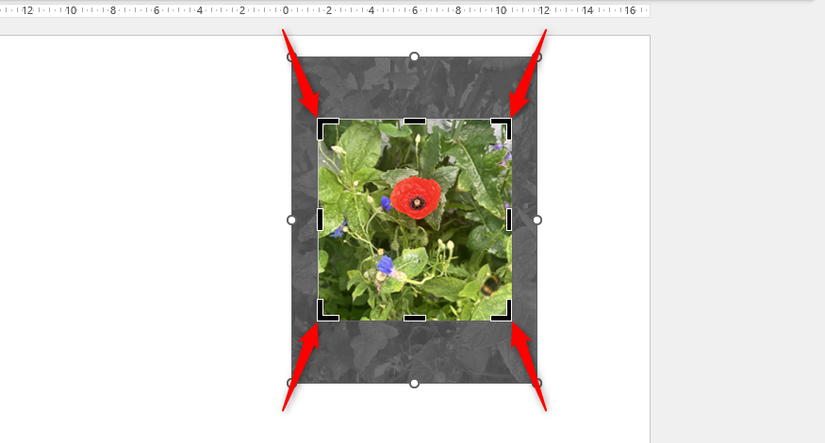
To crop all sides at the same time, press and hold Ctrl as you click and drag one of the corner cropping handles.
Once you release your mouse (and Ctrl if pressed), with the cropping tool still activated, you can click and drag the picture to adjust what is displayed within the cropped area.
You can also crop outwards to create a white border around the edge of the picture. This is handy if, for example, you want to add padding between a picture and the text surrounding it.
To accept the current cropping dimensions, press Esc or click away from the picture. Then, to see and adjust the cropped-out areas again, select the picture, and click the top half of the Crop button once again.
Cropping an In-Cell Picture in Microsoft Excel
There are two ways to insert a picture in Microsoft Excel: on top of cells or within a cell.
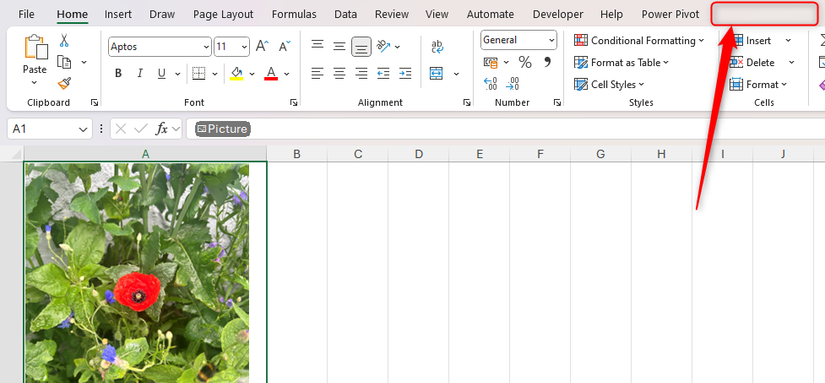
Pictures inserted on top of cells can be formatted and cropped via the Picture Format tab on the ribbon, per the instructions in the section above. However, as you can see in the screenshot below, when a cell containing an in-cell picture is selected, the Picture Format tab doesn’t appear.
To convert a picture that has been placed inside a cell via the IMAGE function into an over-cell picture, right-click the cell containing the image, hover over “Picture In Cell,” and click “Place Over Cells.” However, when you do this, the picture is no longer associated with the IMAGE function or the URL used to generate it.
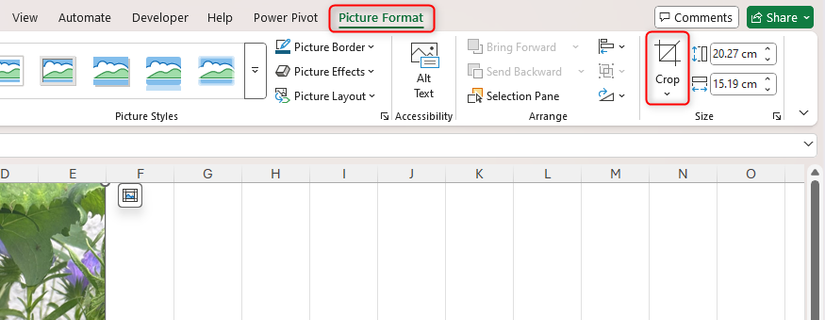
Now, the Picture Format tab appears on the ribbon, and you can use the cropping tools in the Size group of that tab.
Once you’ve completed the cropping process, select the picture, and click the “Place In Cell” icon to return it to its original in-cell state.
Suppose you want to change the shape of a picture in Microsoft Word, Excel, or PowerPoint. This is where the Crop To Shape tool is useful.
First, select the picture you want to reshape. Alternatively, select multiple pictures at the same time by holding Ctrl as you click them. Then, open the “Picture Format” tab on the ribbon.
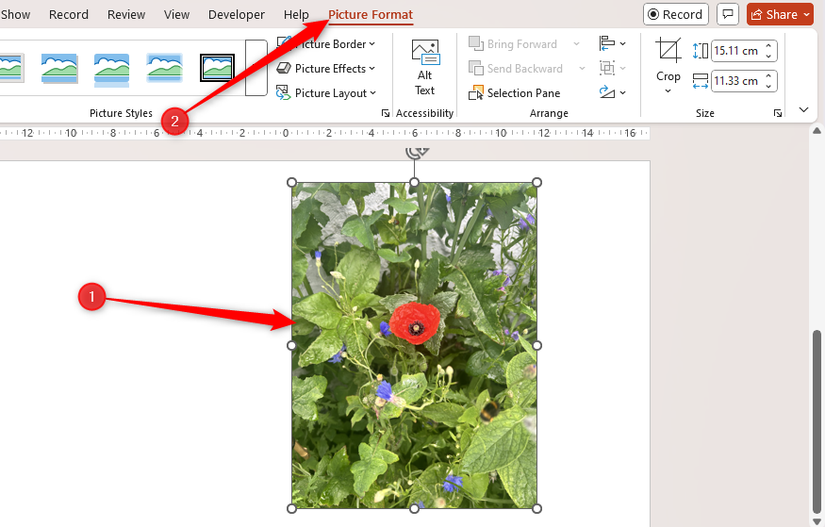
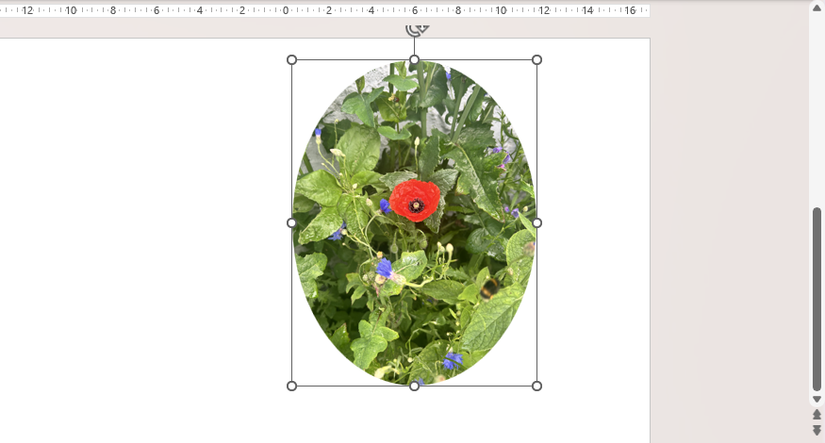
Now, click the bottom half of the “Crop” button, hover over “Crop To Shape,” and choose one of the options that appear.
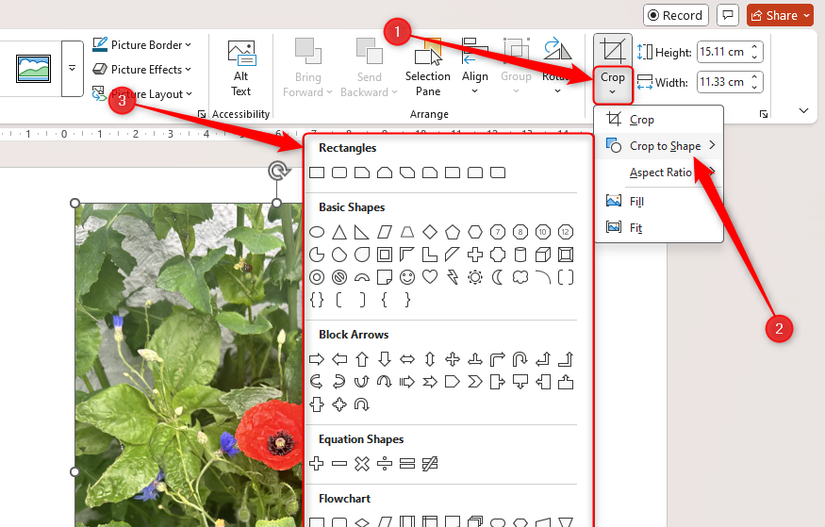
As soon as you select a shape, the cropping is applied, and the cropping tool is deactivated.
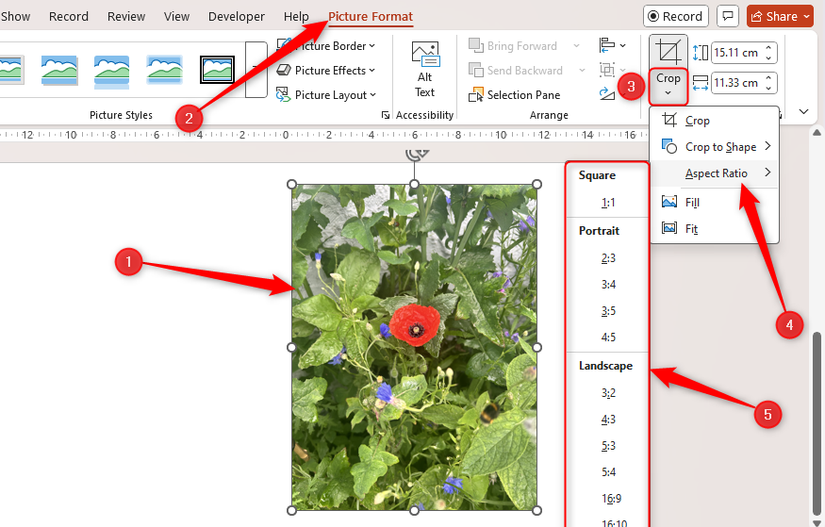
Cropping a Picture to an Aspect Ratio in Microsoft Word, Excel, and PowerPoint
To do this, select a picture, and click the bottom half of the split “Crop” button in the Picture Format tab on the ribbon. Then, hover over “Aspect Ratio,” and select one of the options.
Next, click and drag the picture so that the section you want to display fits inside the cropping area.
When you’re done, press Esc or click away from the picture.
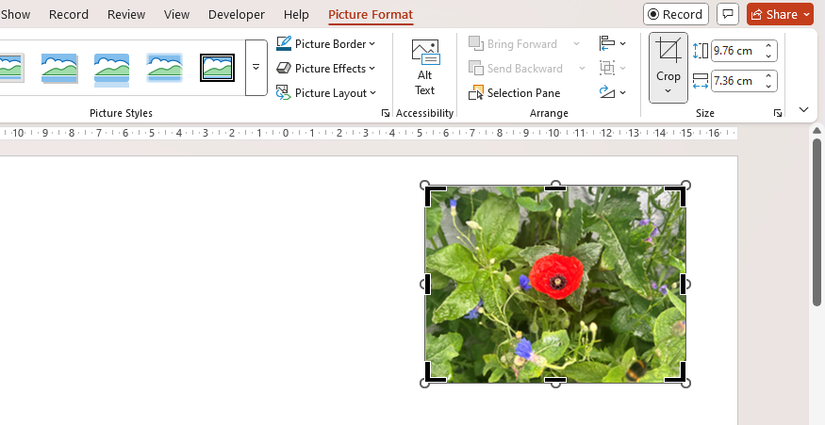
Now, if you change the height dimension of the picture by clicking the arrows in the Height field of the Size group (or typing a new dimension), the Width field adjusts automatically to maintain the selected aspect ratio.
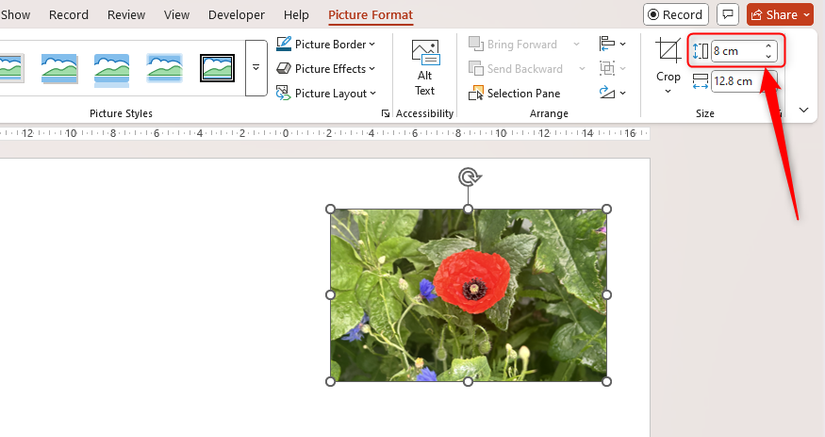
This is particularly handy if you have set various pictures to the same aspect ratio and want them to all be the same size.
Cropping a Picture to Fill and Fit in Microsoft Word, Excel, and PowerPoint
The Fill and Fit cropping tools in Microsoft Word, Excel, and PowerPoint are useful when you want to fill an existing shape with a picture, or when you want to revert a picture to its original aspect ratio.
Filling a Shape With a Picture in Word, Excel, and PowerPoint
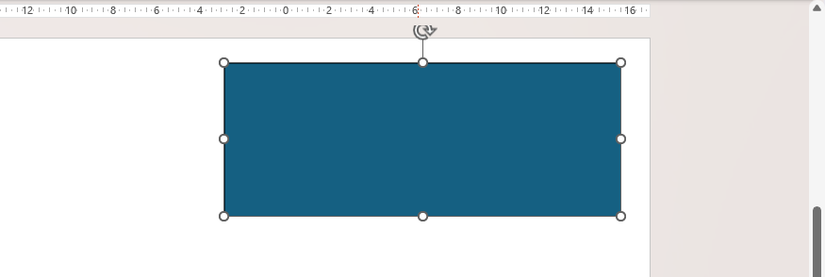
Let’s say you have a shape in a file and want to fill it with a picture.
To do this, select the shape, and in the Shape Format tab on the ribbon, expand the “Shape Fill” drop-down menu, and click “Picture”.
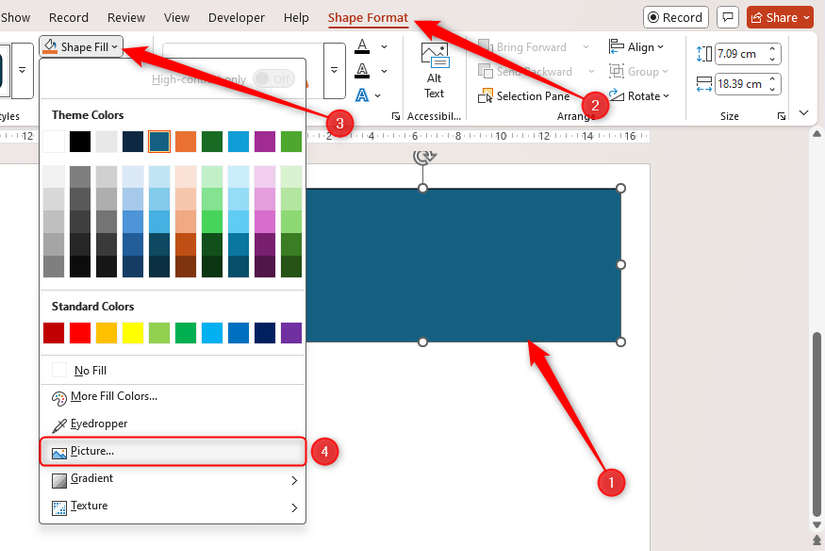
Then, locate and insert the picture.
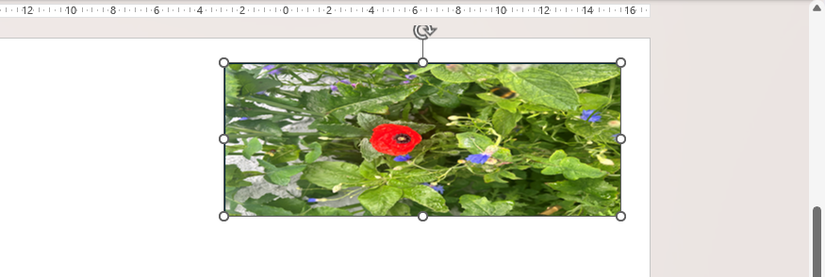
If the shape you created has a different aspect ratio from the picture with which you want to fill it, the image appears stretched.
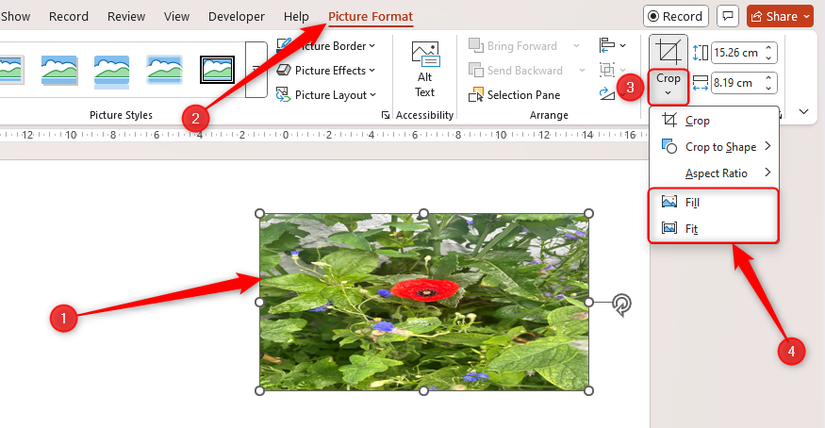
To fix this, open the “Picture Format” tab on the ribbon, click the bottom half of the “Crop” button, and click either “Fill” or “Fit,” depending on how you want the picture to appear.
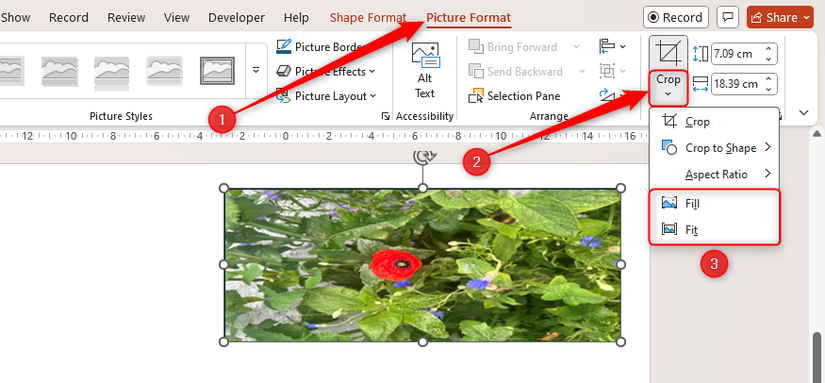
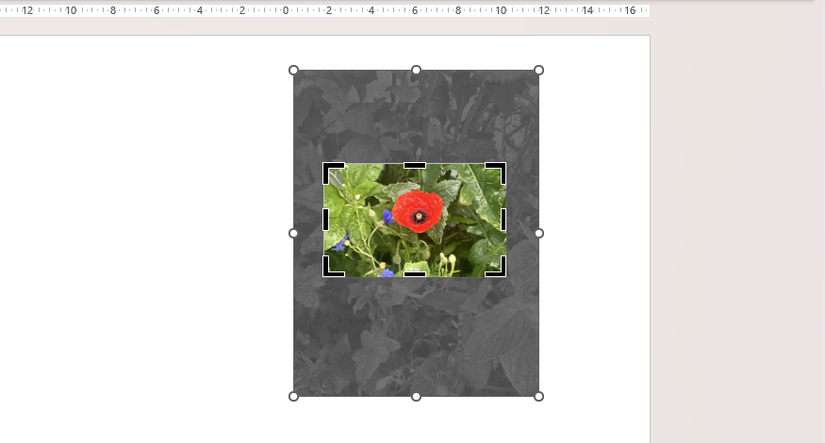
Fill: If the picture is wider than the shape you created, the picture fills outwards horizontally, cropping out the left and right. If the picture is taller than the shape you created (as in the screenshot below), the picture fills outwards vertically, cropping out the top and bottom.
Fit: The original aspect ratio of the picture is restored, and the whole picture fits inside the placeholder area.
After filling or fitting the image into the shape, click and drag the picture or use the cropping handles to make any further adjustments if necessary.
Reverting a Picture to its Original Aspect Ratio in Word, Excel, and PowerPoint
If the aspect ratio of a picture has been altered by clicking and dragging one of the top, bottom, left, or right resizing handles, you can revert the picture to its original aspect ratio while filling or fitting it to a placeholder.
Fill: If the picture has been stretched horizontally, and you click “Fill,” the picture fills outwards vertically, cropping out the top and bottom (as in the screenshot below). If the picture has been stretched vertically, clicking “Fill” fills the picture horizontally, cropping out the left and right.
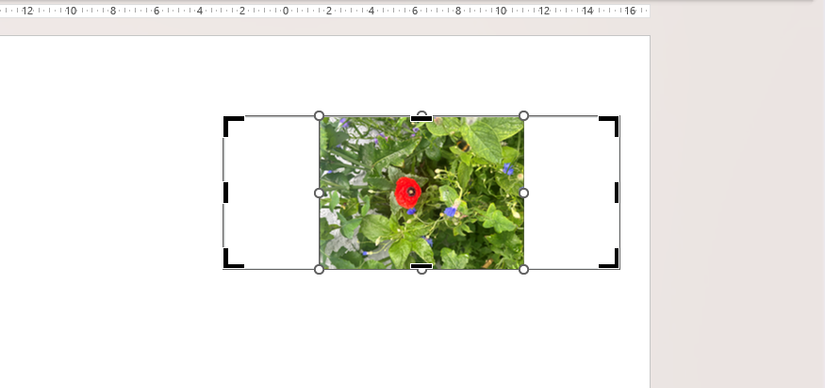
Fit: Selecting a stretched picture and clicking “Fit” resizes the whole image so that it fits entirely within the placeholder and reverts to its original aspect ratio, with empty space filling the proportions that don’t match.

Deleting Cropped Areas in Microsoft Word, Excel, and PowerPoint
When you crop an image in Word, Excel or PowerPoint, the areas you cropped out are not removed from the file. This means that the image retains its original size in the file’s metadata, and if you share the file with others, they may be able to revert the picture, revealing the areas you cropped out.
However, you can force the program to completely remove the cropped areas, thus reducing the file size and ensuring the picture retains the cropped modifications.
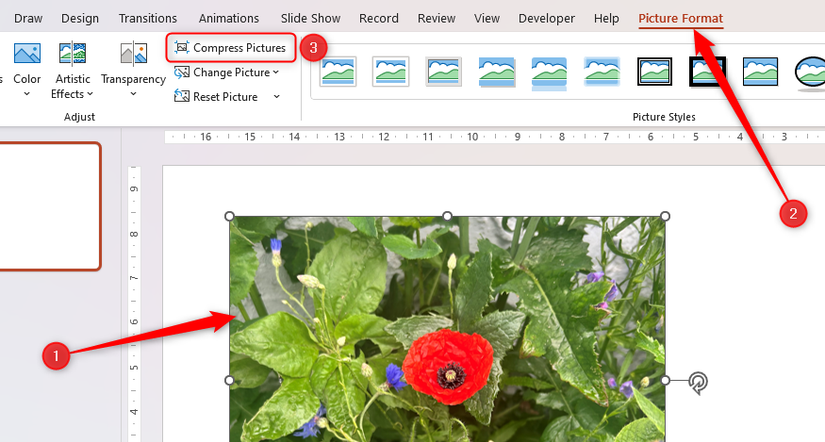
To do this, select the cropped picture, and in the Adjust group of the Picture Format tab on the ribbon, click “Compress Picture.”
Next, in the Compress Pictures dialog box, check “Delete Cropped Areas Of Pictures”
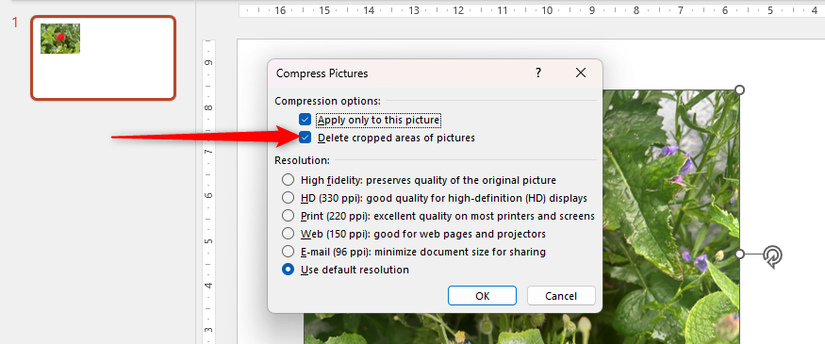
Before you click “OK,” decide whether you want to apply this change to the selected picture only or all pictures in the file by checking or unchecking “Apply Only To This Picture”. Now, when you select the picture and click “Crop” in the Picture Format tab on the ribbon, you’ll see that the gray cropped areas have disappeared.
The only way to recover the deleted cropped areas is through the Undo action (Ctrl+Z). If AutoSave is activated, you can undo the deletion until the file is closed. However, if AutoSave is deactivated, as soon as the file is saved manually, the deletion cannot be undone.
As well as cropping pictures in Microsoft Word, Excel, and PowerPoint, you can also remove picture backgrounds. This is particularly handy if you want to emphasize a certain part of a picture or remove distracting details.
Leave A Comment?