Situatie
Steps:
- Create a Google Cloud Account
- Create a Project
- Create a Kubernetes Cluster
- Install Google Cloud SDK
- Initialize Google Cloud SDK
- Set kube config
- Push Image to the Container Registry
- Deploy Kubernetes Resources
- Create an Ingress Load Balancer
- Run Kubernetes Web UI Dashboard
Solutie
Pasi de urmat
Create a Google Cloud Account
First things first, go to https://cloud.google.com/ to sign up for a Google Cloud account if you do not already have one. If you already have an account, sign in, otherwise click ‘Get Started for Free’ and create a new account.
Sign in and go to console Home.
Create a Project
If you do not have a project, click the drop down in the header toolbar and create a new project by clicking the ‘NEW PROJECT’ button.
If you already have a project, click the drop down in the header toolbar and select your project, then click the ‘Open’ button.

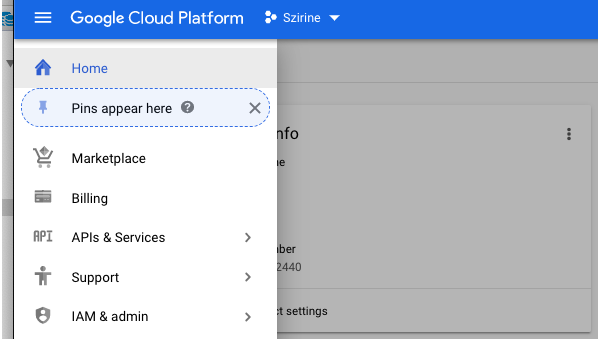
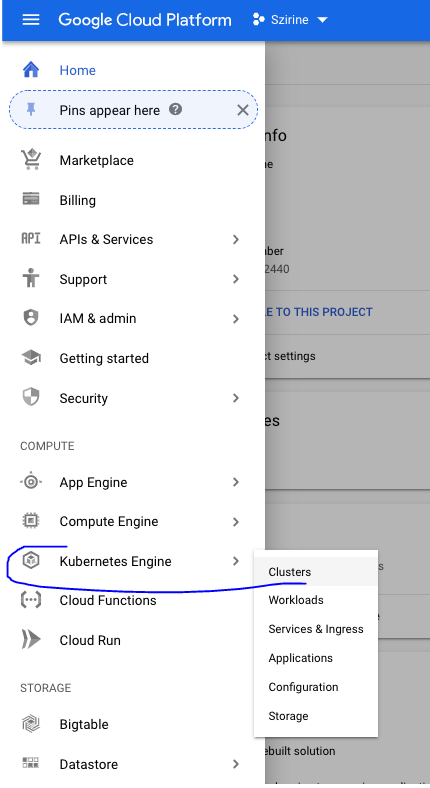
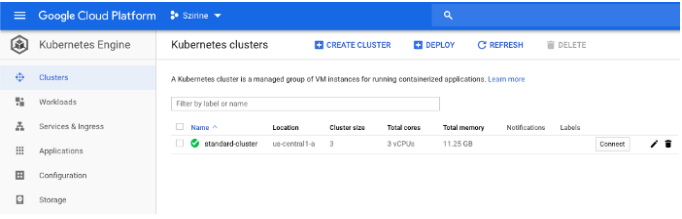
Go to the main navigation menu drop down and select Kubernetes Engine > Clusters:
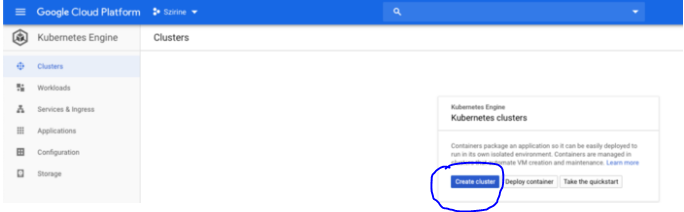
In the Clusters overview, click the ‘Create cluster’ button
Configure your cluster as needed. Just be aware that if you choose the ‘Machine type’ to be too small, your containers might not have sufficient capacity to deploy.
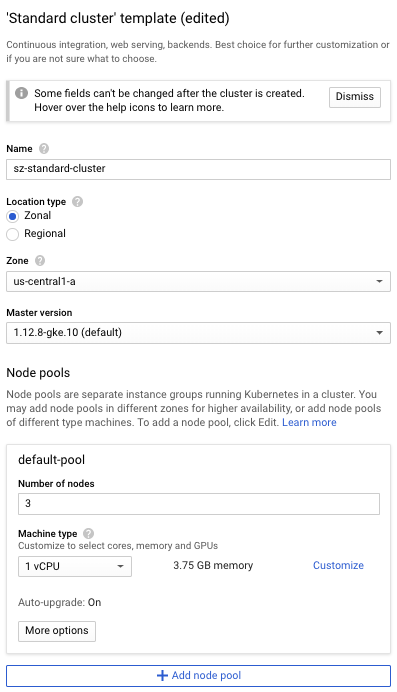
Click the ‘Create’ button, after a few minutes your new Google Kubernetes Engine (GKE) cluster will be ready.
Install Google Cloud SDK
To access your new GKE cluster from your client, you need to install the gclouc cli that is included in the Google Cloud SDK.
Go to https://cloud.google.com/sdk and follow the instructions to install the SDK on your client platform, e.g. click the button for ‘INSTALL FOR MACOS’ if your client is a Mac OSX.
Initialize Google Cloud SDK
$ gcloud init
Welcome! This command will take you through the configuration of gcloud.
Settings from your current configuration [default] are:
compute:
  region: us
  zone: us-central1-a
core:
  account: remkohdev@gmail.com
  disable_usage_reporting: 'True'
  project: szirinePick configuration to use:
[1] Re-initialize this configuration [default] with new settings
[2] Create a new configuration
Please enter your numeric choice:
Update Google Clouds SDK components,
$ gcloud components update
Set kube config
By default, kubectl looks for a file named ‘config’ in the ‘~/.kube’ directory to access the API server of a cluster.
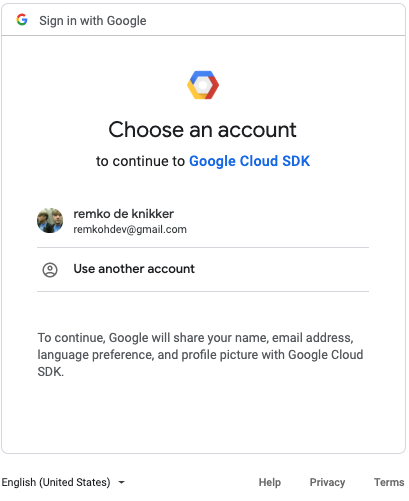
The ‘gcloud auth login’ command, obtains access credentials via a web-based authorization flow and sets the configuration.
To authenticate with Google Cloud SDK,
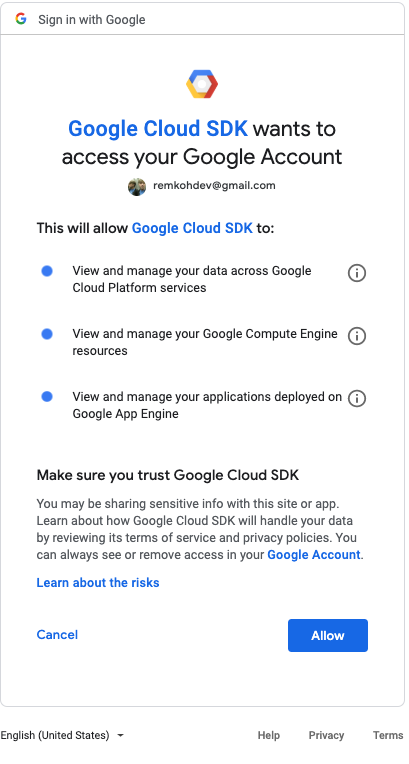
$ gcloud auth login If you need to use ADC, see: gcloud auth application-default --helpYou are now logged in as [remkohdev@gmail.com]. Your current project is [szirine]. You can change this setting by running: $ gcloud config set project PROJECT_ID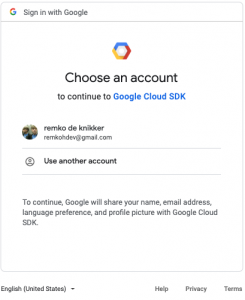
Click Allow
If you get an authentication error,
error: cannot construct google default token source: google: could not find default credentials.
See https://developers.google.com/accounts/docs/application-default-credentials for more information.
You can update an existing kube config file with the credentials of a specific cluster by running the following command,
$ gcloud container clusters get-credentials standard-cluster
You might get an error for missing location,
$ gcloud container clusters get-credentials standard-cluster
ERROR: (gcloud.container.clusters.get-credentials) One of [--zone, --region] must be supplied: Please specify location.
Add the location and change the config settings by including the zone, project settings for your cluster,
$ gcloud container clusters get-credentials standard-cluster --zone us-central1-a --project szirine
Fetching cluster endpoint and auth data.kubeconfig entry generated for standard-cluster.
You can set the location and project, zone and region settings separately by running the following individual commands,
$ gcloud config set project szirine
$ gcloud config set compute/zone us-central1-a
$ gcloud config set compute/region us
View your current-context,
$ kubectl config current-context
gke_szirine_us-central1-a_standard-cluster
Your client is now connected to the remote cluster on GKE.
Push Image to Container Registry
See Pushing and Pulling Images,
You can register the gcloud cli as a Docker credentials helper to access the Google Container Registry (GCR). GKE can use GCR to pull images for the Kubernetes resources.
I want to use gcloud authentication, to allow my ‘docker push’ command to push Docker images to the GCR.
Run the command,
$ gcloud auth configure-docker
WARNING: Your config file at
[/Users/remkohdev@us.ibm.com/.docker/config.json] contains these credential helper entries:{
  "credHelpers": {}
}These will be overwritten.The following settings will be added to your Docker config file
located at [/Users/remkohdev@us.ibm.com/.docker/config.json]:
{
  "credHelpers": {
    "gcr.io": "gcloud",
    "us.gcr.io": "gcloud",
    "eu.gcr.io": "gcloud",
    "asia.gcr.io": "gcloud",
    "staging-k8s.gcr.io": "gcloud",
    "marketplace.gcr.io": "gcloud"
  }
}
Do you want to continue (Y/n)? Y
Docker configuration file updated.
This will update the ‘~/.docker/config.json’ file by registering gcloud as credHelpers, and configure the ‘osxkeychain’ as the credentials store,
"credHelpers" : {
  "us.gcr.io" : "gcloud",
  "asia.gcr.io" : "gcloud",
  "staging-k8s.gcr.io" : "gcloud",
  "marketplace.gcr.io" : "gcloud",
  "gcr.io" : "gcloud",
  "eu.gcr.io" : "gcloud"
},
"credsStore" : "osxkeychain",
If you go to the GCR console, you will see an empty registry

Now, run your ‘docker build’, ‘docker tag’ and ‘docker push’, for example, I have a docker container for an API server called ‘szirine-api,’
$ docker build --no-cache -t szirine-api .
$ docker tag szirine-api:latest us.gcr.io/szirine/szirine-api:0.1.0
$ docker push us.gcr.io/szirine/szirine-api:0.1.0

Go to the GCR registry again and you should see your image being pushed to the registry

Now, the image is available to be pulled by the Kubernetes deployment resource,
spec:
  containers:
  - name: szirine-api
    image: us.gcr.io/szirine/szirine-api:0.1.0
Deploy Kubernetes Resources
Now you are set up and configured your kubectl access to GKE, we can deploy our Kubernetes resources.
I created the following bash script to deploy my resources for the application called Szirine API. You can of course look at great projects like Ansible, TerraForm, or other deployment and configuration tools, but I have found that writing my own ‘bash’ scripts and include them in my Jenkins CICD (Continuous Integration and Continuous Deployment), in many cases, is the leanest and cleanest thing to do.
echo '=====>delete dev-ns'
kubectl delete namespace dev-ns
echo '=====>create dev-ns'
kubectl create -f ./k8s/templates/dev-namespace.yamlecho '=====>delete szirine-api-configmap'
kubectl delete configmap -n dev-ns szirine-api-configmap
echo '=====>create szirine-api-configmap'
kubectl create -f ./k8s/templates/dev-configmap.yamlecho '=====>delete szirine-api-deployment<====='
kubectl delete deployment -n dev-ns szirine-api-deployment
# while resource still exists wait
rc=$(eval 'kubectl get deployment -n dev-ns szirine-api-deployment')
while [ ! -z "$rc" ]
do
    rc=$(eval 'kubectl get deployment -n dev-ns szirine-api-deployment')
done
echo '=====>create szirine-api-deployment<====='
kubectl create -f ./k8s/templates/dev-deployment.yamlecho '=====>delete szirine-api-svc<====='
kubectl delete svc -n dev-ns szirine-api-svc
# while resource still exists wait
rc=$(eval 'kubectl get svc -n dev-ns szirine-api-svc')
while [ ! -z "$rc" ]
do
    rc=$(eval 'kubectl get svc -n dev-ns szirine-api-svc')
done
echo '=====>create szirine-api-svc<====='
kubectl create -f ./k8s/templates/dev-svc.yamlecho '=====>delete szirine-api-hpa<====='
kubectl delete hpa -n dev-ns szirine-api-hpa
# while resource still exists wait
rc=$(eval 'kubectl get svc -n dev-ns szirine-api-hpa')
while [ ! -z "$rc" ]
do
    rc=$(eval 'kubectl get svc -n dev-ns szirine-api-hpa')
done
echo '=====>create szirine-api-hpa<====='
kubectl create -f ./k8s/templates/dev-hpa.yaml
Create an Ingress Load Balancer
You basically have your Kubernetes cluster set up and deployed, but you are not done yet, cause your services are inaccessible still.
GKE services are not made externally accessible from the Internet by default. To make your HTTP(S) web server application publicly accessible, you need to set up HTTP Load Balancing with Ingress. This will create an external IP address for your cluster.
apiVersion: extensions/v1beta1
kind: Ingress
metadata:
  name: basic-ingress
  namespace: dev-ns
spec:
  rules:
  - http:
      paths:
      - backend:
          serviceName: szirine-api-svc
          servicePort: 3000
Deploy the Ingress resources,
$ kubectl apply -f ./k8s/templates/dev-ingress.yaml
The Ingress resource is being created, wait until you see the external IP at which the Ingress service is available,
$ kubectl get ingress -n dev-ns basic-ingress
NAME            HOSTS     ADDRESS          PORTS     AGE
basic-ingress   *         35.244.199.246   80        2m
Note, the kubectl command might return an IP address already and the proxy Web UI might show the Ingress service already, but check the GKE dashboard to be sure the Ingress service creation has completed.

Run Kubernetes Web UI Dashboard
Kubernetes has a great Web UI Dashboard, but Google has deprecated the open source Kubernetes Dashboard on GKE and it is removed as an option in version 1.15.
To run it,
$ kubectl apply -f https://raw.githubusercontent.com/kubernetes/dashboard/master/aio/deploy/recommended/kubernetes-dashboard.yamlsecret "kubernetes-dashboard-certs" created
secret "kubernetes-dashboard-csrf" created
serviceaccount "kubernetes-dashboard" created
role.rbac.authorization.k8s.io "kubernetes-dashboard-minimal" created
rolebinding.rbac.authorization.k8s.io "kubernetes-dashboard-minimal" created
deployment.apps "kubernetes-dashboard" created
service "kubernetes-dashboard" created$ gcloud config config-helper --format=json | jq -r '.credential.access_token'
ya29.GlszBxfTEg-gK_1BEK8lnmTuCiXqprgPZQeaiBZGmMQ6xlE37P-c4yjCfTswYe29utQwZcjUMD_PJJYnpJcyOxaPOc8Gn7rDThKYFIX4PsMdjWD$ kubectl proxy
Starting to serve on 127.0.0.1:8001
Kubectl makes the Web UI Dashboard available at http://localhost:8001/api/v1/namespaces/kube-system/services/https:kubernetes-dashboard:/proxy/

Leave A Comment?