Situatie
Creating tables in Microsoft Word used to be so annoying that most people just did it in Excel, then imported it into Word. It’s worth giving Word 2013’s table tools a try, though, because the process is easier, and there are some new graphical options.
Solutie
Pasi de urmat
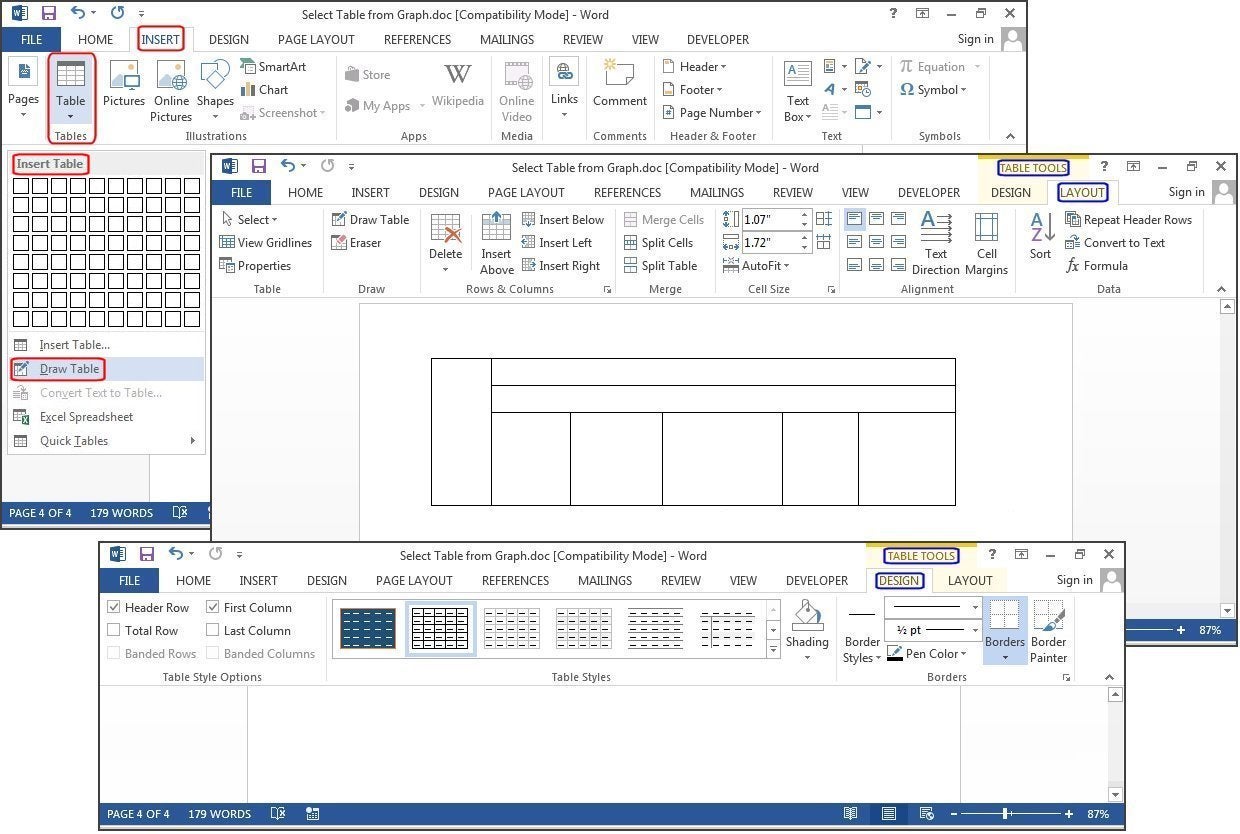
Click Insert> Tables > Draw Table. The cursor turns into a pencil, which you drag down and across to draw a box. Don’t worry about the exact dimensions; you can modify it any time.
Once the box is created, position the cursor inside the box and draw lines over and down for the columns and rows (one at a time). Don’t worry about crooked lines, either—Word straightens them as you draw.
To add or remove columns and/or rows later, click anywhere inside the table, then select the Design tab under Table Tools. Click the Draw Table button to add or continue drawing lines with your pencil cursor, or click the Eraser button to remove lines with the eraser cursor. To remove a line, just touch the line with the eraser cursor, and the line disappears.
Leave A Comment?