Situatie

Solutie
Pasi de urmat
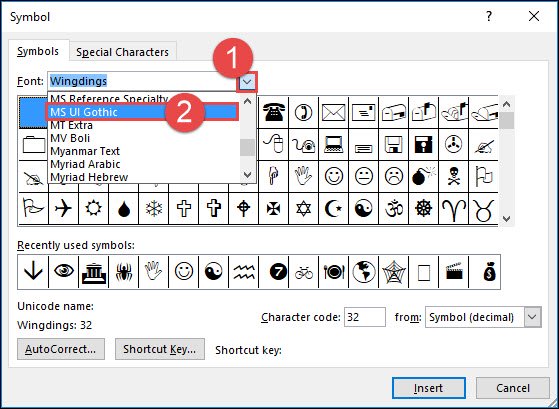
First, place your insertion point in the location in your document where you want to insert a music symbol. On the “Insert tab” on the Ribbon, click the “Symbol” button and then choose “More Symbols” from the drop-down menu.

In the Symbol window, open the “Font” drop-down menu and choose the “MS UI Gothic” font.
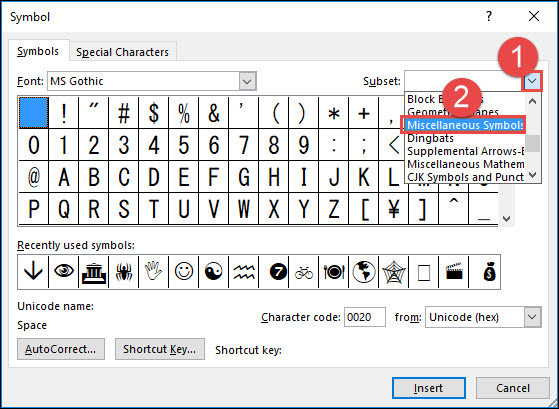
Open the “Subset” drop-down menu and select the “Miscellaneous Symbols” option there.
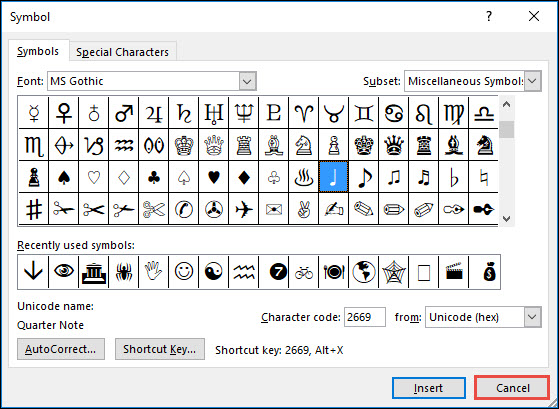
Scroll down a bit (four or five lines) and you’ll see seven music symbols:
- Quarter Note
- Eighth Note
- Beamed Eighth Note
- Beamed Sixteenth Notes
- Music Flat Sign
- Music Natural Sign
- Music Sharp Sign

Click the music symbol of your choice and then click the “Insert” button (or just double-click the symbol) to insert the symbol at your insertion point.
You can insert as many symbols as you want while the Symbol window is still open. When you’re finished inserting symbols, click the “Cancel” button.
In this example, we inserted a Beamed Eighth Note. The size of the inserted symbol depends on the original font size in your document. To enlarge the symbol, select the symbol, click the “Font Size” drop-down, and select a large font size. In the example below, we went with 72 points.
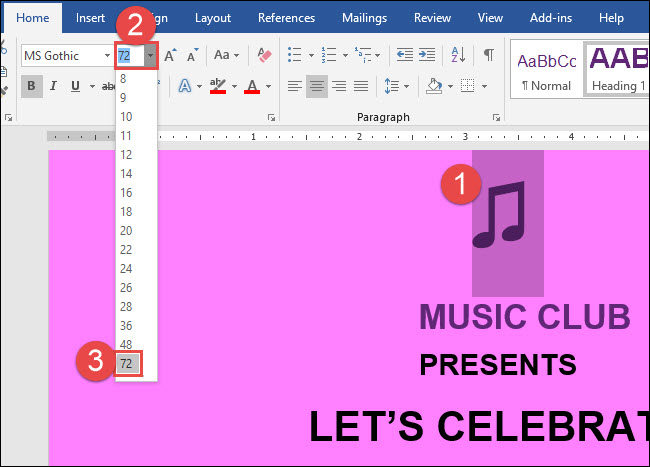
You can even go a step further and copy and paste your symbol several times to create a nifty musical border for your document.

Leave A Comment?