Situatie
The main reason to rename your audio input and output devices is to make your devices easily recognizable.
Solutie
To use a custom name for your speakers in Windows 10, first, open the Settings app. Do this by using the Windows+i keyboard shortcut.
- On the “Settings” window, click “System.”

On the “System” page, from the sidebar to the left, select “Sound.”

In the pane on the right, you will see an “Output” section. Here, click the “Choose Your Output Device” drop-down menu and select your speaker in the list. Then, beneath this drop-down menu, click “Device Properties.”

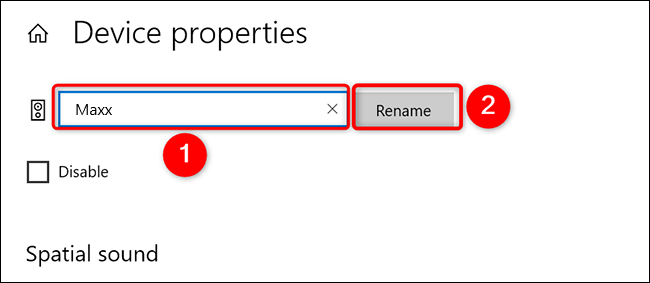
You’re now on the “Device Properties” page. At the top of this page, click the text field and type a new name for your speakers. Then, next to this name field, click “Rename.”
To rename microphones, on the right pane, you will see an “Input” section. Here, click the “Choose Your Input Device” drop-down menu and select your microphone in the list. Then, beneath this drop-down menu, click “Device Properties.”

You’ll see a “Device Properties” page. On this page, at the top, click the text field and enter a new name for your microphone. Then, next to this text field, click “Rename.”
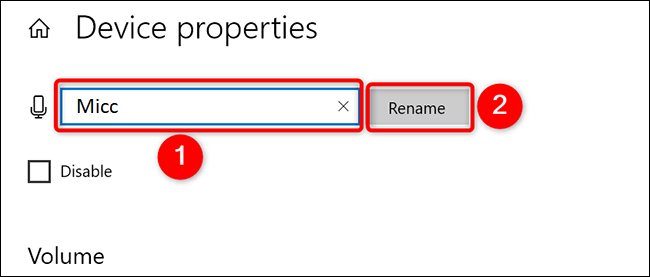
Windows 10 will change your microphone’s name to the specified one.
Leave A Comment?