Situatie
On an Xbox Series X|S, you can play four generations of Xbox games right out of the box. But what if I told you that there’s a way to expand that list even further? With an external hard drive or USB, and a couple of downloads, you can install Retroarch onto your Xbox and play tons of classic consoles, including the PlayStation.
How to install a PS1 emulator on your Xbox Series X|S
A few things before we get started: First, you won’t be violating your Xbox’s warranty at all by doing this, as you’ll be operating the emulator in Dev Mode, a space Microsoft created for developers to work in. Second, due to the gray legality of emulators, we won’t be able to link to any emulator or ROM downloads directly, and third, because they’re not running on native hardware, the games you’re emulating may be littered with glitches or may not run at all — your mileage may vary. With all of that out of the way, let’s get started.
The sign-up process
The first step to getting an emulator installed on your Xbox is to become an Xbox Developer. It’s much easier than you think.
- Turn on your Xbox Series X|S and navigate to the Microsoft Store from the Xbox Dashboard.
- Search for Xbox Dev Mode.
- Download the Xbox Dev Mode app.
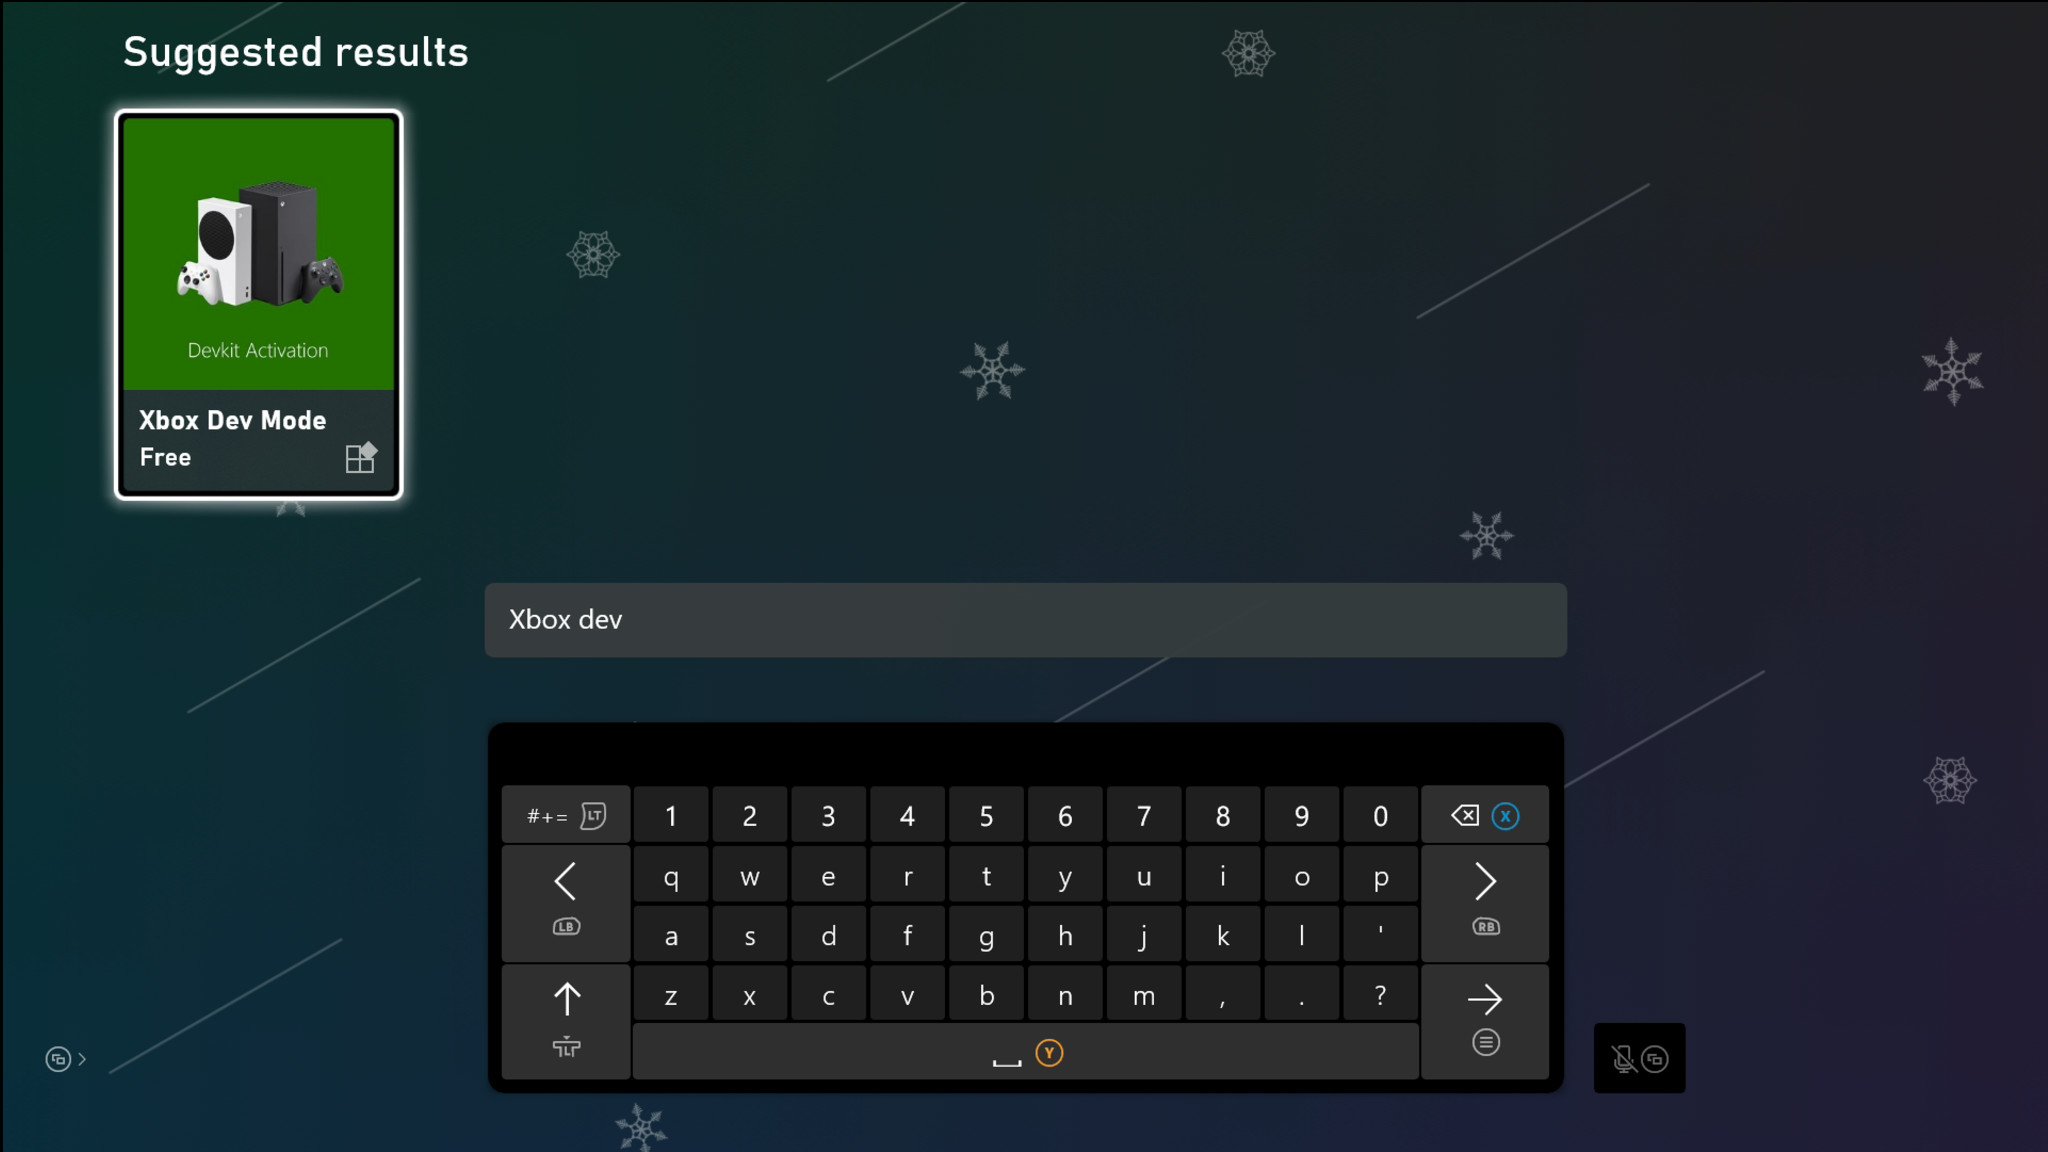
- Once downloaded, open up the app, and you’ll be brought to a screen that welcomes you to the development program.
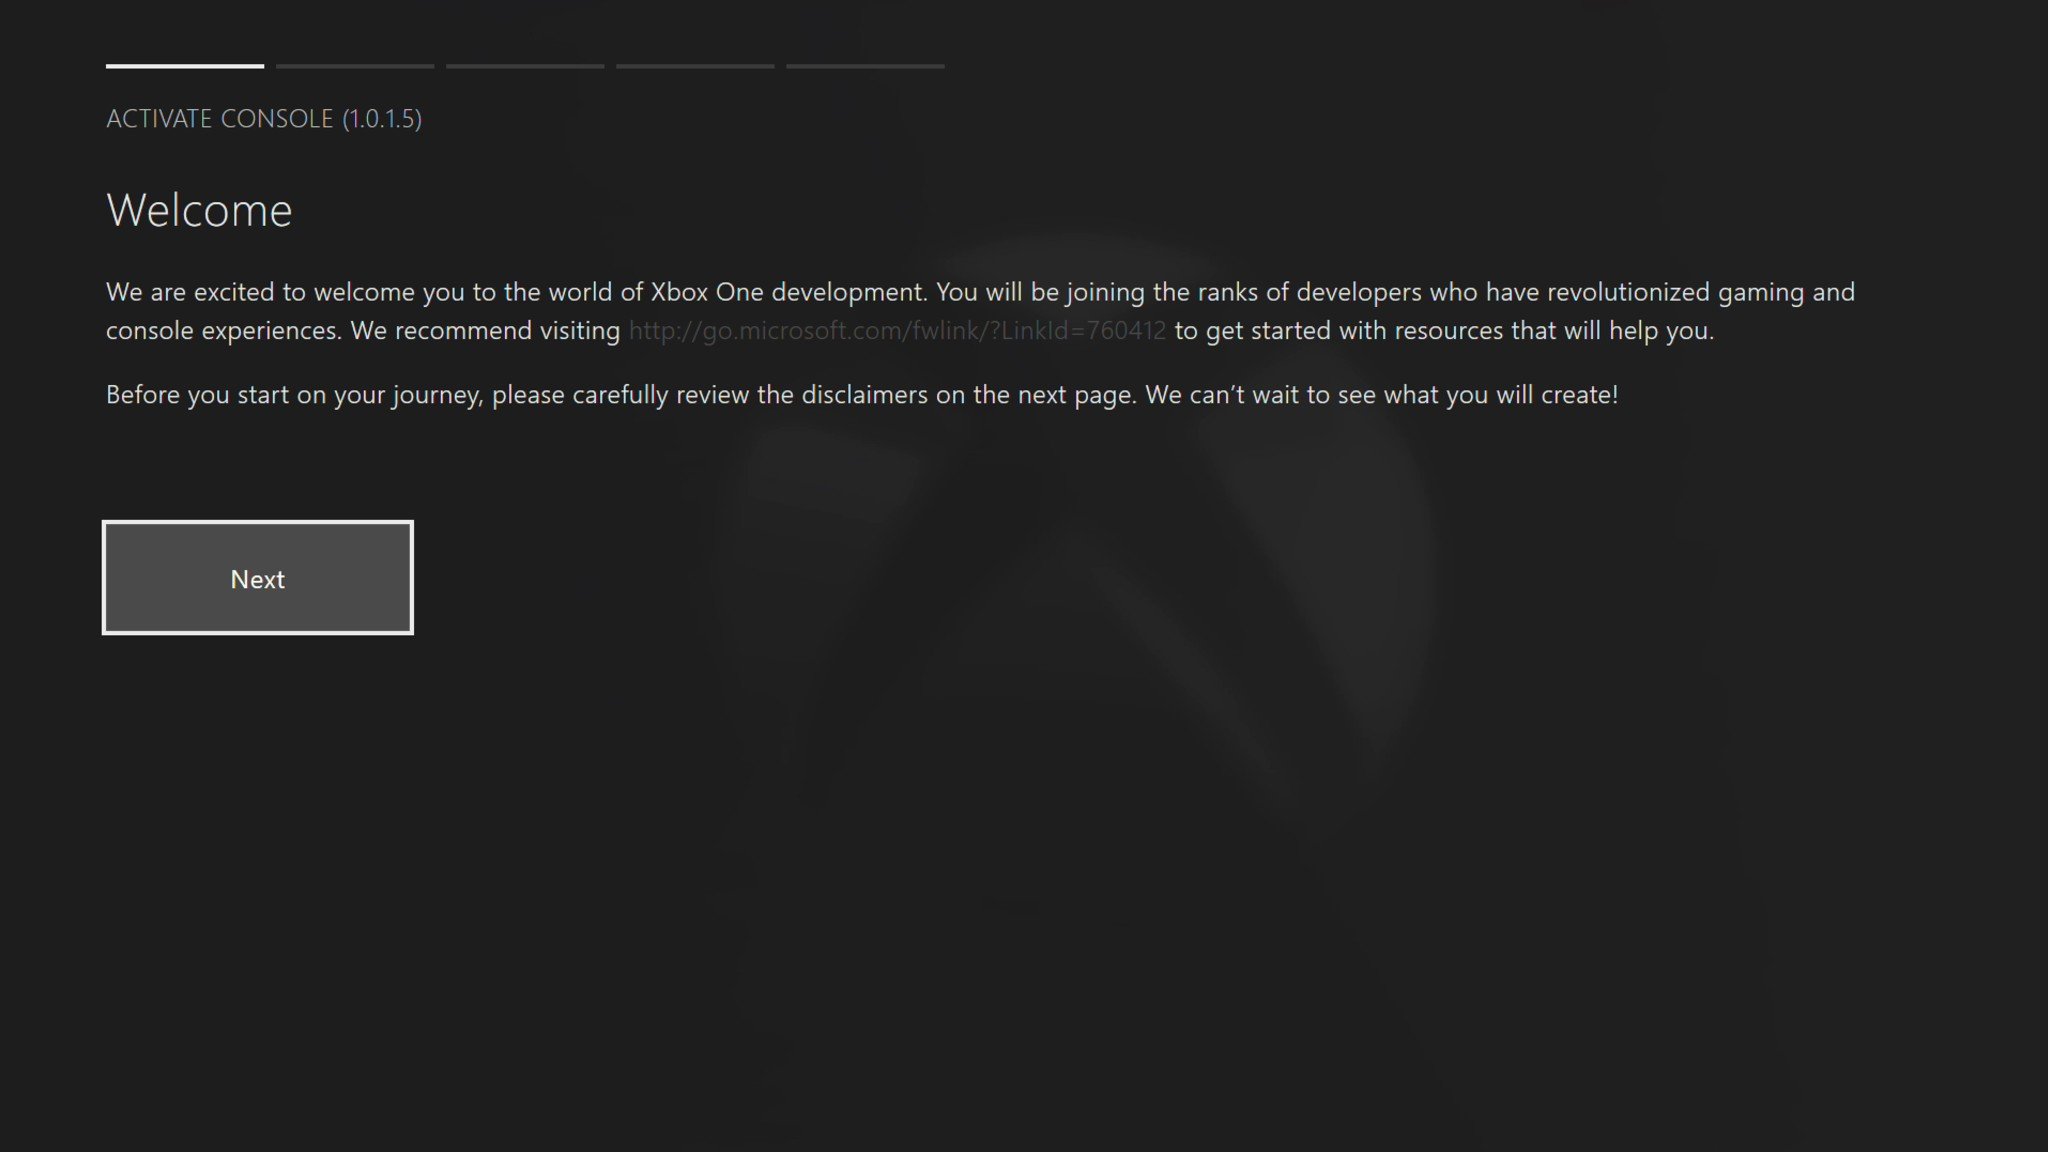
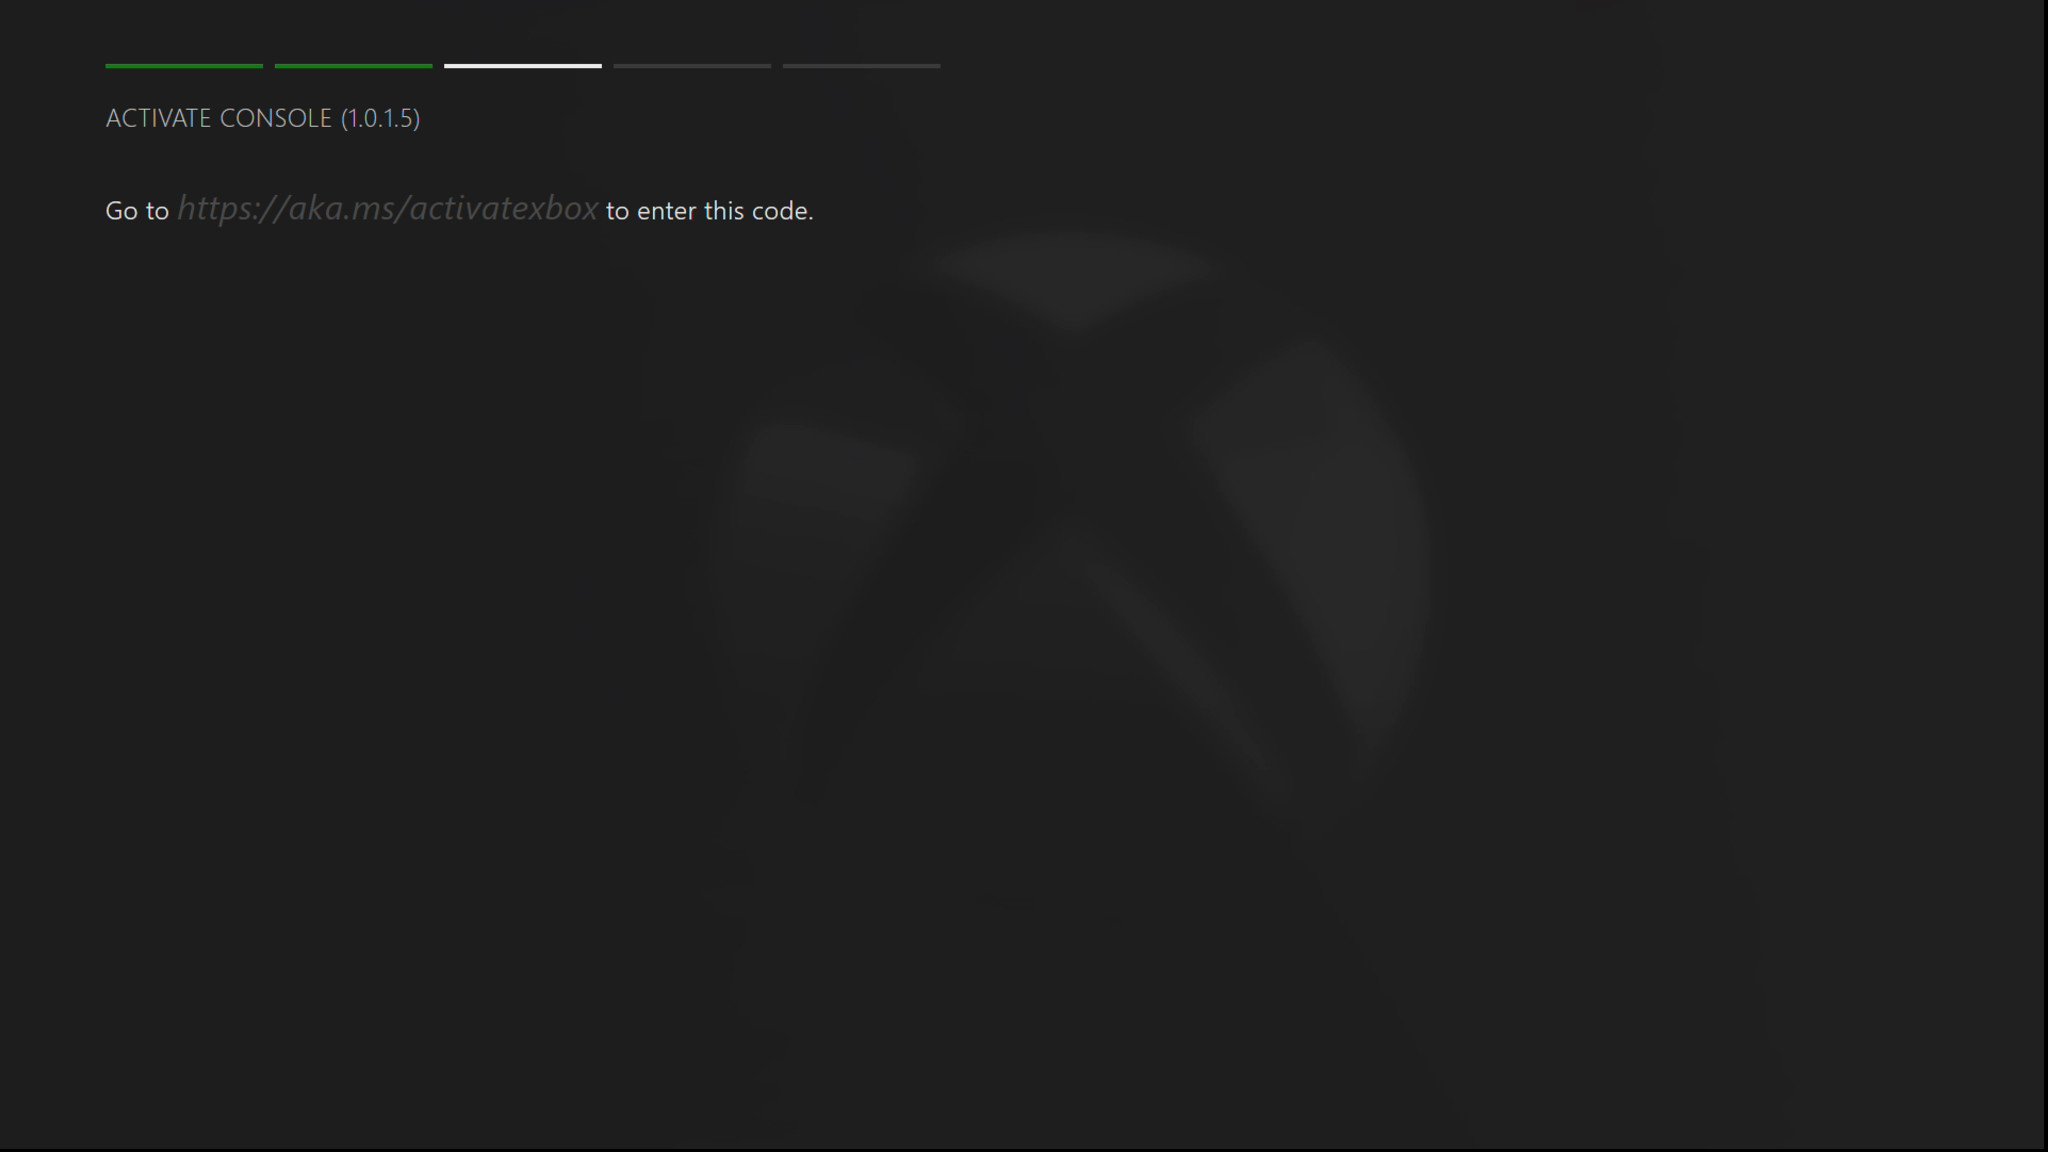
- Continue until you hit the third tab that features a link and an activation code.
- Once here, switch over to your computer and head to the link provided.
- This link will bring you to the Microsoft Partner Page. Sign in to your Microsoft account.
- Scroll down to Developer Programs, and click Get Started. This will bring you to a sign-up page.
- Click Sign Up and fill out the registration info.
- You’ll have to choose whether you want an Individual account or a Company account. Choose the individual account and pay the fee to activate Developer Mode.
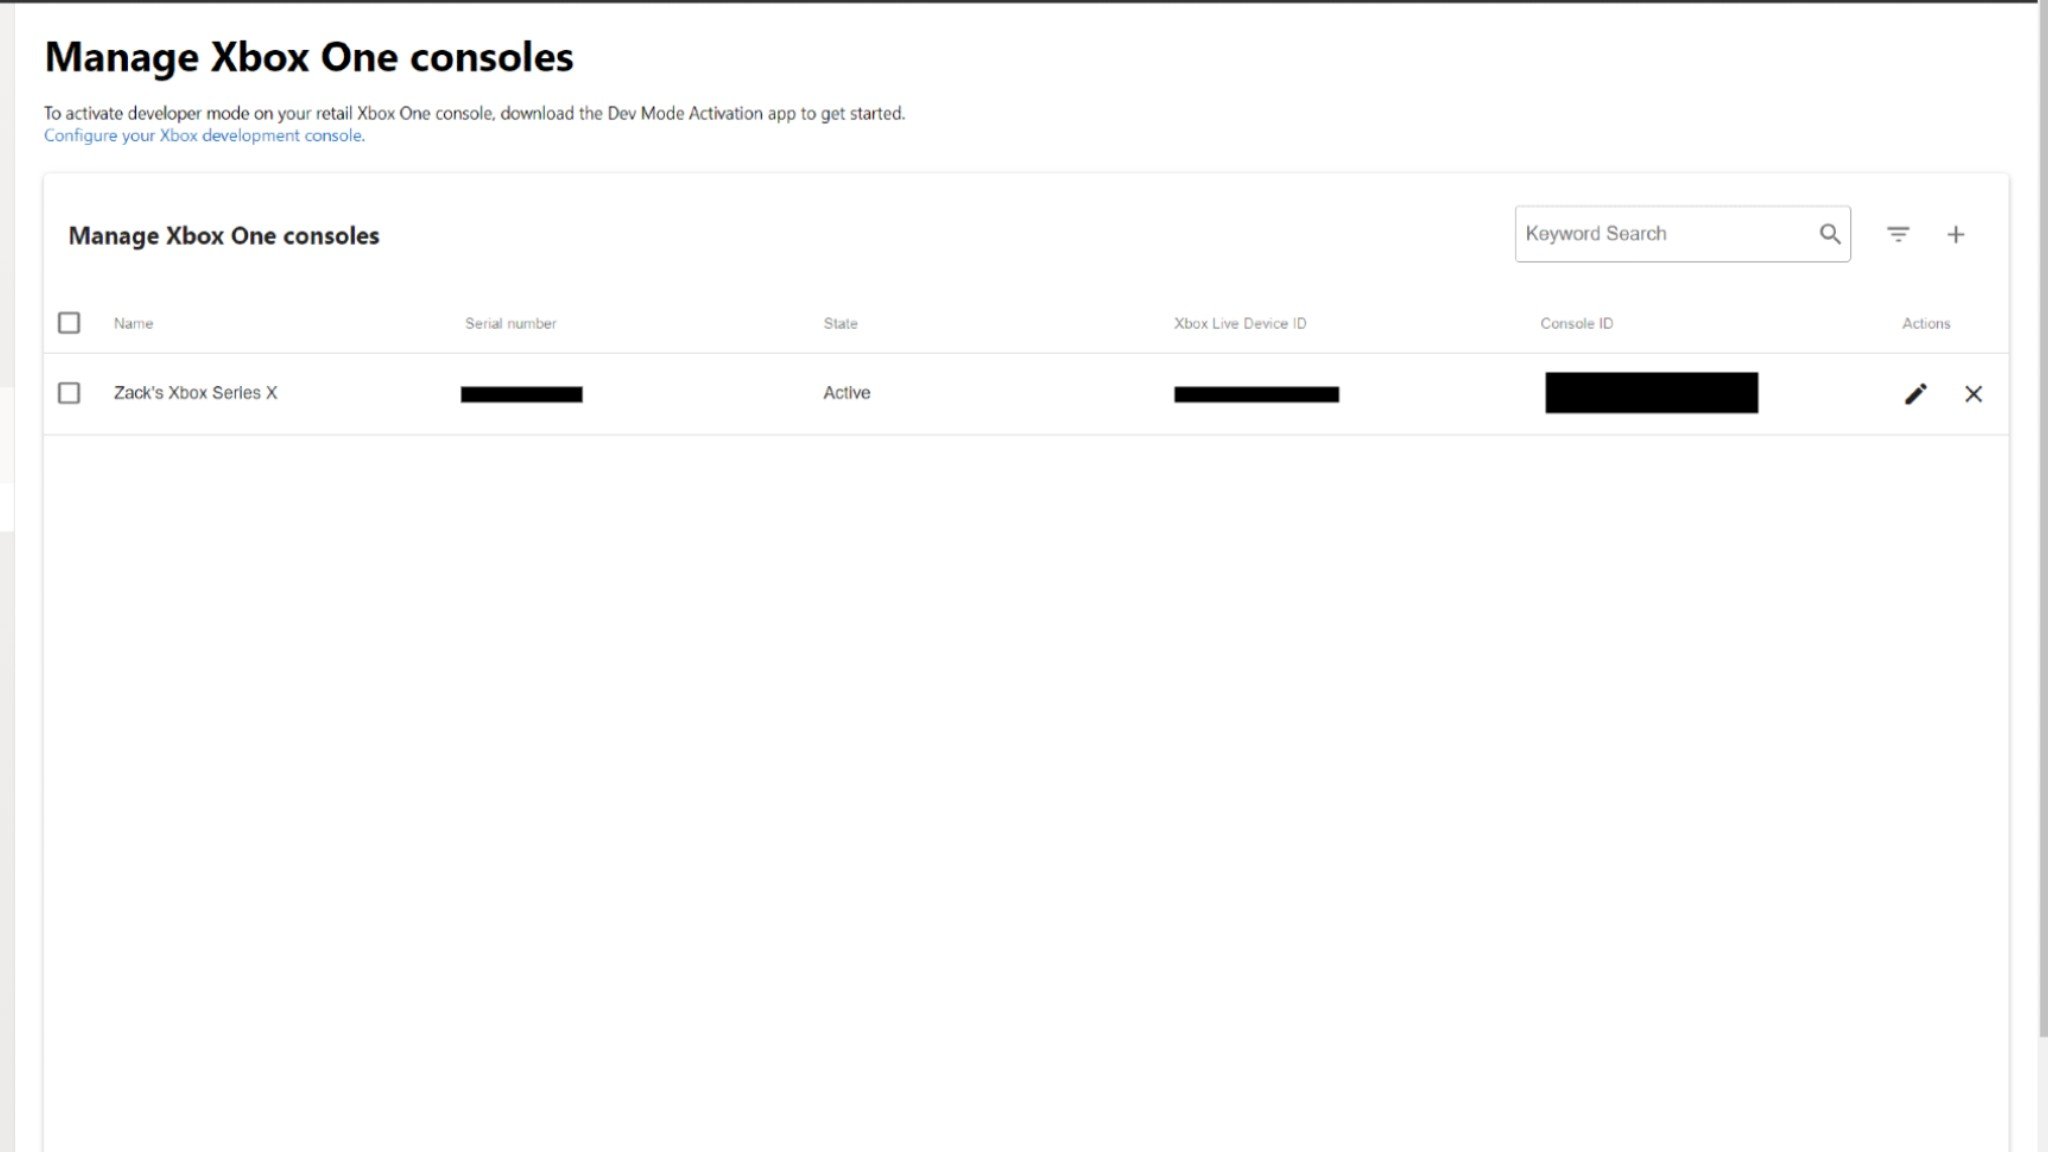
- Now that you’re all signed up, type in the link provided on the Xbox again, and it will bring you to your Manage Xbox One Consoles screen.
- Press the plus button on the right hand of the screen, select Activation Code, and enter the activation code that appears on your Xbox.
- The activation screen on the Xbox will time out if you take too long. If it does, just refresh the Xbox and webpage and enter the new code.
- The activation screen on the Xbox will time out if you take too long. If it does, just refresh the Xbox and webpage and enter the new code.
- Back on your Xbox, you’ll receive a confirmation that your Xbox is now activated for development.
- Select Switch and restart.
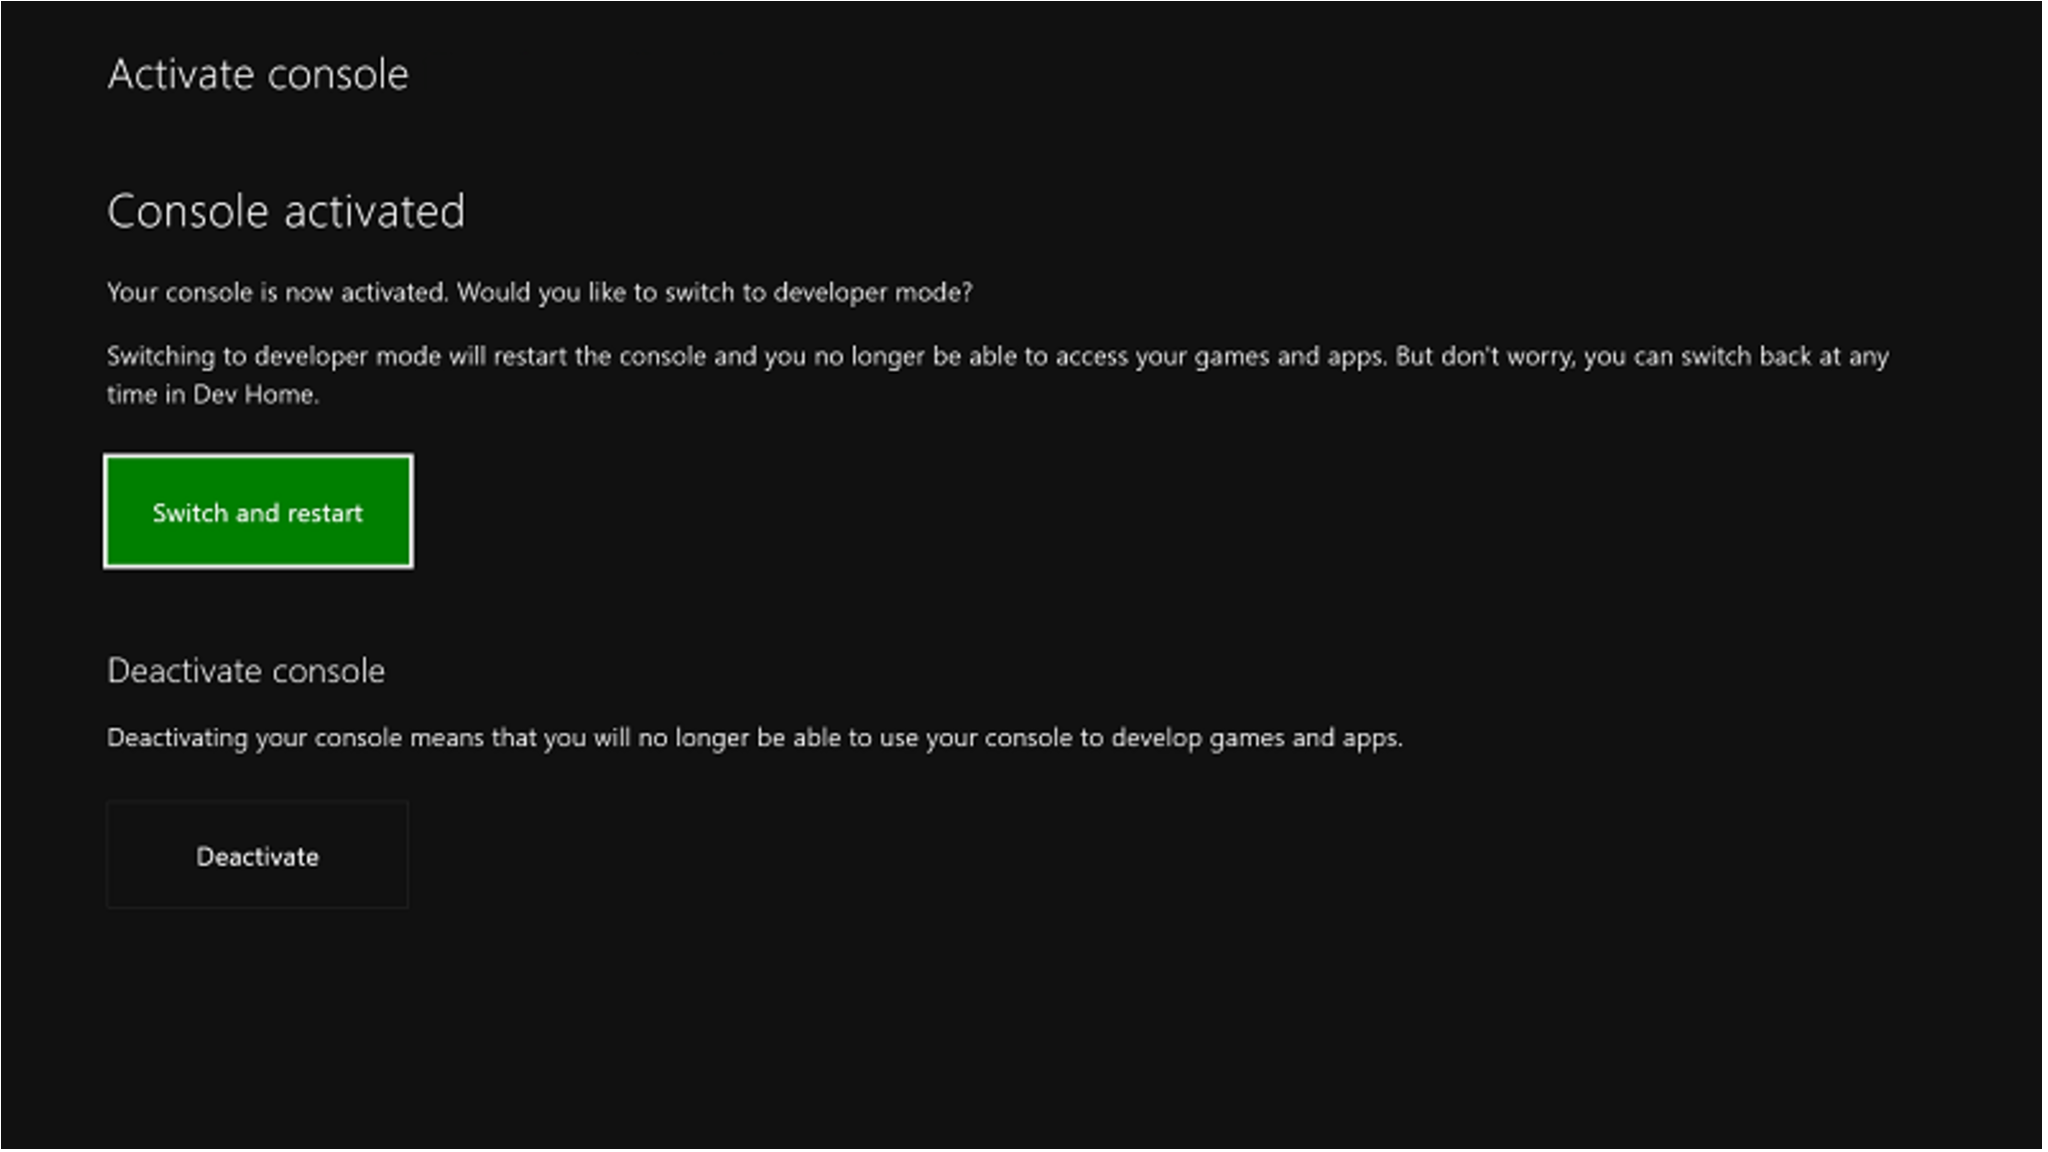
- Upon restart, your Xbox will start in Dev Mode.
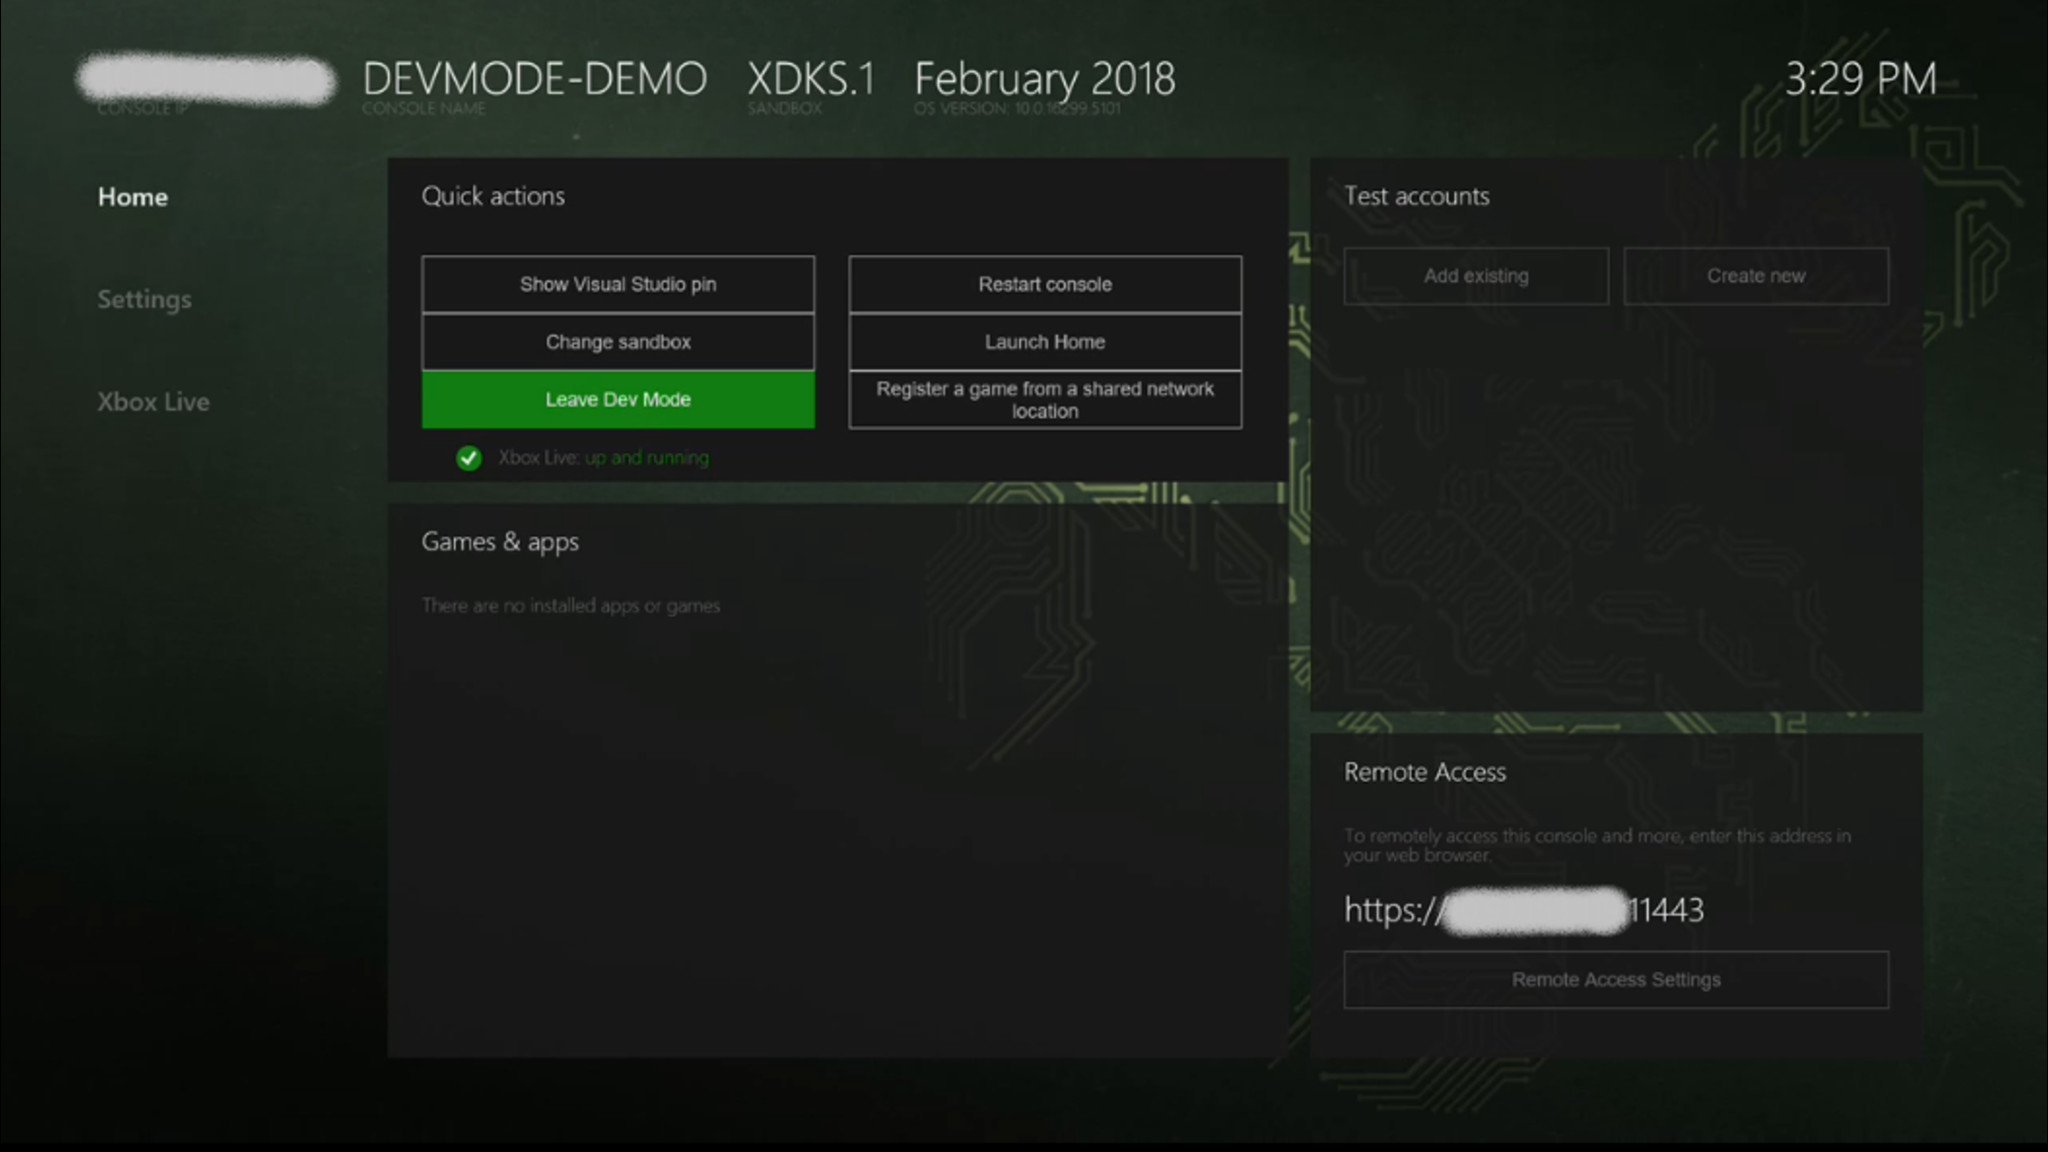
- Go to Test accounts on the right and add your Xbox account.
Congratulations, you’re now a registered Xbox Developer with total access to the Xbox Dev Mode. This will be the place where you will run your emulator.
Installing Retroarch onto your Xbox Series X|S
The emulator of choice here is called Retroarch. We’ll need to upload a compatible version of Retroarch onto your Xbox Series X|S.
- Head over to the Retroarch website and download the Xbox One version of Retroarch, as well as the Microsoft Visual Package.
- Back on the Xbox Dev Mode home screen on your Xbox, you’ll see a Remote Access address in the lower right-hand corner of the screen. Click on the Remote Access Settings.
- Make sure that Enable Xbox Device Portal is checked.
- Type the IP address into your web browser.
- That will lead you to your Xbox Device Portal.
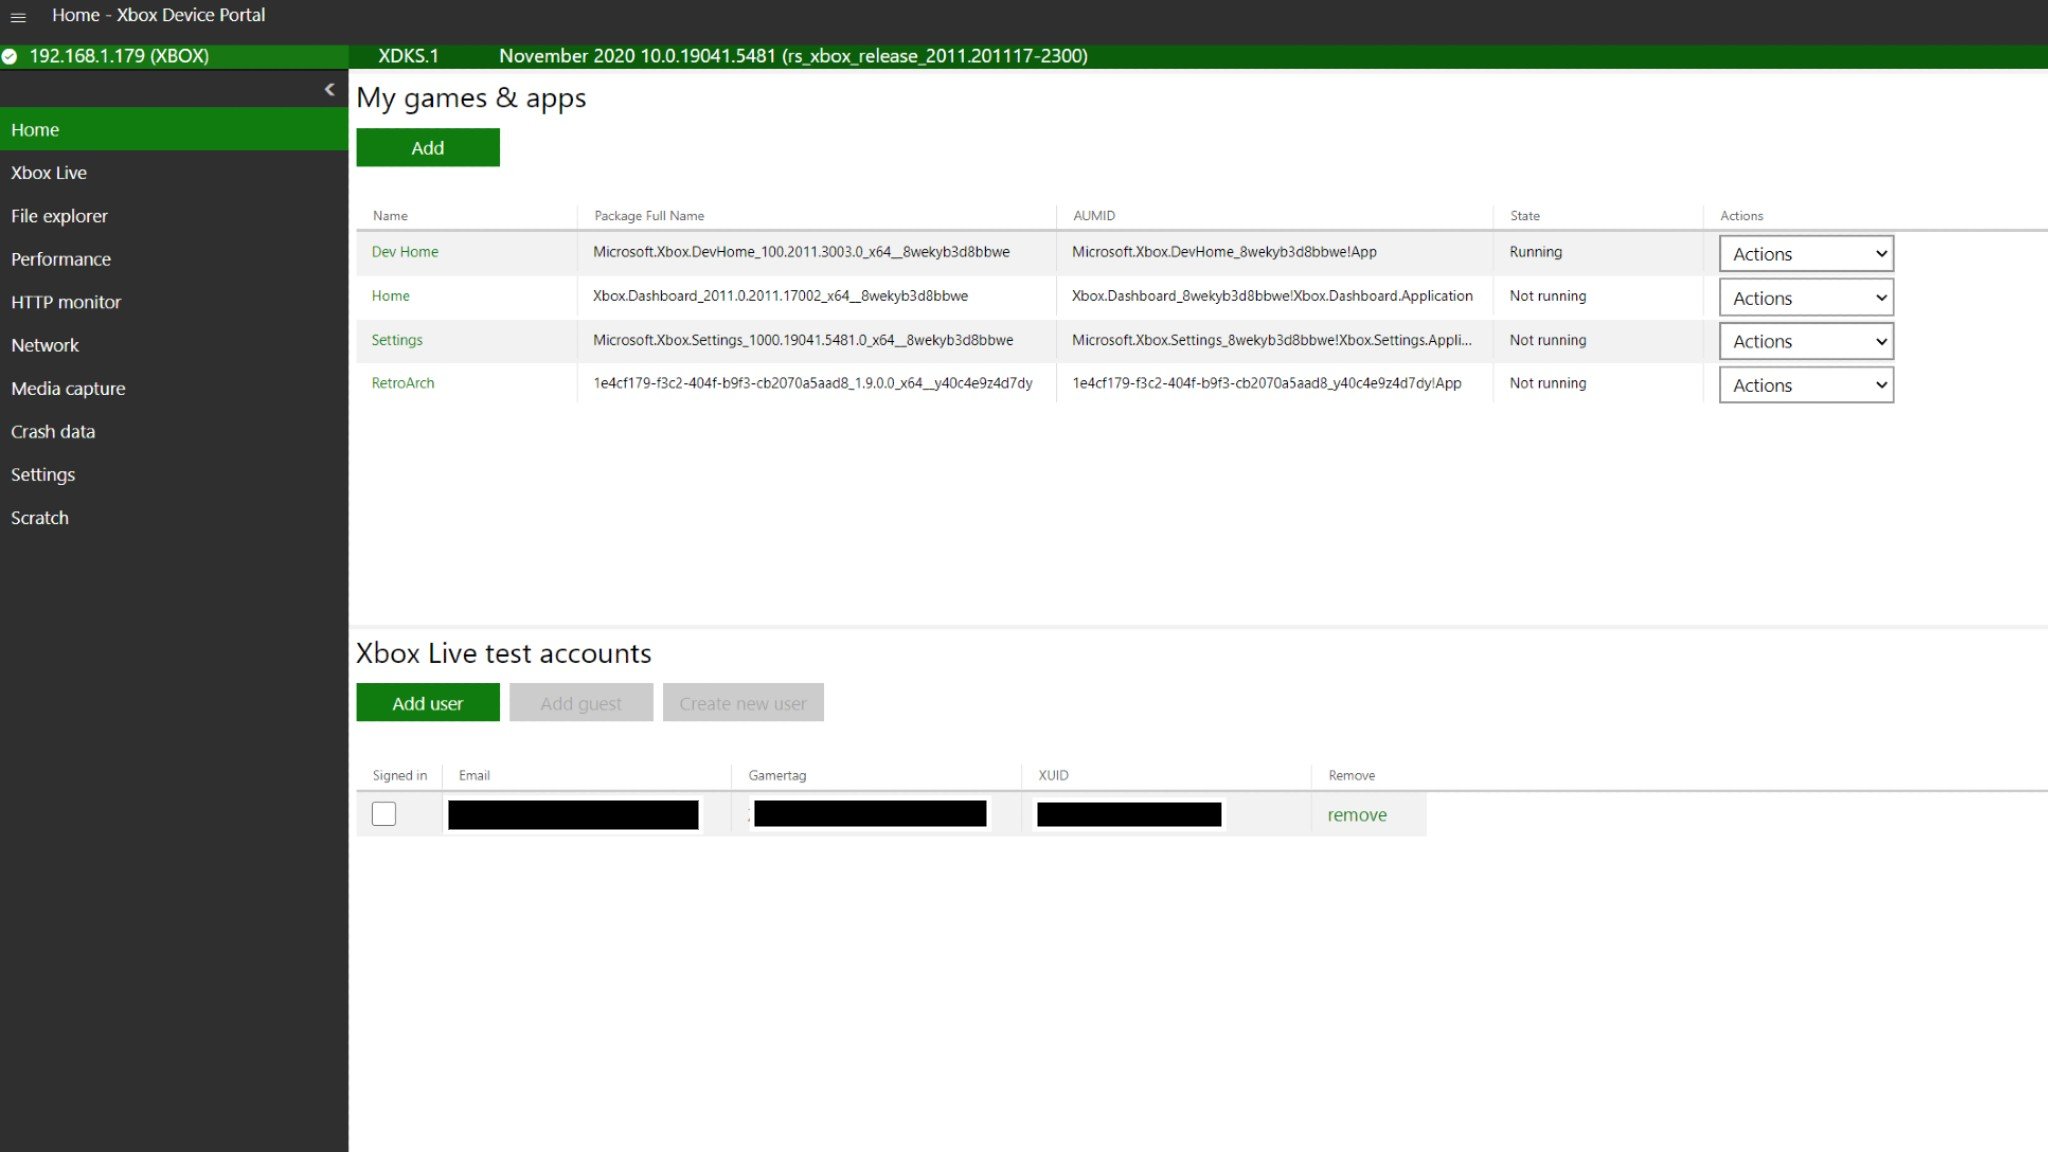
- Click the Add button under My games & apps.
- Upload the Retroarch file you just downloaded.
- Select Next.
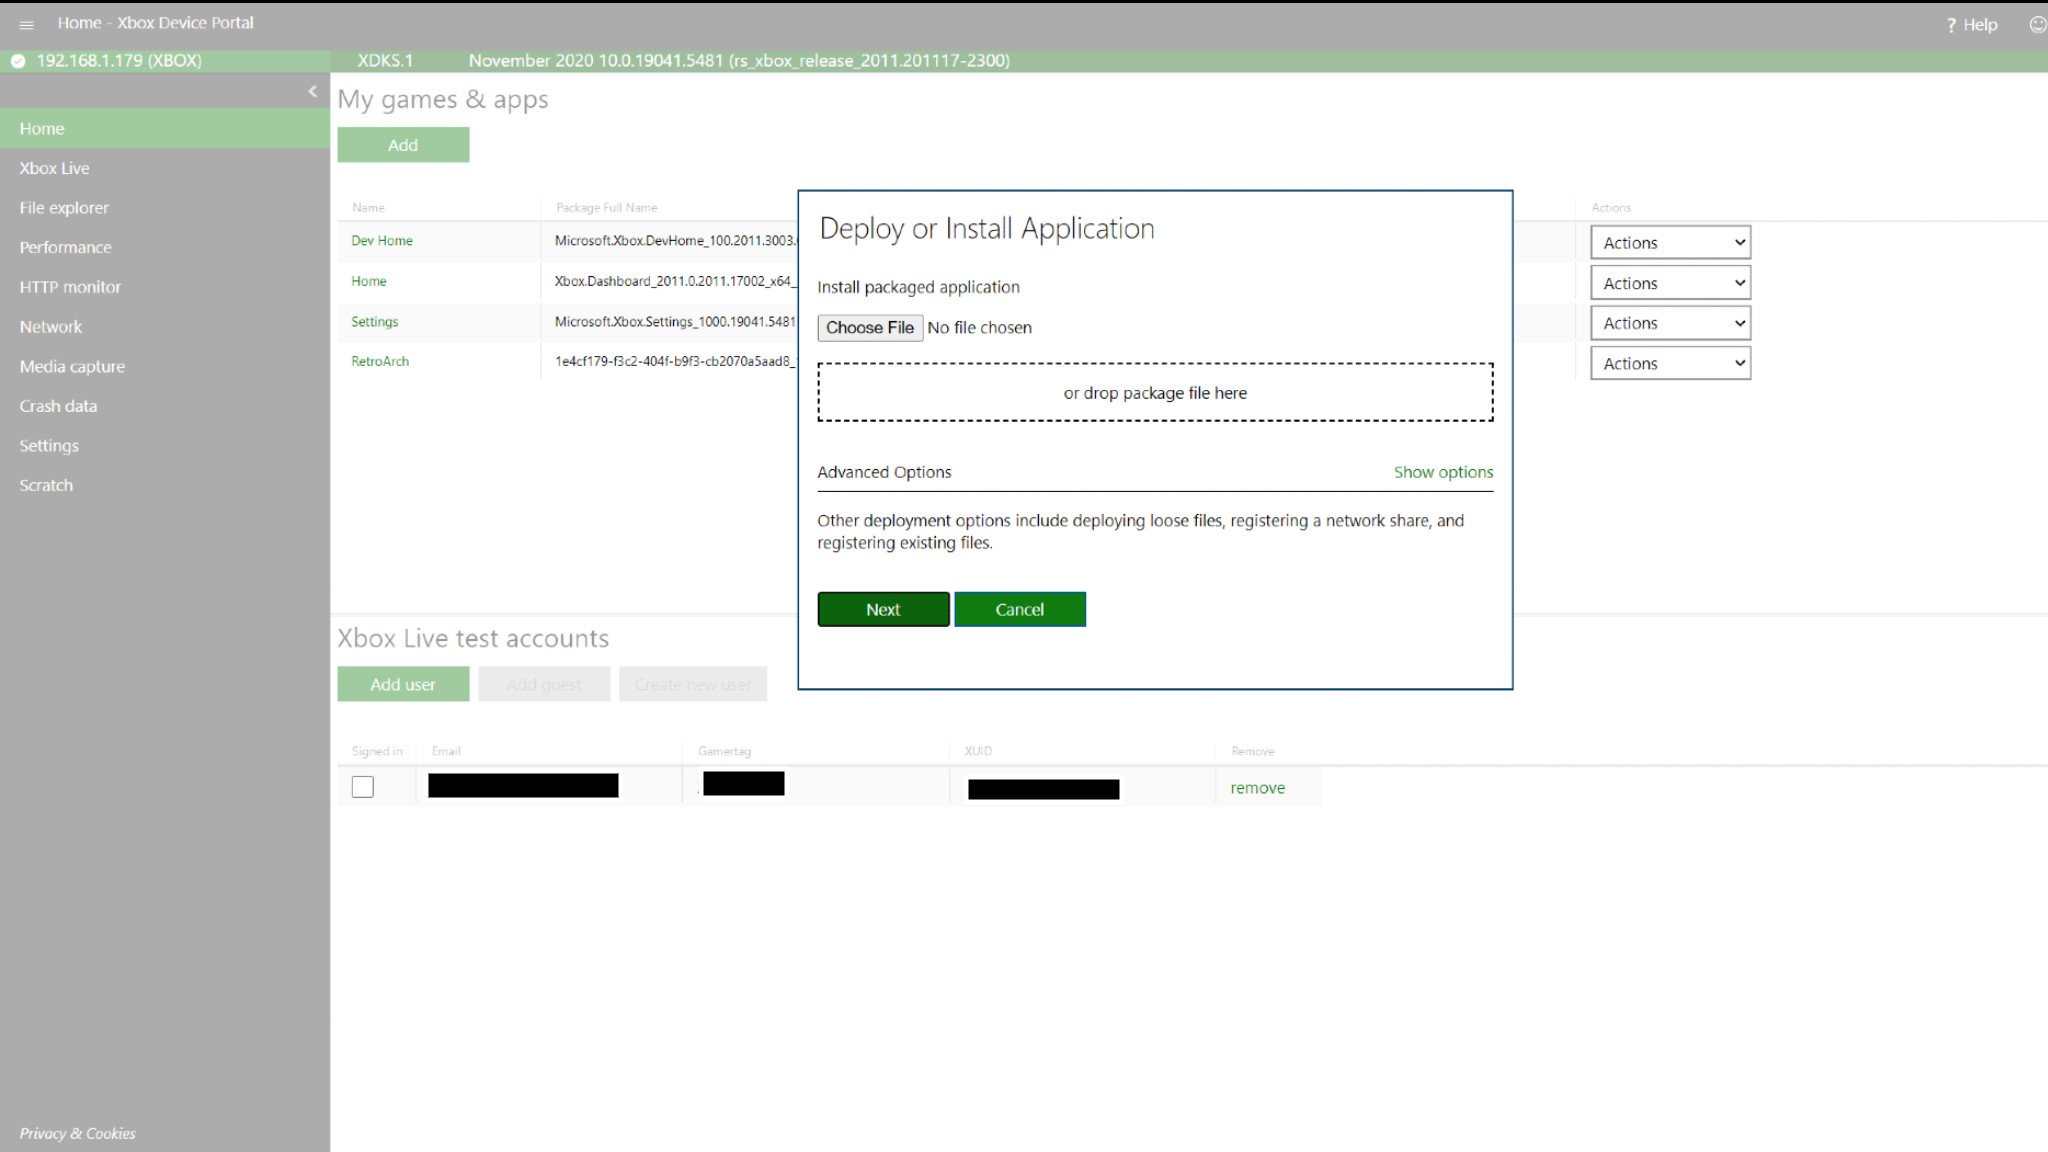
- Upload the Microsoft Visual Package as the dependency file and select start. Now Retroarch will install onto your Xbox.
- Back on the Xbox Dev Mode screen, you should see Retroarch appear under the Games & apps section.
- Highlight Retroarch and press the View button on your Xbox Controller.
- Scroll down to View details, and change the App type from App to Game.
- Head back to the menu and select Restart Console for the changes to take effect.
- When the Xbox turns on, you’re ready to use Retroarch.
Running Retroarch
At this point, Retroarch is operational, but there are a few changes worth making to get things running as smooth as possible.
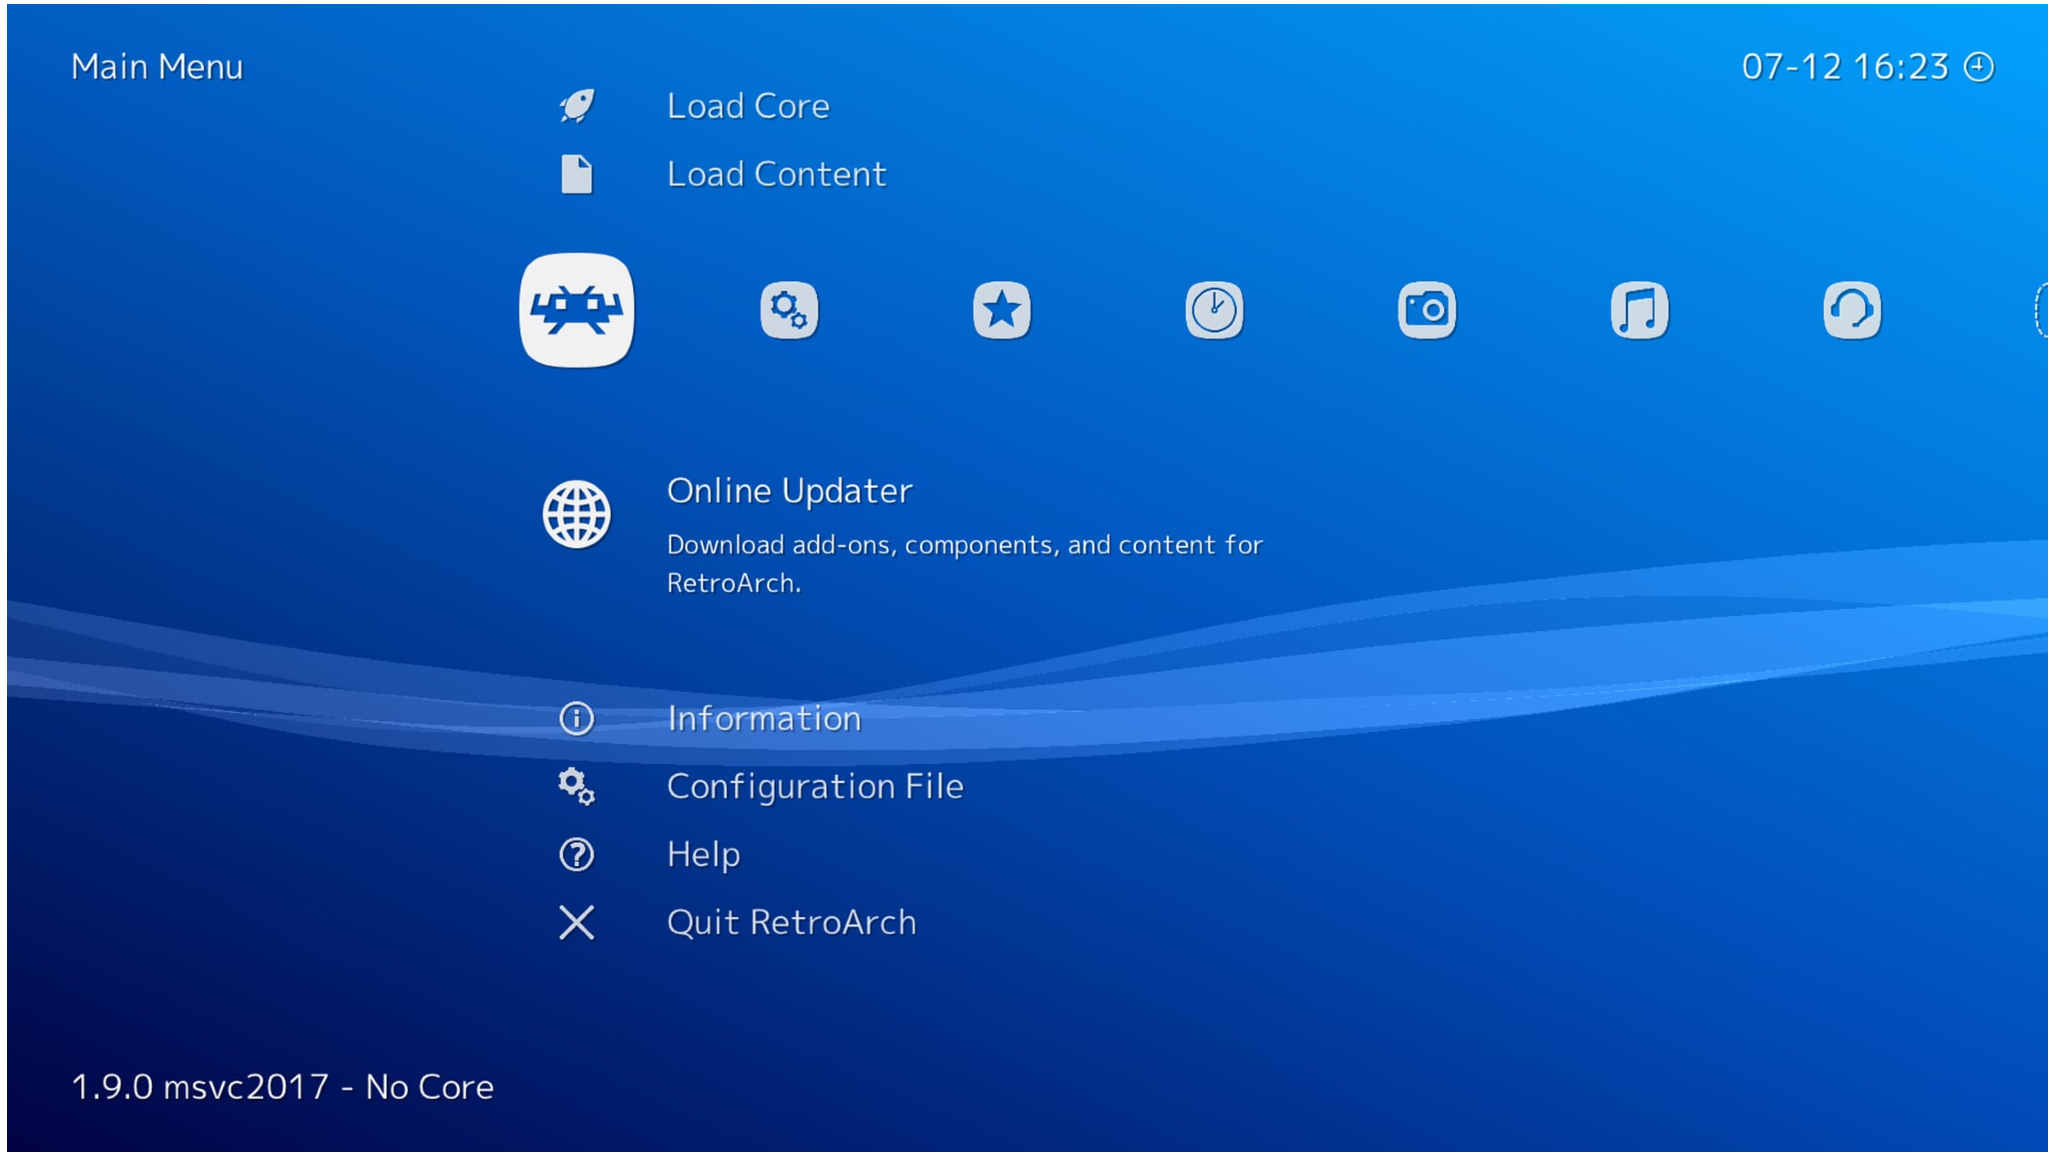
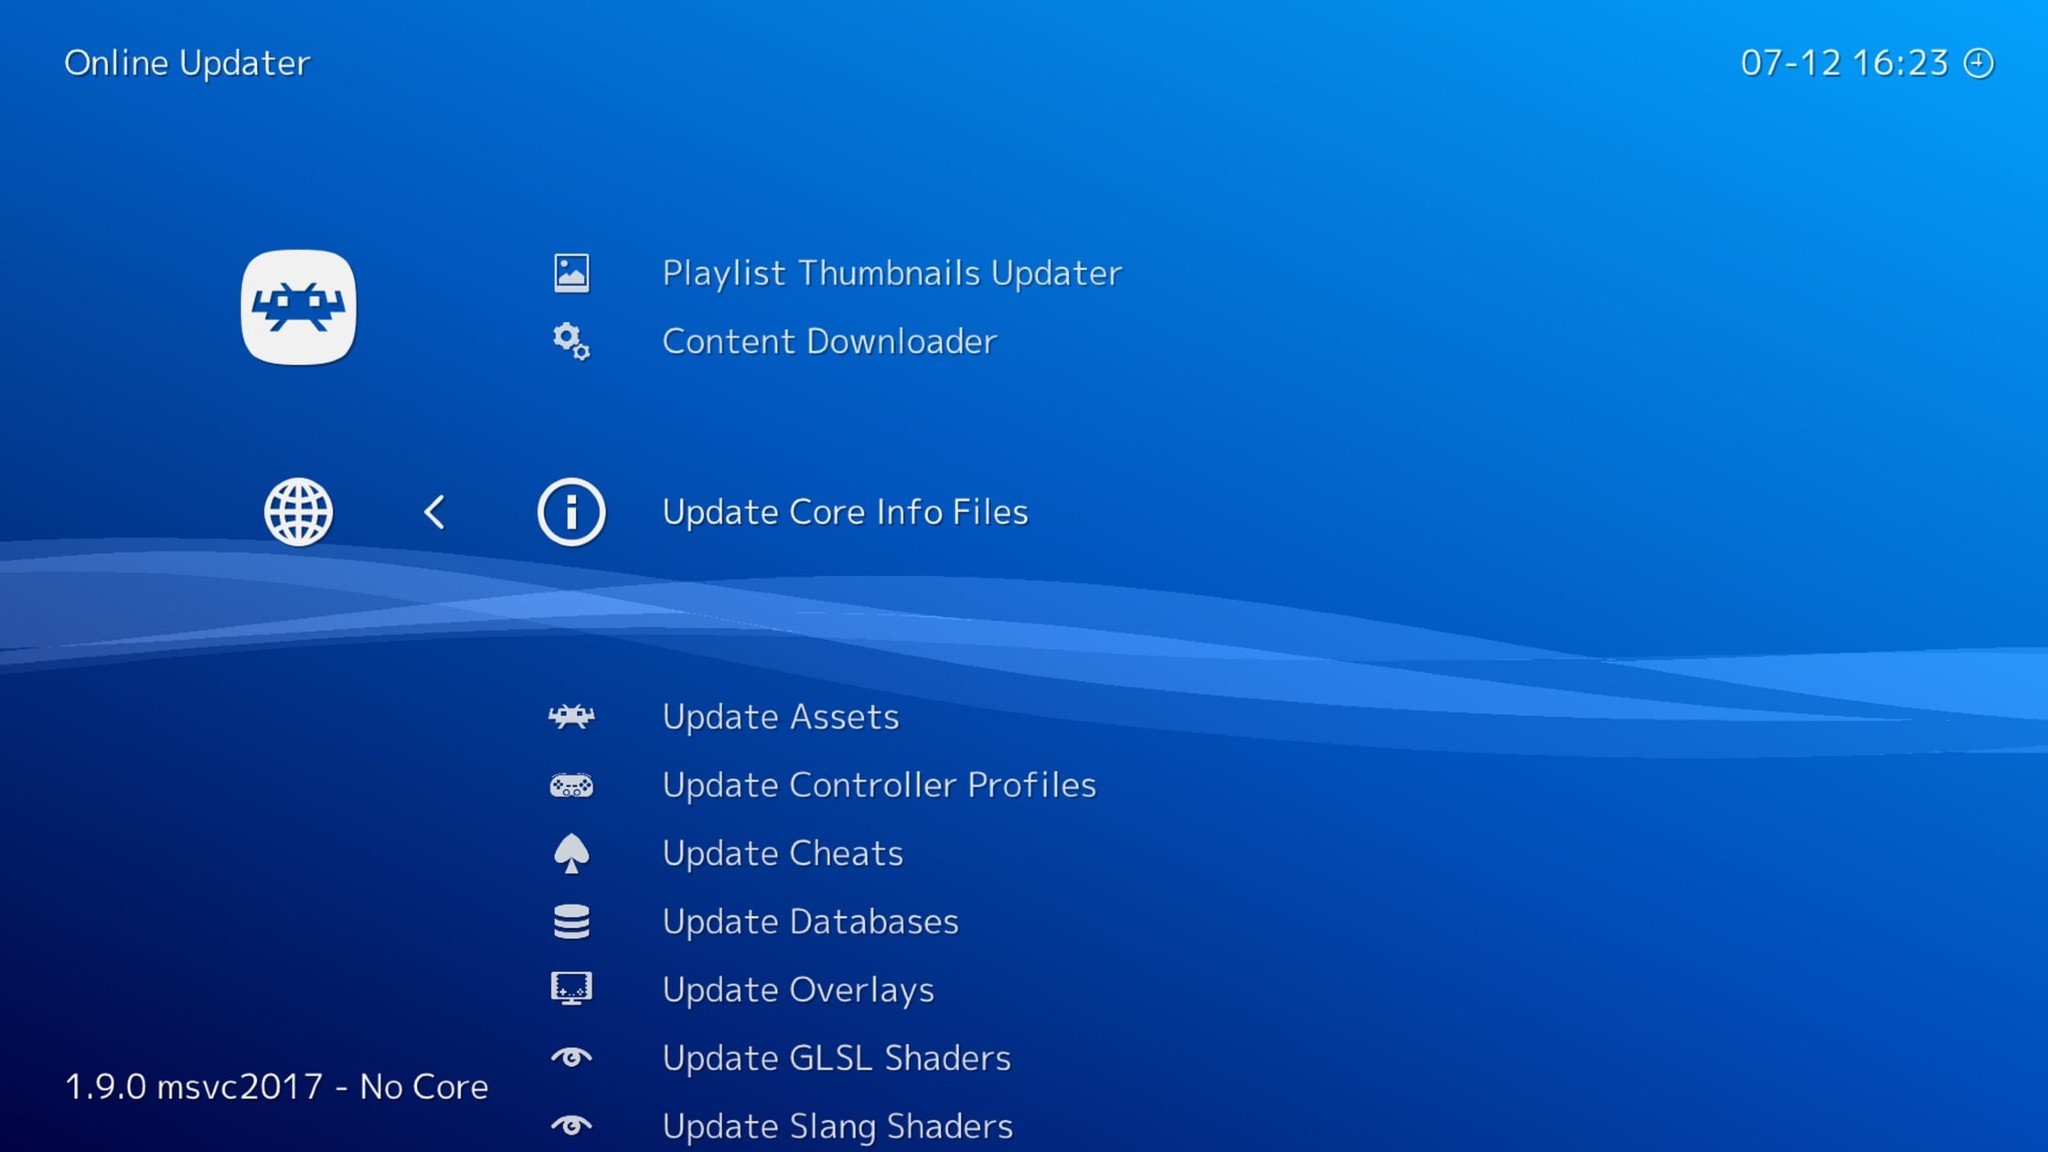
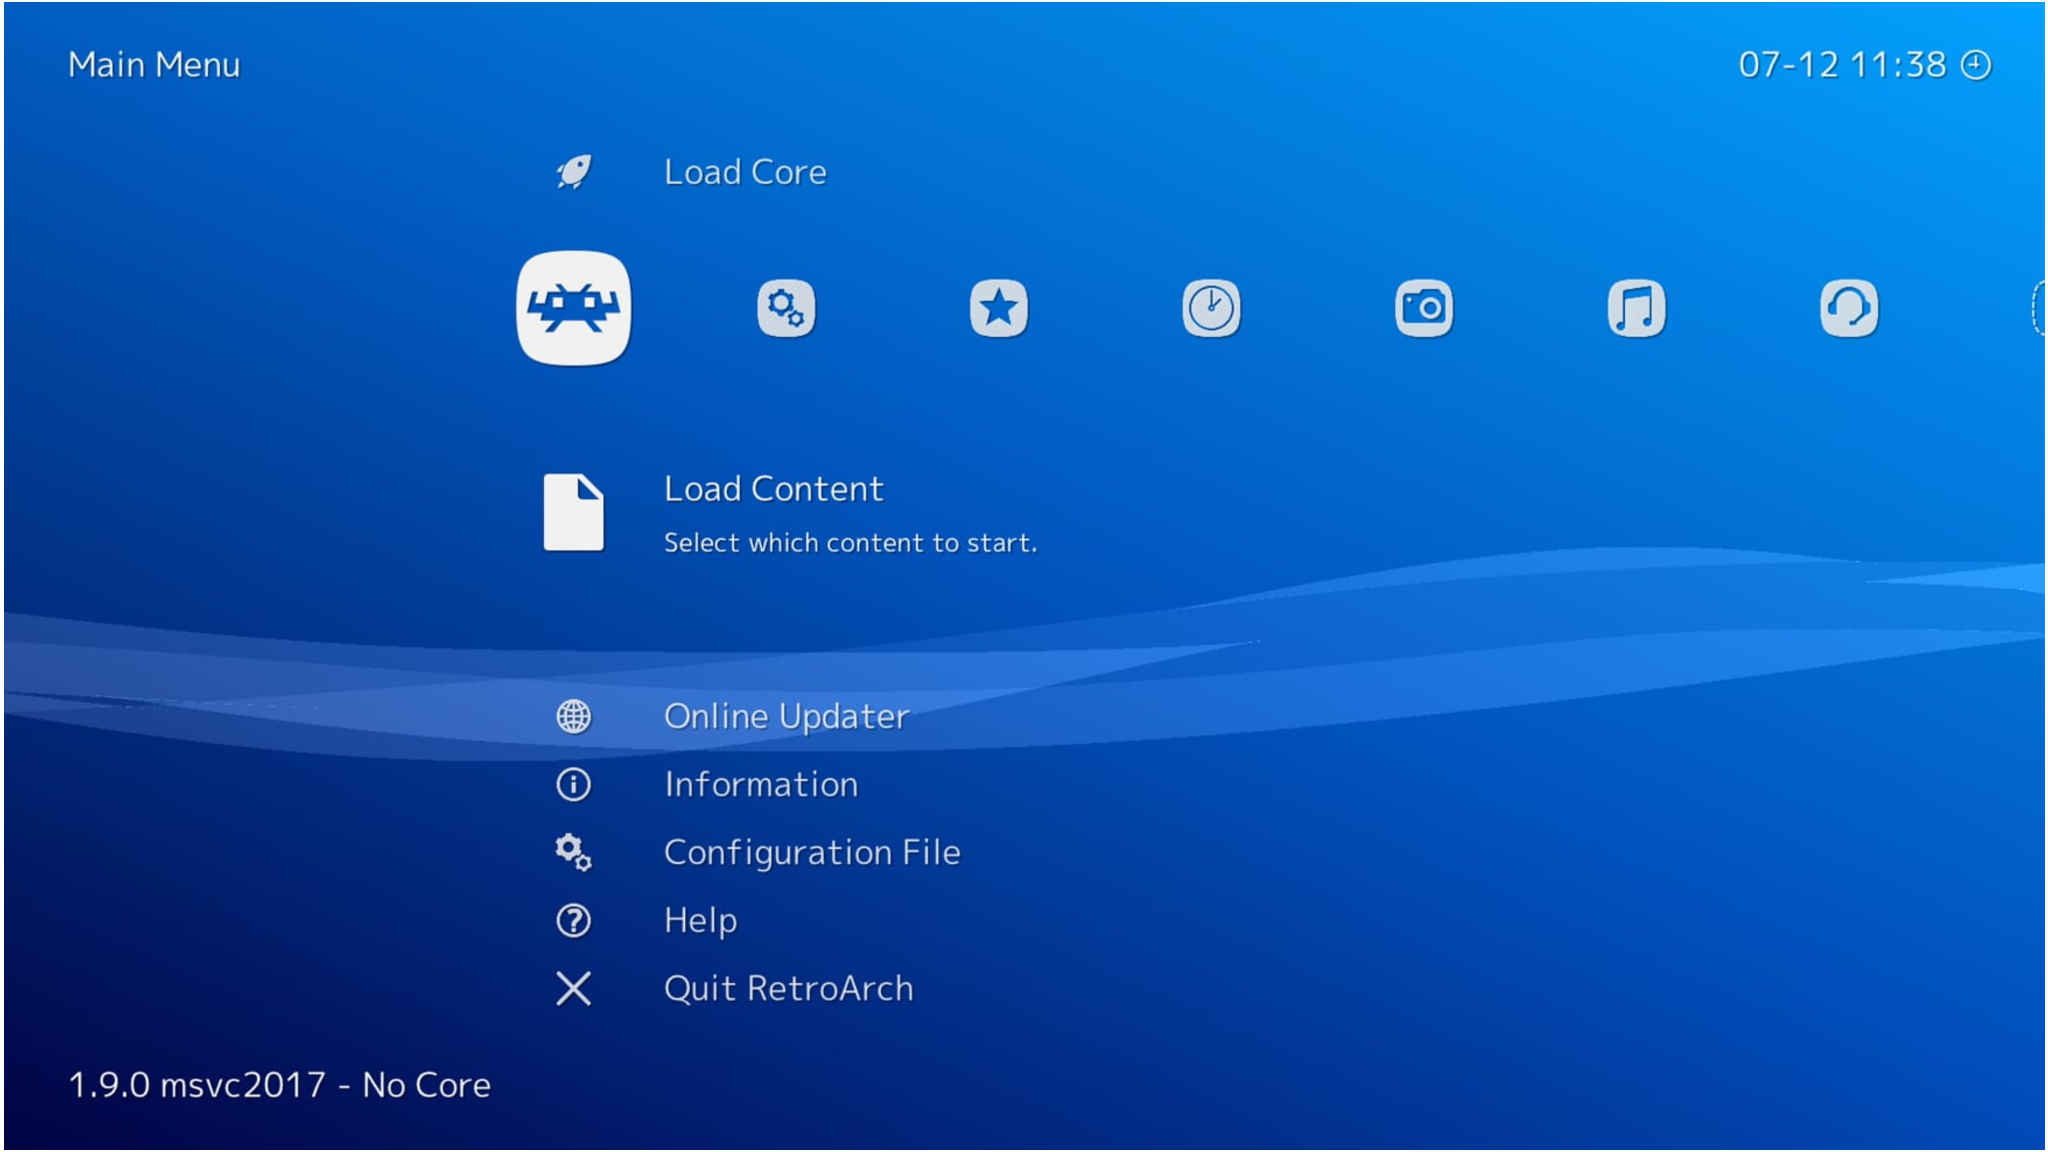
- Select Retroarch from your Games & apps and enter the program. You’ll notice that the menus look a little primitive, but we can fix that by scrolling down to the Online Updater and then Update Assets. It will take several minutes to update.
- Once that’s done, the screen will flash black for a moment, and then your menu will look a lot cleaner.
- While you’re on this screen, select Update Core Info Files, Update Controller Profiles, and Update Databases and let those update.
- Once that’s complete, head back to the Retroarch Main Menu.
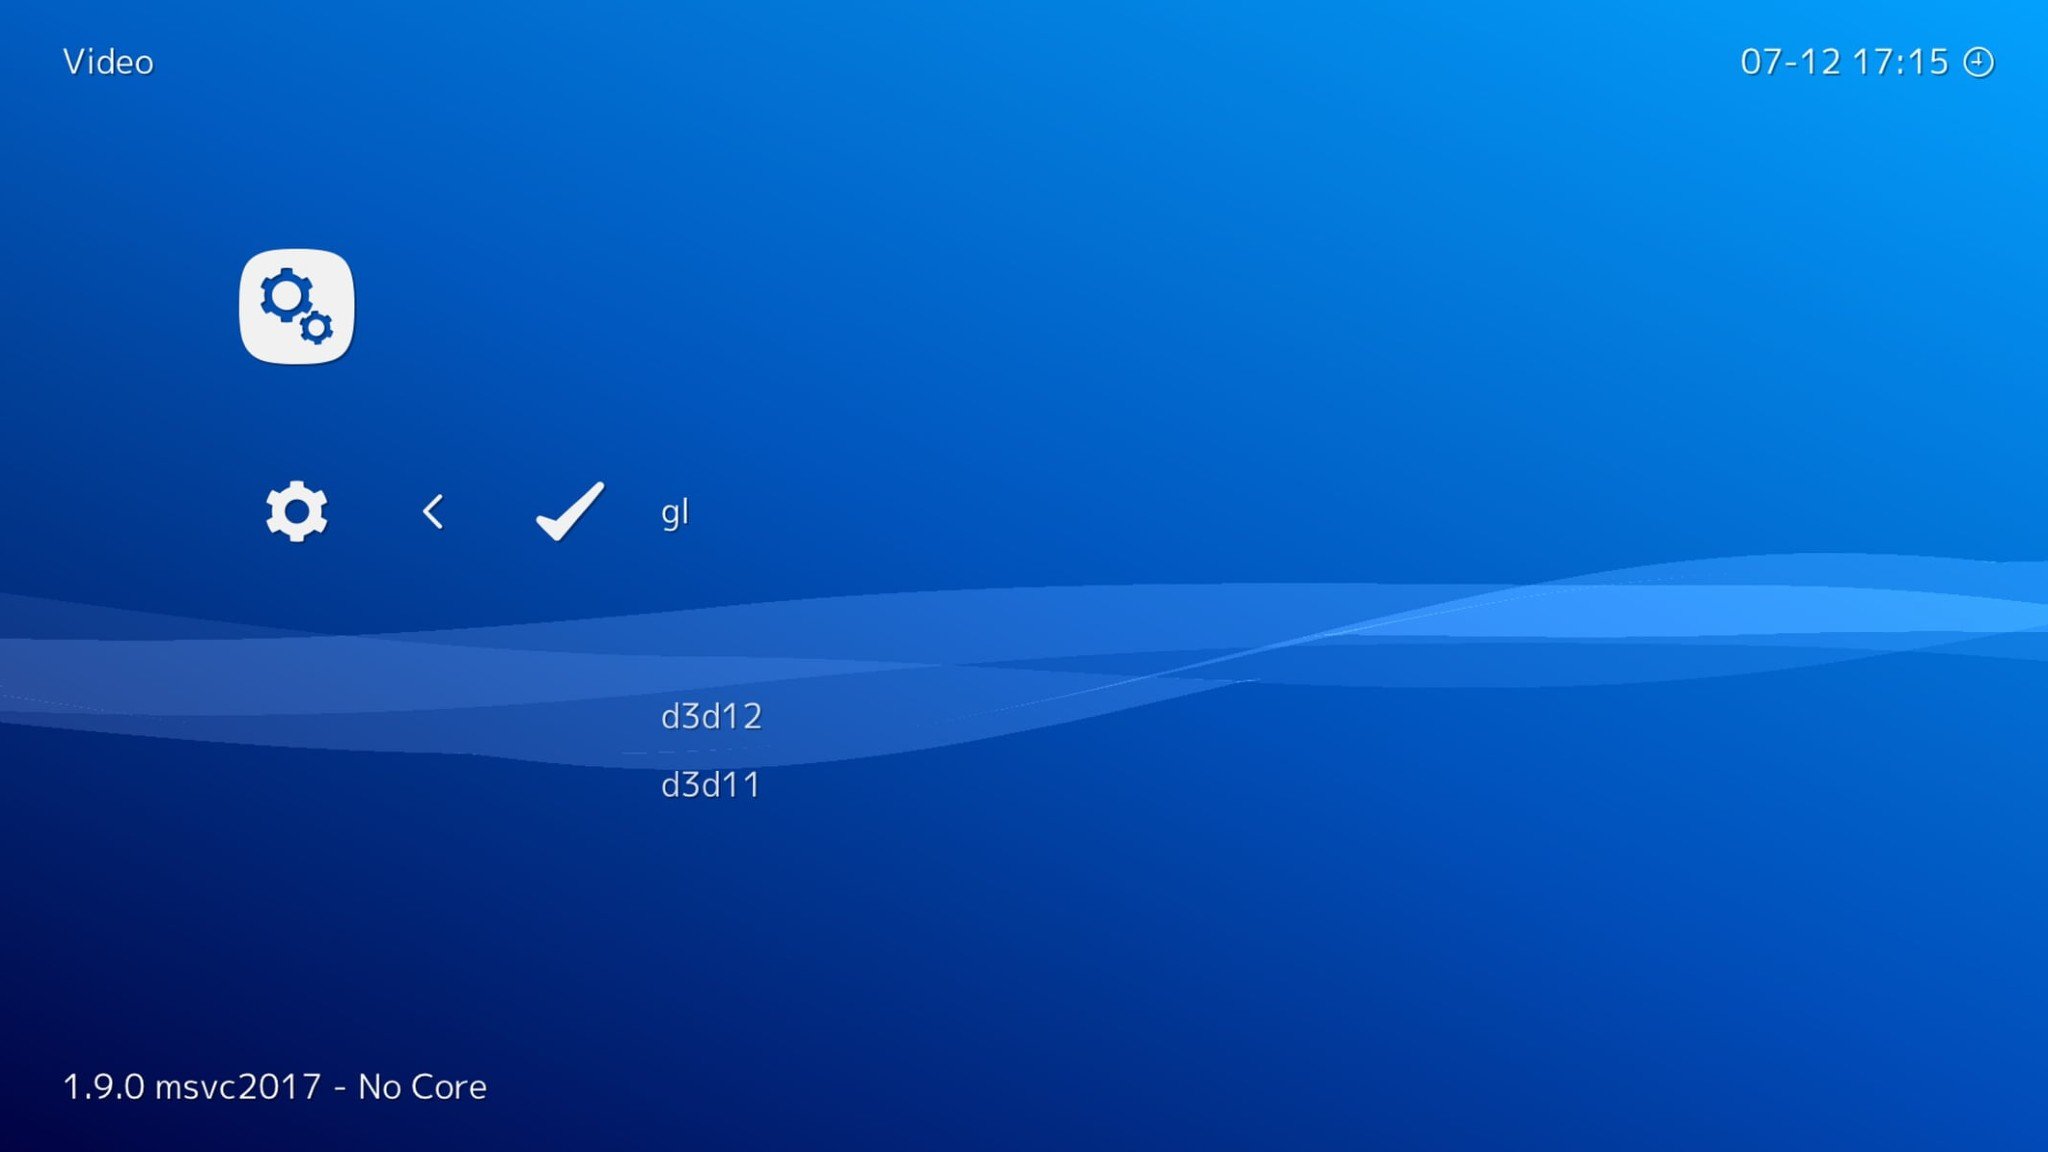
- Move to the Settings Menu.
- Select Drivers.
- Scroll down to Video and change it from d3d11 to gl.
- Once that’s done, head back to the Retroarch Main Menu.
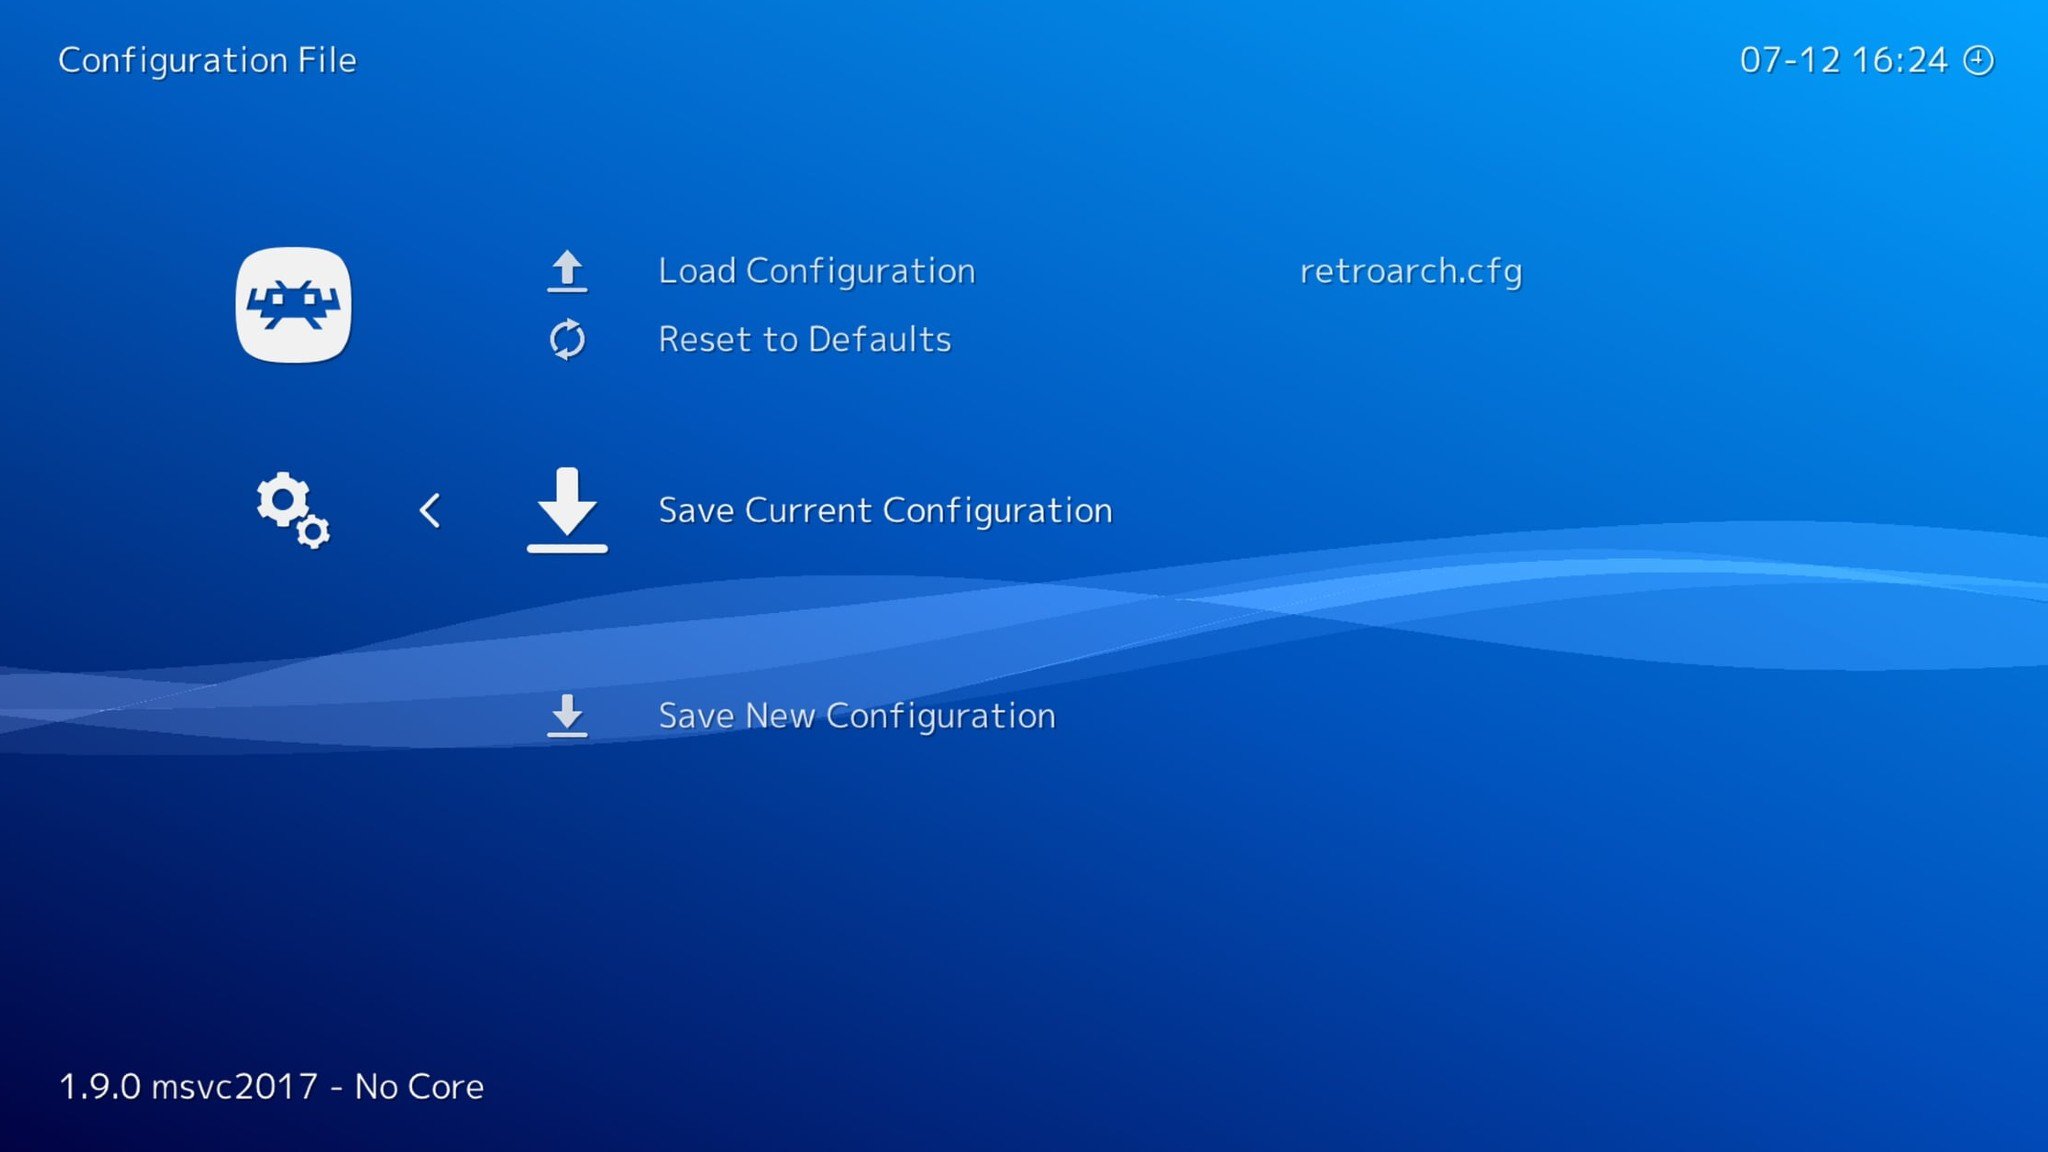
- Scroll down to Configuration File.
- Select it and then Save Current Configuration.
- Now quit and reboot Retroarch. The icons should be visible now, and everything should look as it should.
Before we finish, there are two quick QoL changes you should make to your emulator.
- Head to Settings and then Input.
- Scroll down to Hotkeys.
- Then go to Menu Toggle Gamepad Combo.
- You can choose anything you’d like here, but I like using Start + Select. This will allow you to open the Retroarch menu to save and load your game.

- Go back to the Settings once more.
- Scroll to User Interface.
- Scroll down and make sure Pause Content When Menu Is Active and Pause Content When Not Active are off. This will eliminate any errors you may encounter while playing games that require you to switch disc.

- Head back to the Retroarch Main Menu.
- Scroll down to Configuration File.
- Hit Save Current Configuration.
You’re done! Retroarch is installed and ready to go.
Playing PS1 games on your Xbox Series X|S
Now that Xbox Dev Mode is activated, and Retroarch is fully installed, you’ll need to find some PS1 games. This involves downloading PlayStation bios and finding PlayStation ROMs. Once you find those, you’ll be able to get PlayStation games running.
- You’ll need to source a PS1 bios. You can create your own or find one online. Once you have it downloaded, rename it to scph5501.bin. This will allow it to read North American PS1 games. If you’re curious, scph5500 is for Japanese games, and scph5502 is the European version.
- Go back to your Xbox Device Portal using the IP address found on the Xbox Dev Mode home screen.
- On the Xbox Device Portal, select File Explorer on the screen’s left side, and then LocalAppData. Select Retroarch, then Local State, and then System.
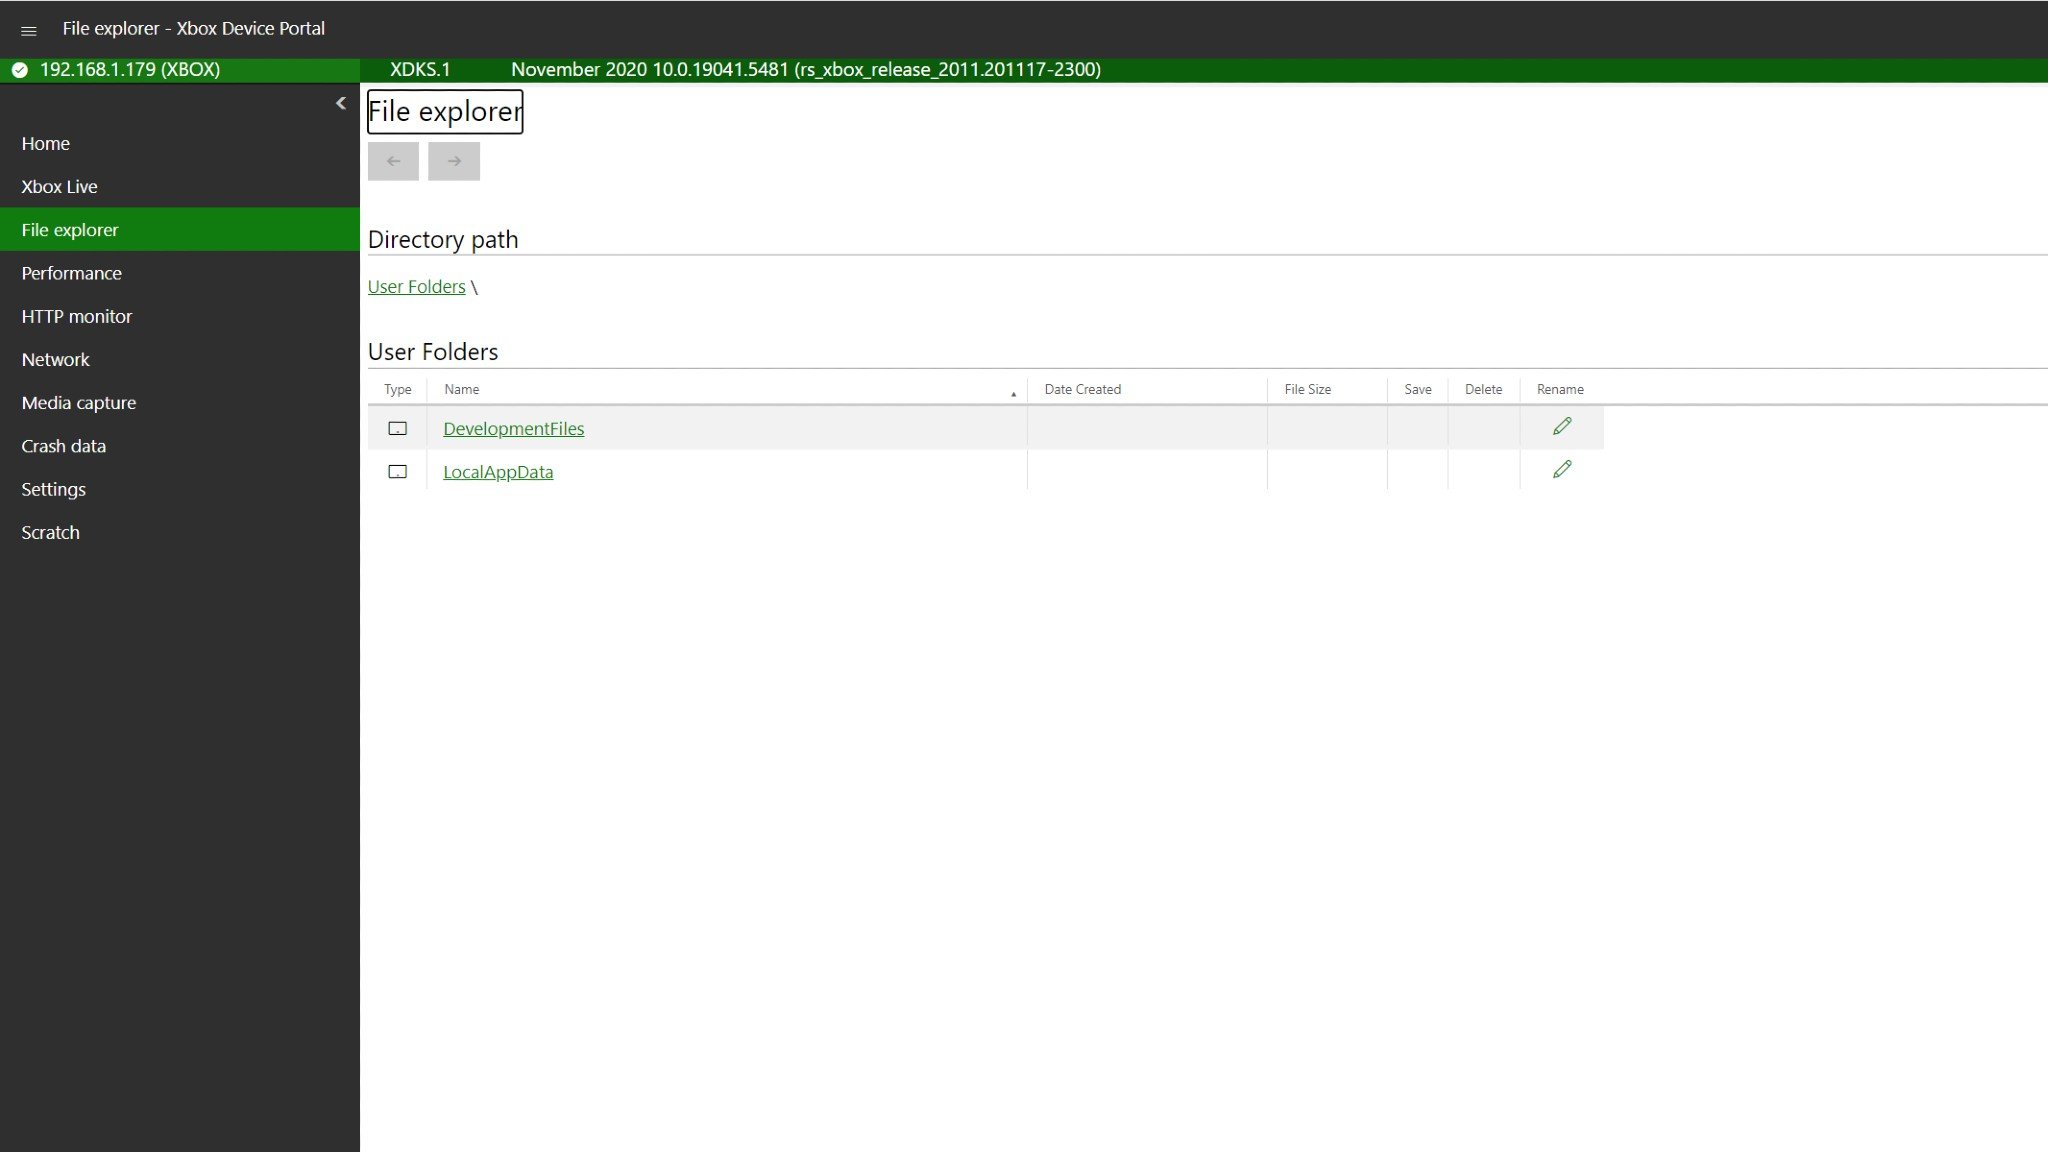
- Find the PlayStation bios and upload the .bin file.
- Now that the bios is in place, you’ll need some games. You can search the internet for them or dump your own.
- Once you have your games, you’ll need to move them to an external drive.
- I used a WD My Passport Portable External Hard Drive, but any high-speed external drive or USB thumb drive should work. Check out our choices for the best external hard drives for the Xbox Series X|S.
- Plug in your drive, and a menu should pop up and ask you if you want to format the drive or use Media Storage.
- Select Media Storage.
- Load up Retroarch.
- Scroll down to Load Content.
- Scroll down to the E:/ drive.
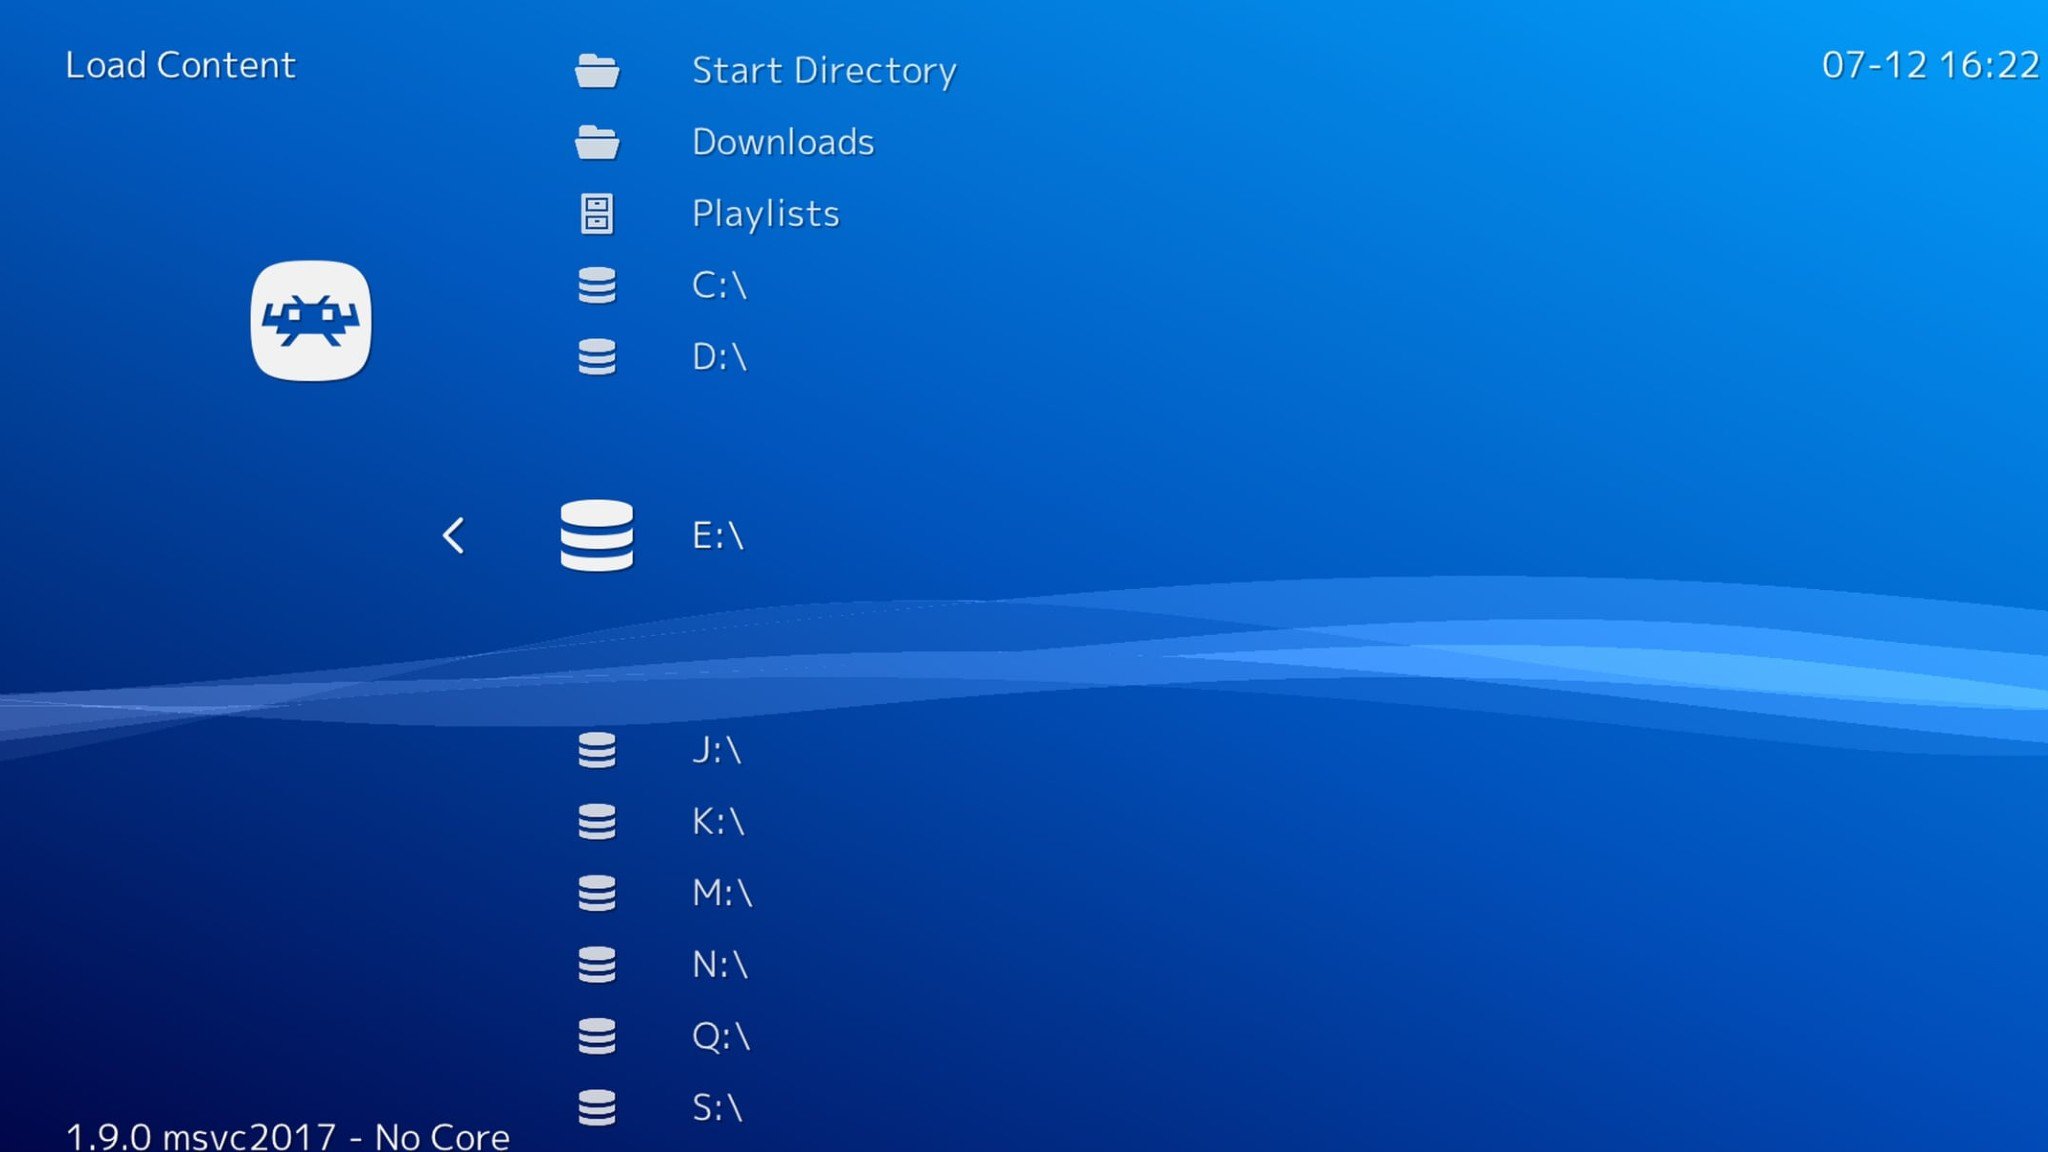
- Find the PS1 game you want to play and load up the .cue file.
- Choose the Sony – Playstation (Beetle PSX HW) core.
- Your game should start up just like it did on the original PlayStation!
Leave A Comment?