Situatie
Instalare Open SSH pe Windows 10.
In cazul in care doriti sa transferati fisiere securizat ar fi recomandat sa folositi un sistem cu encriptie cum ar fi OpenSSH obisnuit folosit pe Linux dar se poate folosi si pe Windows.
Prerechizite:
https://cygwin.com/setup-x86_64.exe
Solutie
Pasi de urmat
Se deschide executabilul de instalare:

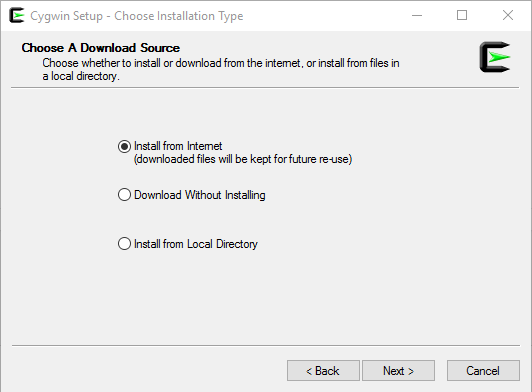
Se selecteaza Install from Internet:
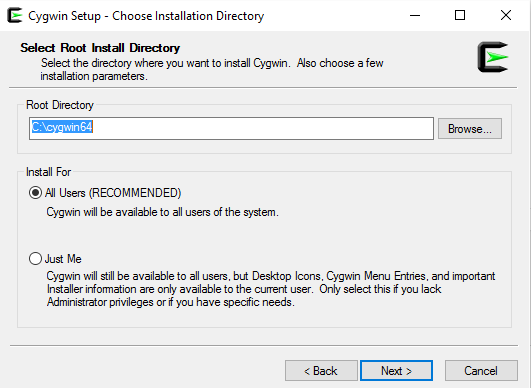
Se seteaza directorul:
Se seteaza directorul de salvare al pachetelor:

Se selecteaza Direct Connection:

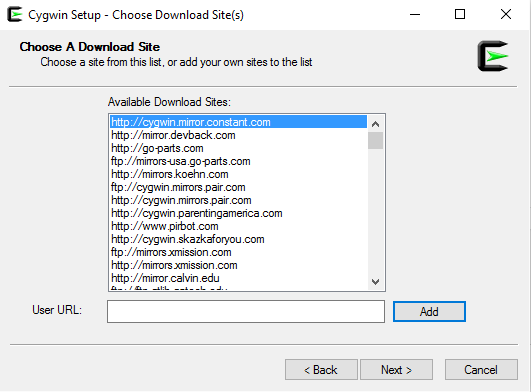
Se selecteaza unul din link-uri:
La cautare se scrie “openssh”, se bifeaza in dreptul coloanei Bin? :

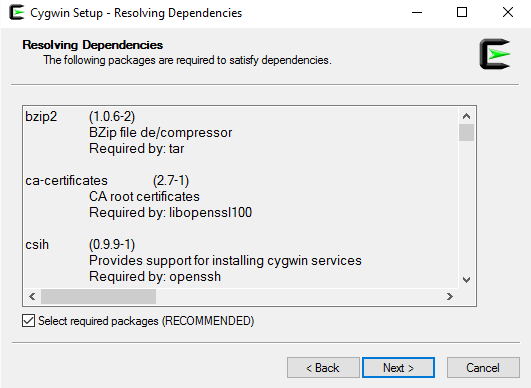
Se vizualizeaza pachetul ce va fi instalat:
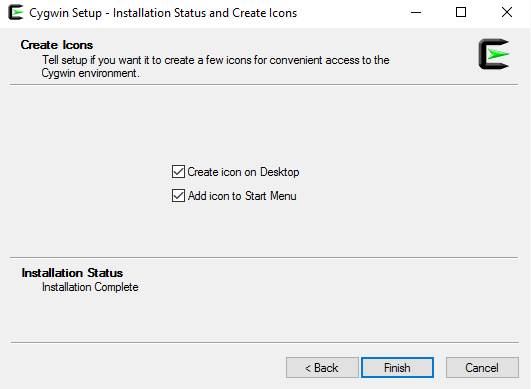
Se finalizeaza instalarea:
Se editeaza la Windows environment calea pentru Cygwin:

Se executa Cygwin ca administator:
Se deschide editarea ssh-ului:
ssh-host-config

Se raspunde la intrebarile editorului:
*** Query: Should privilege separation be used? <yes/no>: yes
*** Query: New local account 'sshd'? <yes/no>: yes
*** Query: Do you want to install sshd as a service?
*** Query: <Say "no" if it is already installed as a service> <yes/no>: yes
*** Query: Enter the value of CYGWIN for the deamon: [] binmode ntsec
*** Query: Do you want to use a different name? (yes/no) yes/no

Daca exista un utilizator predefinit pentru SSH se va selecta "yes".

*** Query: Enter the new user name: askit
*** Query: Reenter: askit
*** Query: Please enter the password for user 'askit':
*** Query: Reenter:
*** Info: The sshd service has been installed under the 'askit'
*** Info: account. To start the service now, call `net start sshd' or
*** Info: `cygrunsrv -S sshd'. Otherwise, it will start automatically
*** Info: after the next reboot.

*** Info: Host configuration finished. Have fun!

Serviciul a fost configurat!
Leave A Comment?