Situatie
Solutie
The locate Command
The locate command is designed to find files and directories based on their names, or parts of their names—almost instantly. It’s incredibly fast because it doesn’t actually search your file system in real time. Instead, it queries a pre-built database, commonly named mlocate.db, plocate.db, or simply locate.db, depending on your distribution.
This database isn’t updated in real time. If you’ve just created or deleted a file, locate might not know about it until the next database update. The database is refreshed regularly by a system process, typically via a cron job that runs daily. You can also manually update the database using “sudo updatedb”, although indexing the entire file system can take some time.
The basic syntax is refreshingly simple:
locate -i filename

If the file exists and the database is up-to-date, locate will list all paths containing “my_script.sh”. The -i option makes your search case-insensitive.
locate vs. mlocate vs. plocate
Over time, the original locate utility was replaced in most distributions by mlocate, which introduced important improvements—such as respecting user permissions, so you only see files you’re allowed to access.
When mlocate is installed, it provides the locate command itself. So even if you’re typing locate, you’re actually running mlocate in the background. You can confirm this by checking the version:
locate --version

This will show which locate version is handling your searches.
More recently, a newer implementation called plocate has started replacing mlocate in some distributions. plocate is faster and more efficient, using a compressed index to reduce search time and disk usage—especially helpful on systems with a large number of files. Fedora, for example, now uses plocate by default, and many other distributions are beginning to follow.
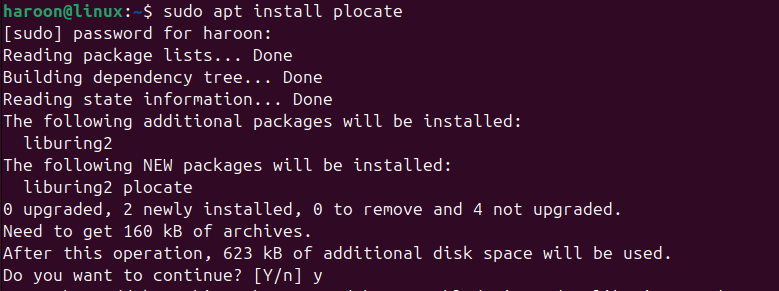
You can also install plocate using your default package manager like on Ubuntu, run:
sudo apt install plocate
The find Command
Unlike the locate command, the find command searches for files and directories in real time by directly traversing your specified directory hierarchy. It doesn’t rely on a database, which means it always returns the most up-to-date information. However, this also means it can be slower than locate, especially when searching for large file systems.
What makes find stand out is its ability to search based on a wide range of criteria—not just name, but also type, size, permissions, ownership, modification time, and much more. As if that weren’t enough, find can also execute arbitrary commands (like rm, cp, or chmod) on the files it finds using the -exec option.
Here is the basic syntax:
find [path] [options] [expression]
- path: Where to start the search (use . for the current directory)
- options & expression: What to look for and how to filter the results
For example, to find a file named config.xml within your home directory and its sub-directories, run:
find /home/your_username -name "config.xml"
find /var/log -iname "error*.log"

This would find files like error.log, Error.Log, and ERROR-messages.log within /var/log.
You can also search for specific types of files. For example, to find all directories (d) in the current path, use:
find . -type d
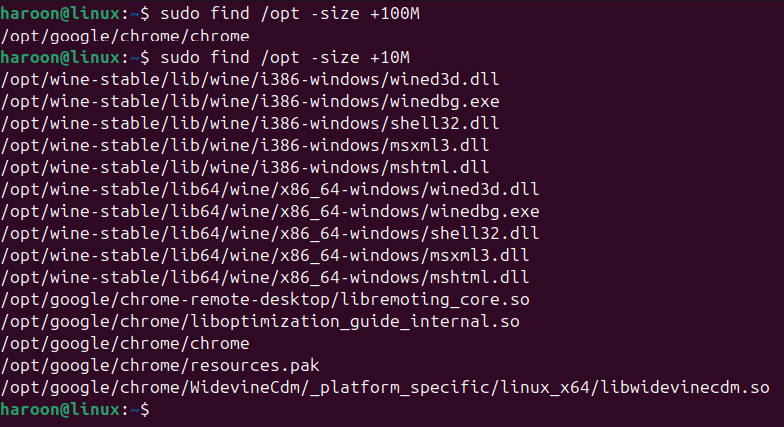
Or you can find files larger than any size, like 100 MB (+100M) in your /opt directory with:
find /opt -size +100M
Further, you can search for empty files, empty directories, or items based on their specific modification times. You can also run other commands on each file found using find, such as, deleting all .tmp files with this:
find . -name "*.tmp" -exec rm {} \;
The whereis Command
It’s particularly useful when you’re trying to understand how a command is installed on your system or when you’re troubleshooting issues with program execution.
Unlike locate and find, whereis searches only in a predefined set of directories where these types of files are typically stored—places like /bin, /usr/bin, and /usr/local/bin for binaries; /usr/share/man for manual pages; and various source code directories.
For example, if you want to find the ls binary, its source code (if available), and its man pages, you can run:
whereis ls

This will tell you the ls binary is located at “/bin/ls” and its man page is at “/usr/share/man/man1/ls.1.gz.”
If you only care about the executable path, use the -b (binary) option:
whereis -b ls
To find just the manual pages, use the -m (man) option:
whereis -m bash
You can also ask whereis about multiple commands at once:
whereis grep sed awk

Often, source files aren’t installed by default. In such cases, the output may include only the command name if no source is found in the standard locations.
When to use Each Command
You can use the locate command when you want a fast, system-wide overview of where specific files with a certain name exist. Also, it works best when you’re reasonably sure the file isn’t brand new, or you’ve recently refreshed the database.
On the other hand, the find command is more suitable when you need to search based on criteria other than just the name, such as file size, type, permissions, or modification date. It’s especially useful when you want to search a specific directory tree deeply, or when the file you’re looking for might be new and not yet included in the locate database. find also shines when you need real-time results or want to perform actions like deleting, copying, or changing permissions on the files you find.
The whereis command comes in handy when you specifically need to locate a command’s executable binary, source files, or manual pages. It’s particularly useful when you’re troubleshooting issues with your system’s PATH or trying to understand where and how a program is installed.
Leave A Comment?