Situatie
Screenshots don’t have to clutter up your gallery or take up your cloud storage, and you don’t have to delete them manually either. If you’re on Android, you can set your phone to automatically clear up old screenshots.
Solutie
Your phone’s default gallery app might already have a solution for automating screenshot cleanup. This varies heavily between manufacturers. For example, Samsung has something called a “delete after sharing” feature, which, once enabled, automatically deletes screenshots that have been shared in an app like WhatsApp. It doesn’t auto-clear all screenshots, though. Pixel phones use the Google Photos app as the default gallery, which has a button for automatically archiving old screenshots. The Photos archive keeps them out of sight, but still available in storage.
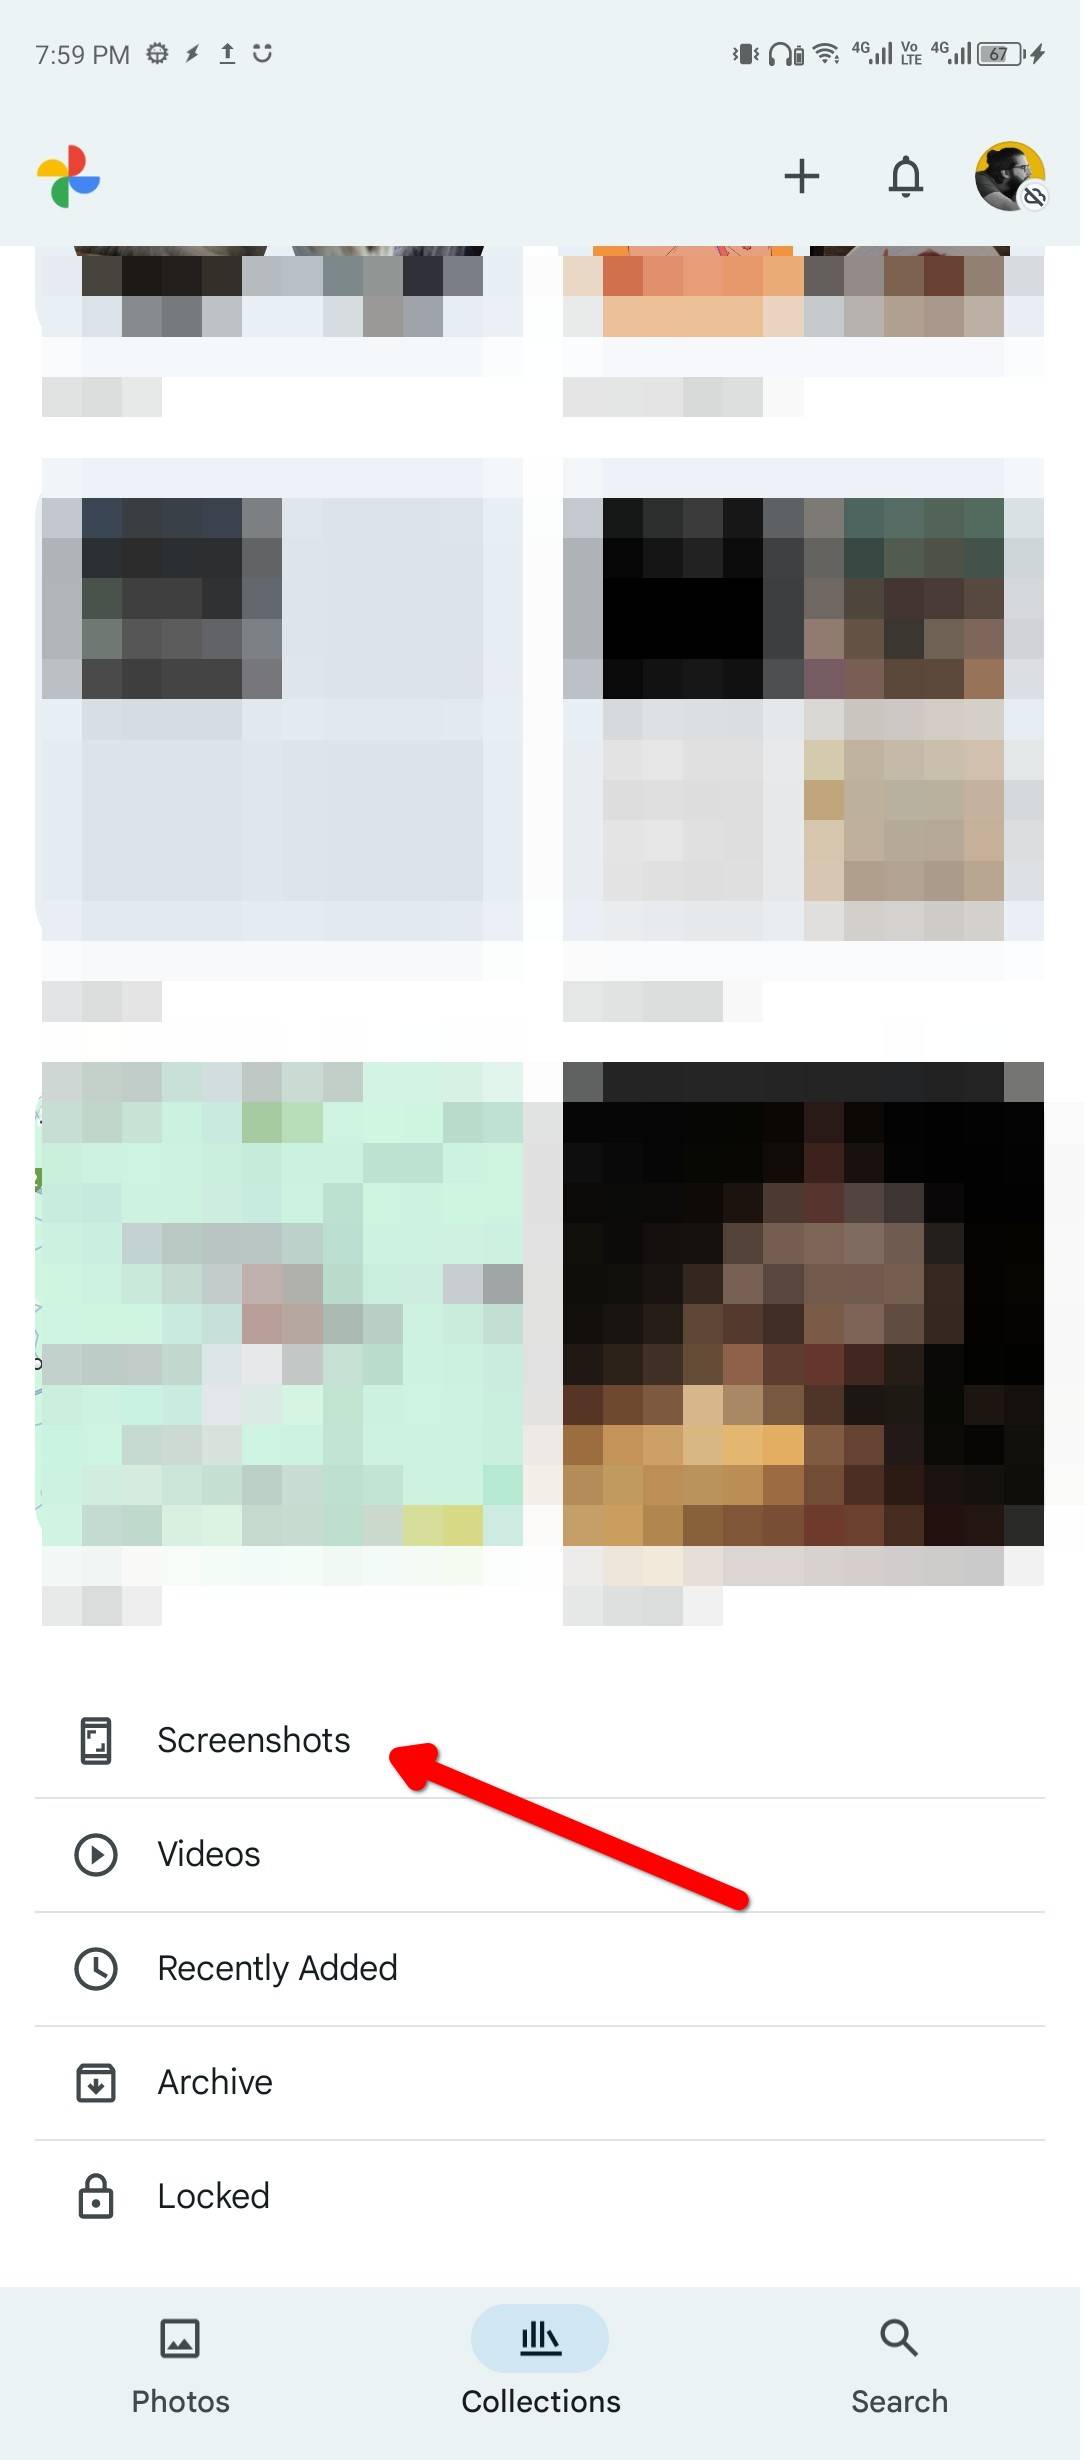
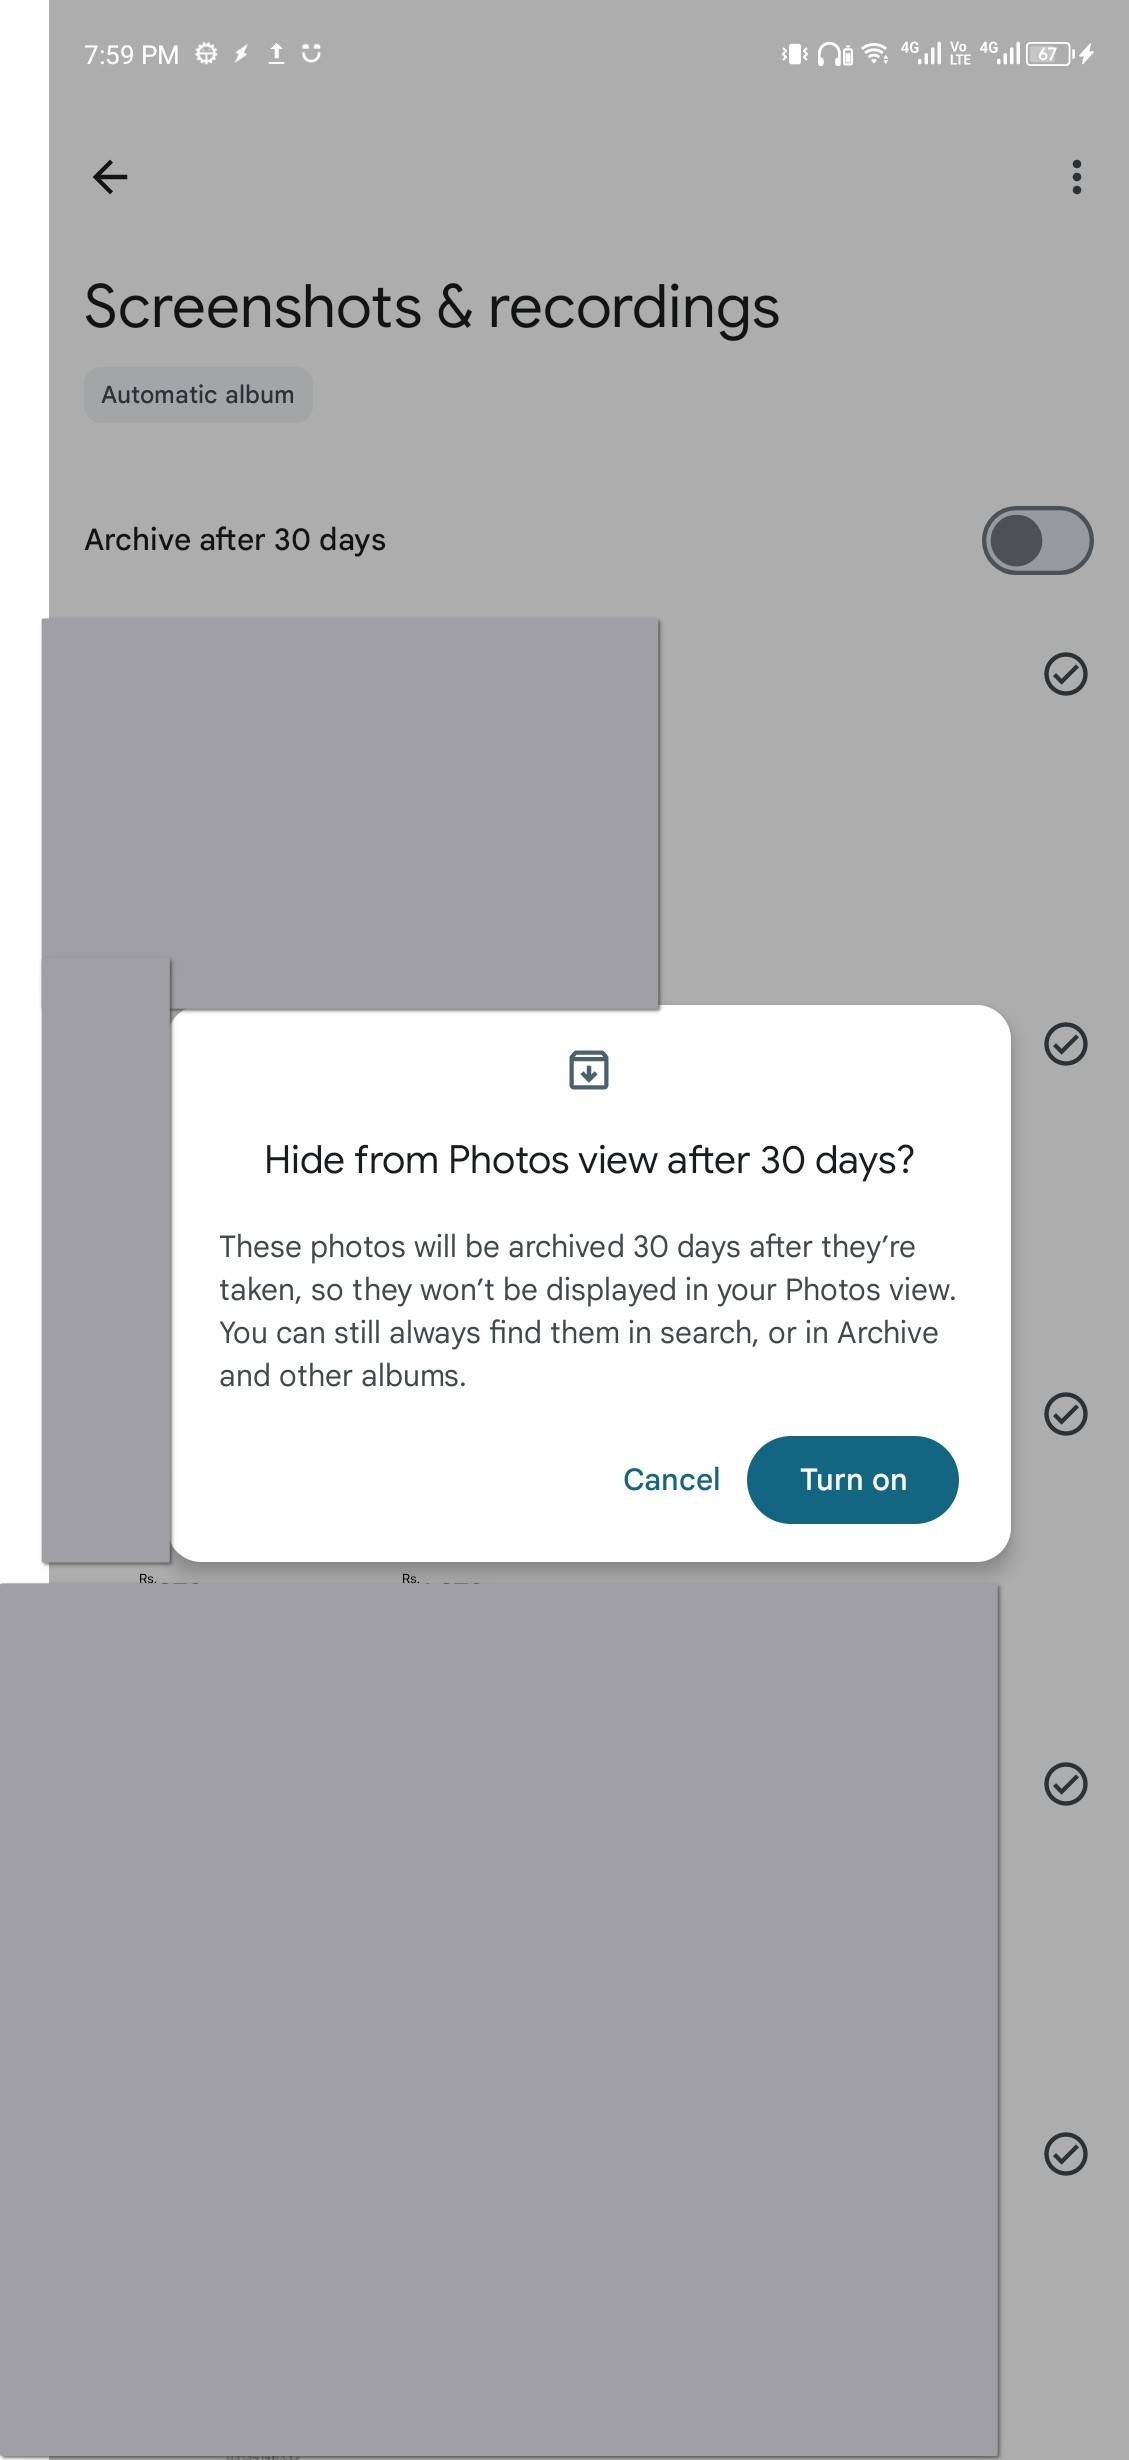
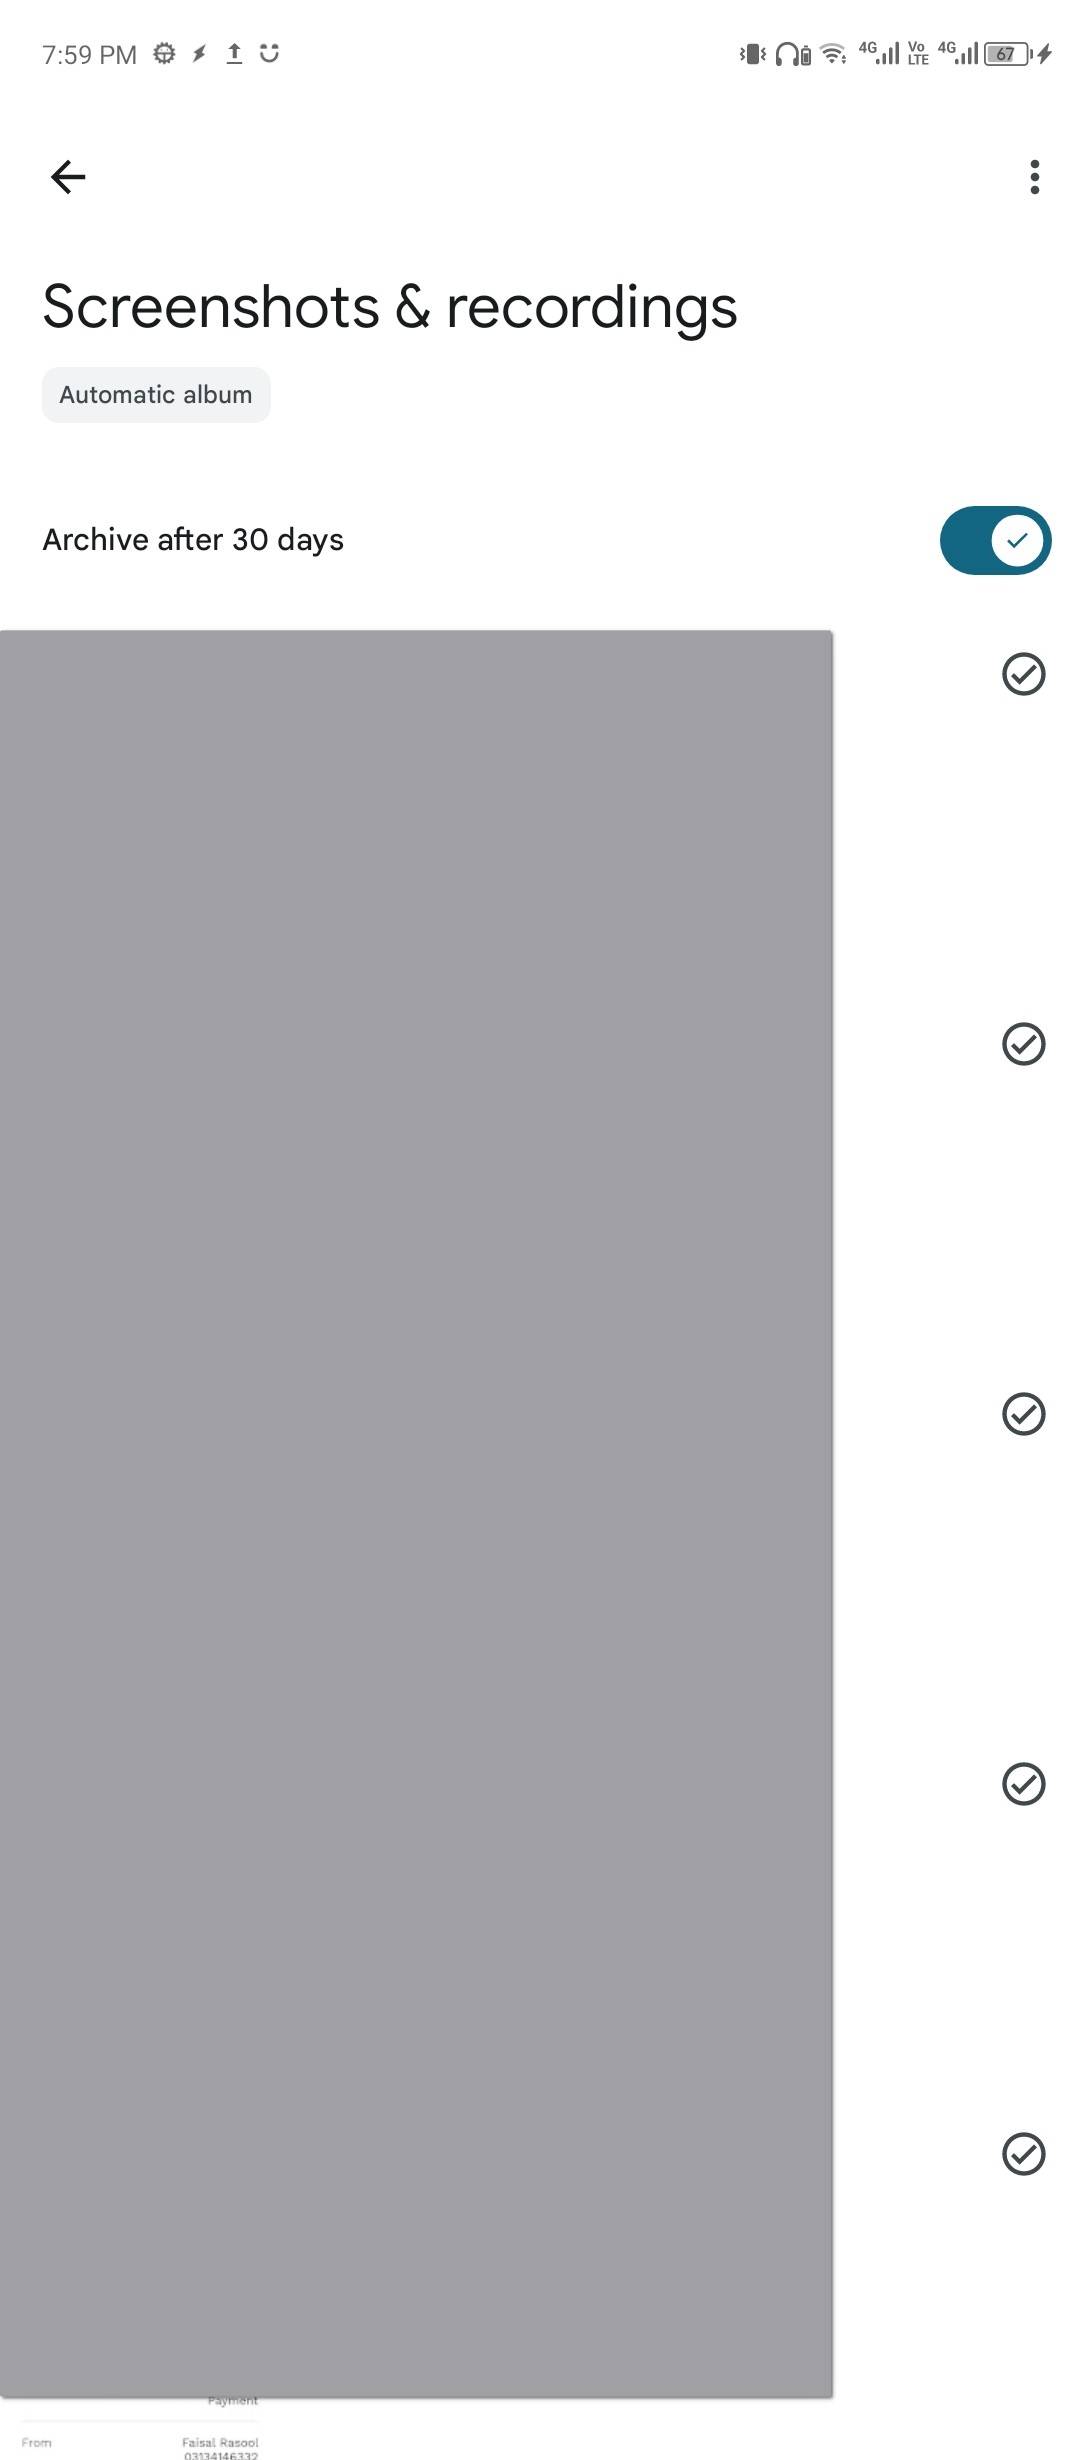
If your phone doesn’t have the app already, you can install Photos from the Play Store and go to the Collections tab. Scroll down until you find the “screenshots” button. Tap and it’ll take you to the “Screenshots & Recordings” folder. It’s an automatic album where Photos saves screen recordings and screenshots, and if you tap the “Archive After 30 Days” toggle, it’ll automatically clear up screenshots older than 30 days. You can still find them in the Archive folder under the Collections tab.
Google Photos doesn’t delete screenshots, and you can’t choose when it runs the automation, or how. For actual control, you can set up an automated system. Don’t worry, it’s easier than it sounds.
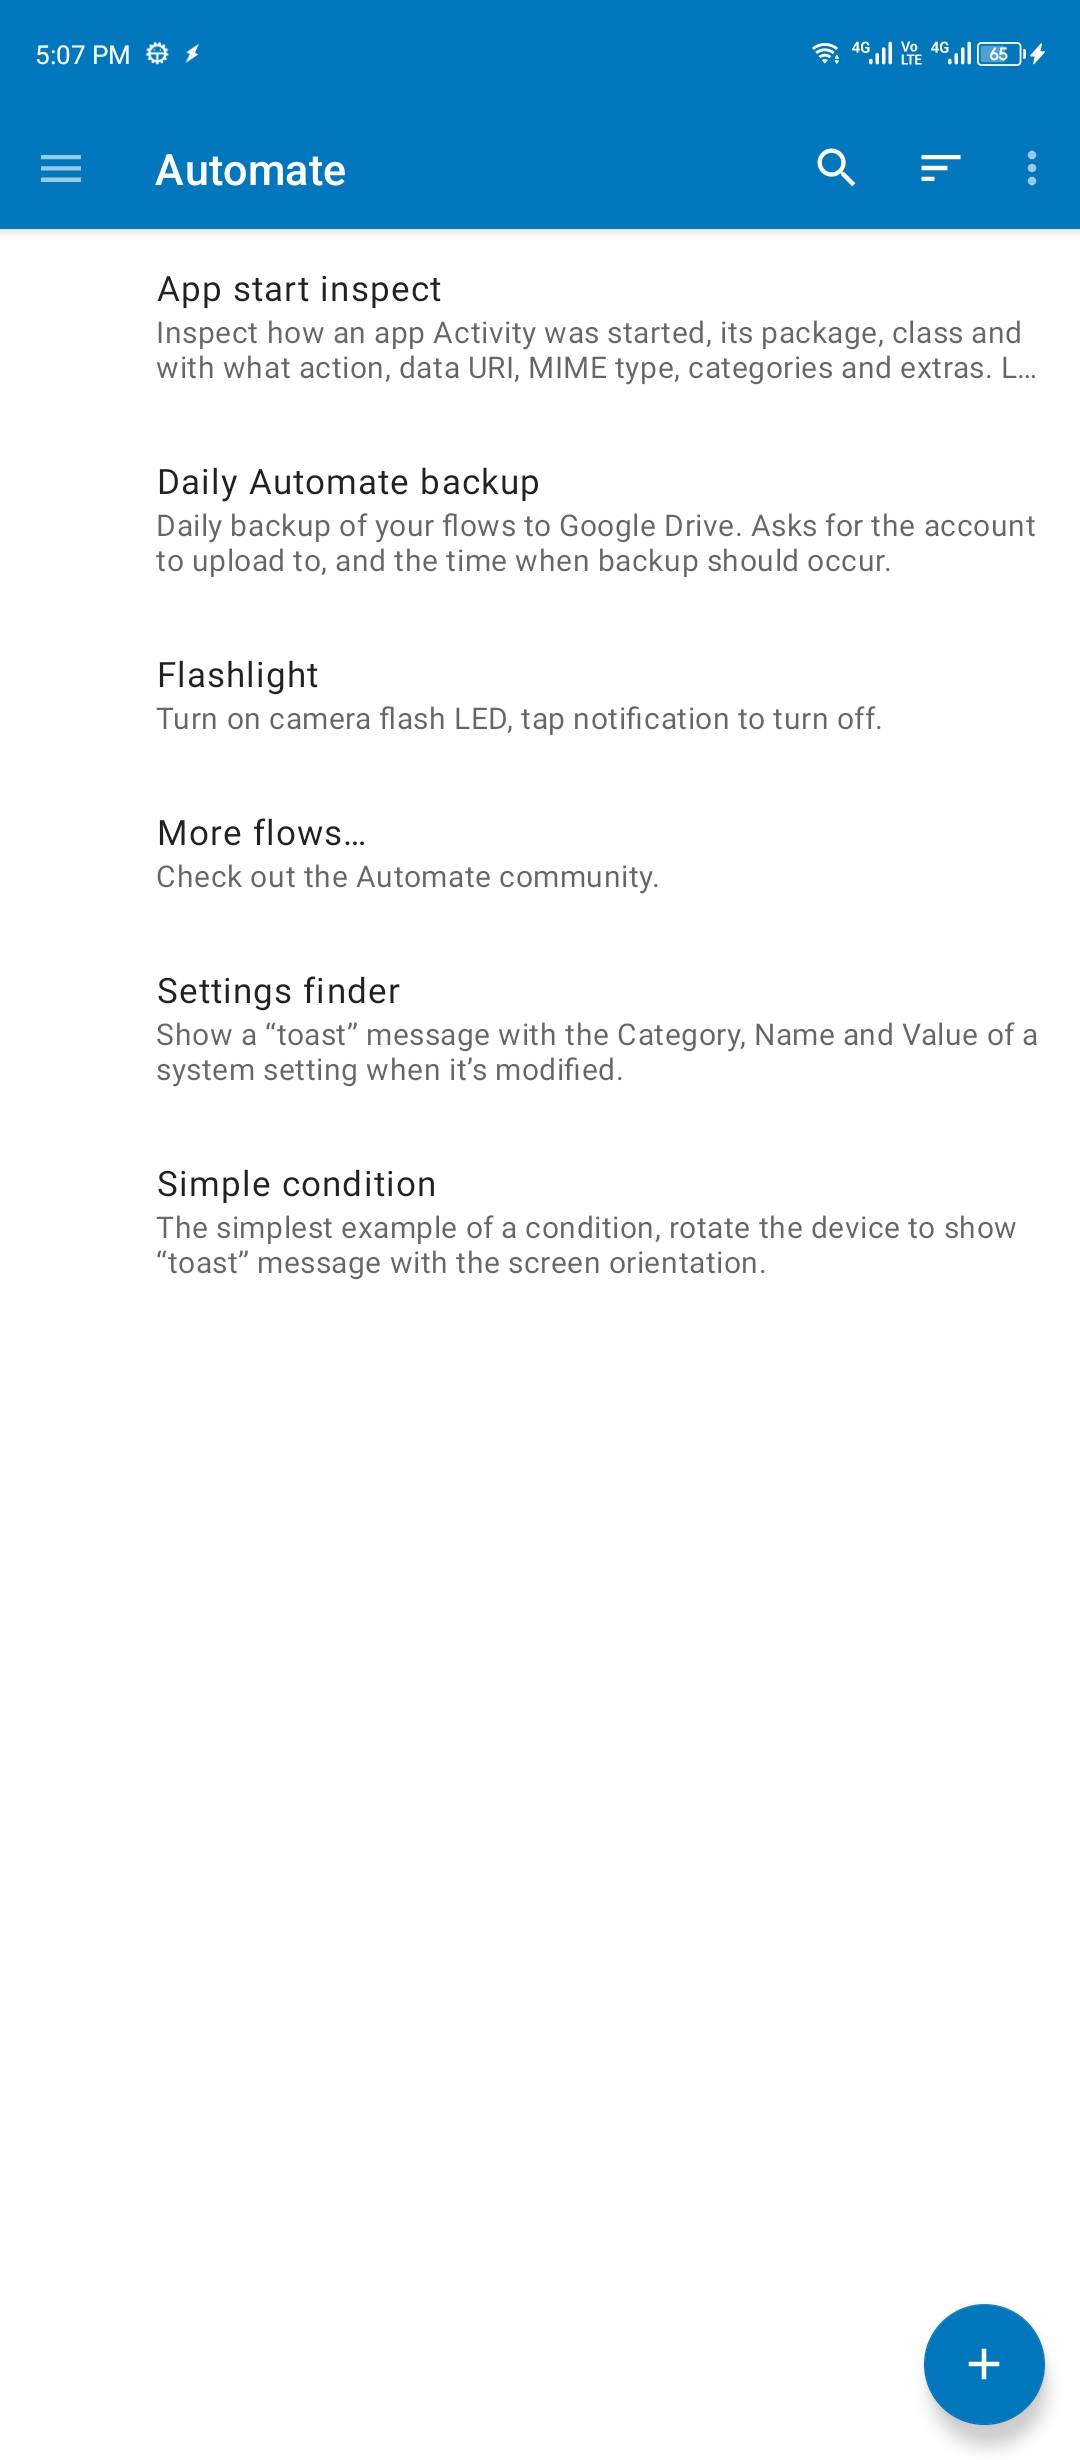
The app we’re using for this is called Automate by LlamaLabs. It’s totally free and has excellent documentation. Also, you can join its active Reddit or Google Groups communities for troubleshooting and learning. I’ll show you how you can use Automate to build a flow that automatically handles your screenshots once set up.
You can also build similar flows in MacroDroid or Tasker, but those are paid apps focused on more advanced automation tasks. If you’ve ever used PowerAutomate for Windows, you’ll feel right at home here. The Automate app works with “blocks,” joined together in a flow chart fashion. Let’s start.
Install Automate and accept its terms and conditions to go to the dashboard. Here, you’ll see five default automation flows already available. We’ll create our own, though. Tap the “+” icon at the bottom and give the new automation flow a name.


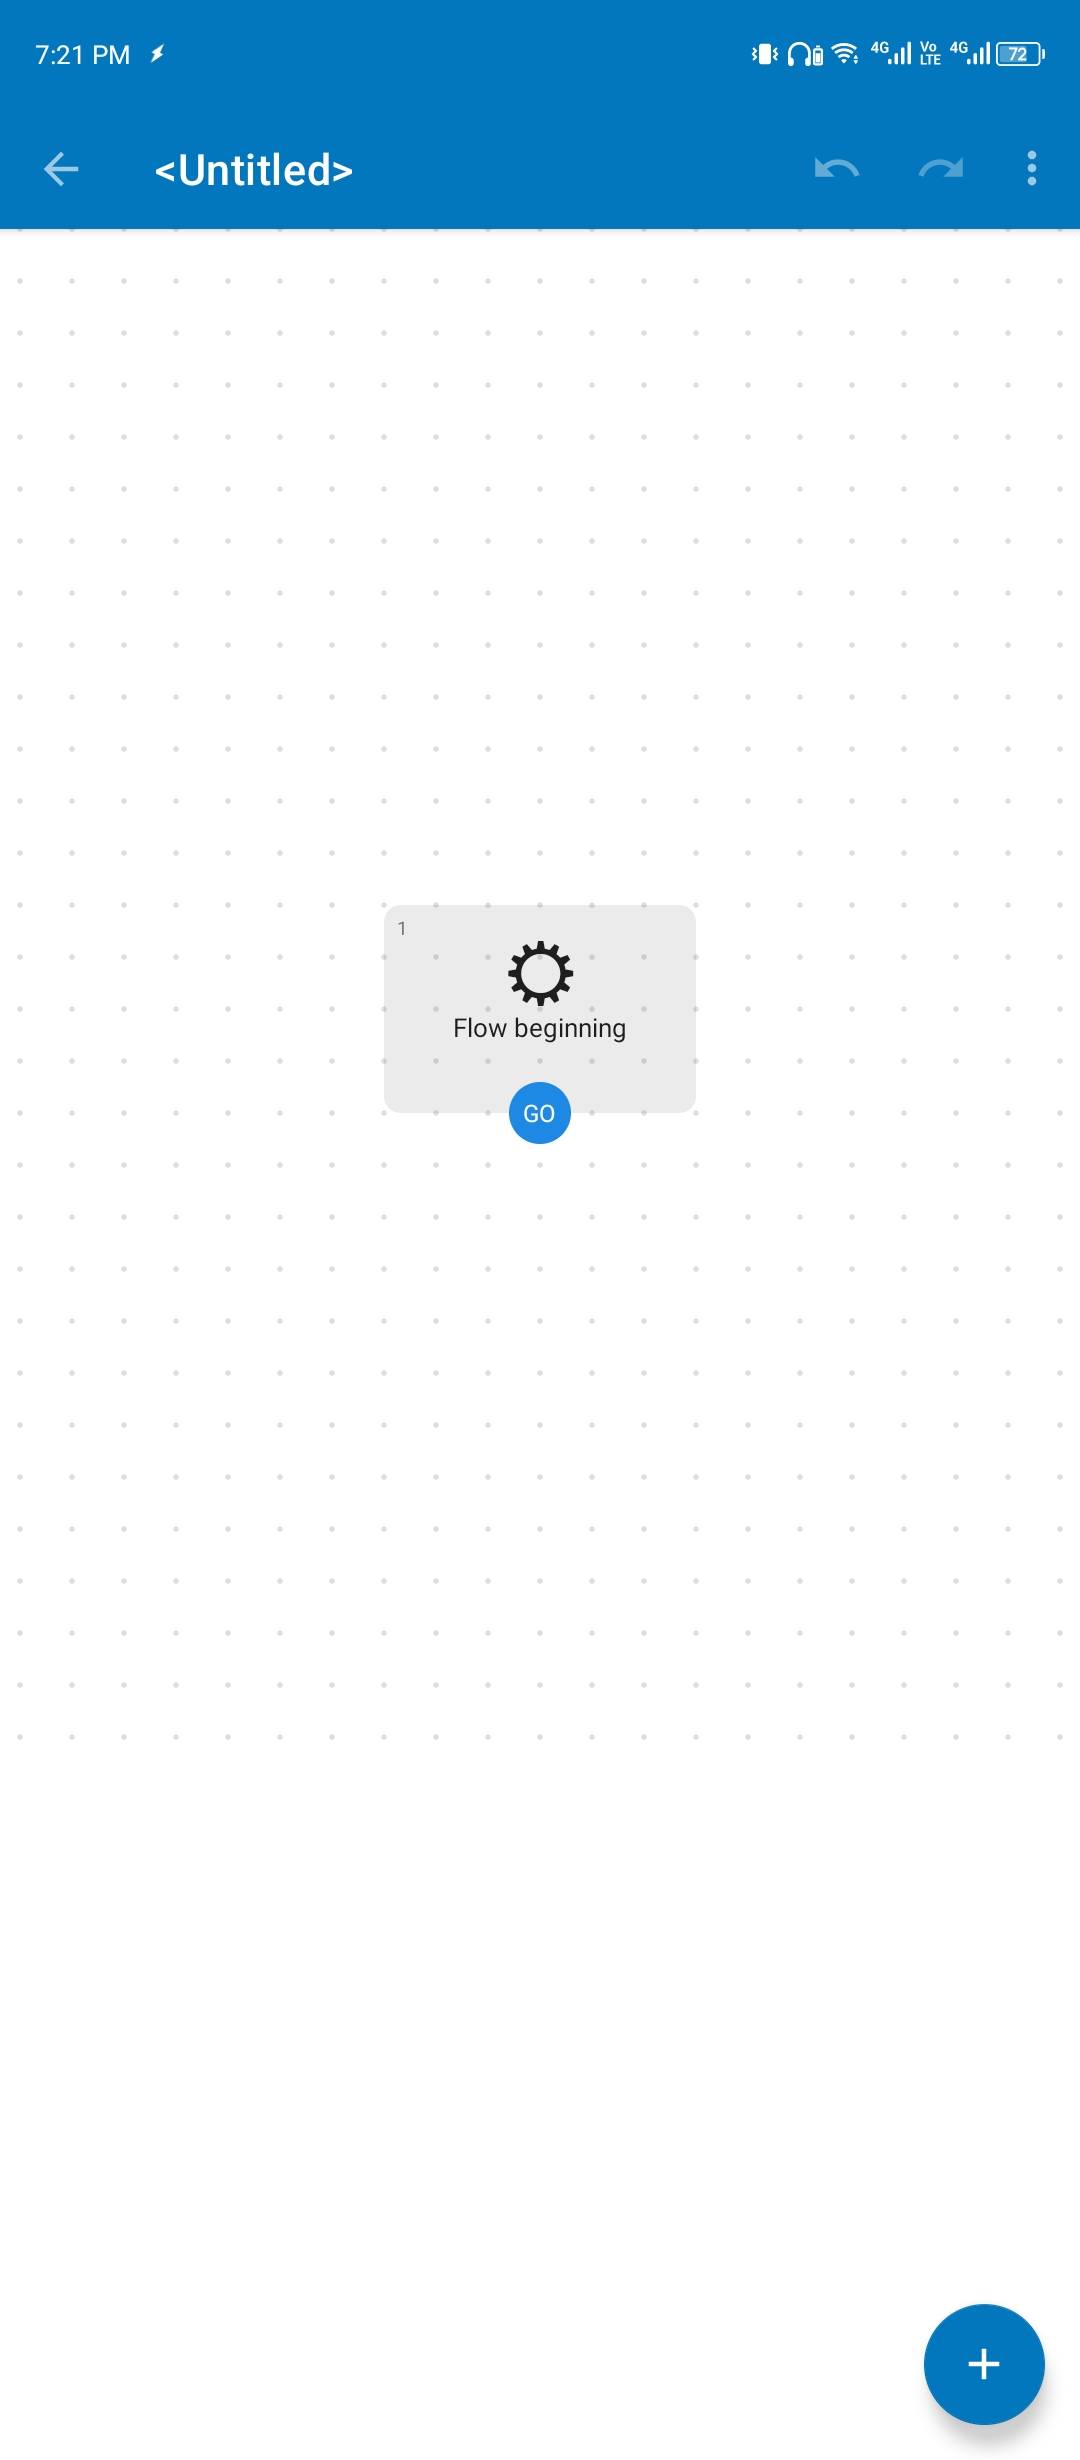
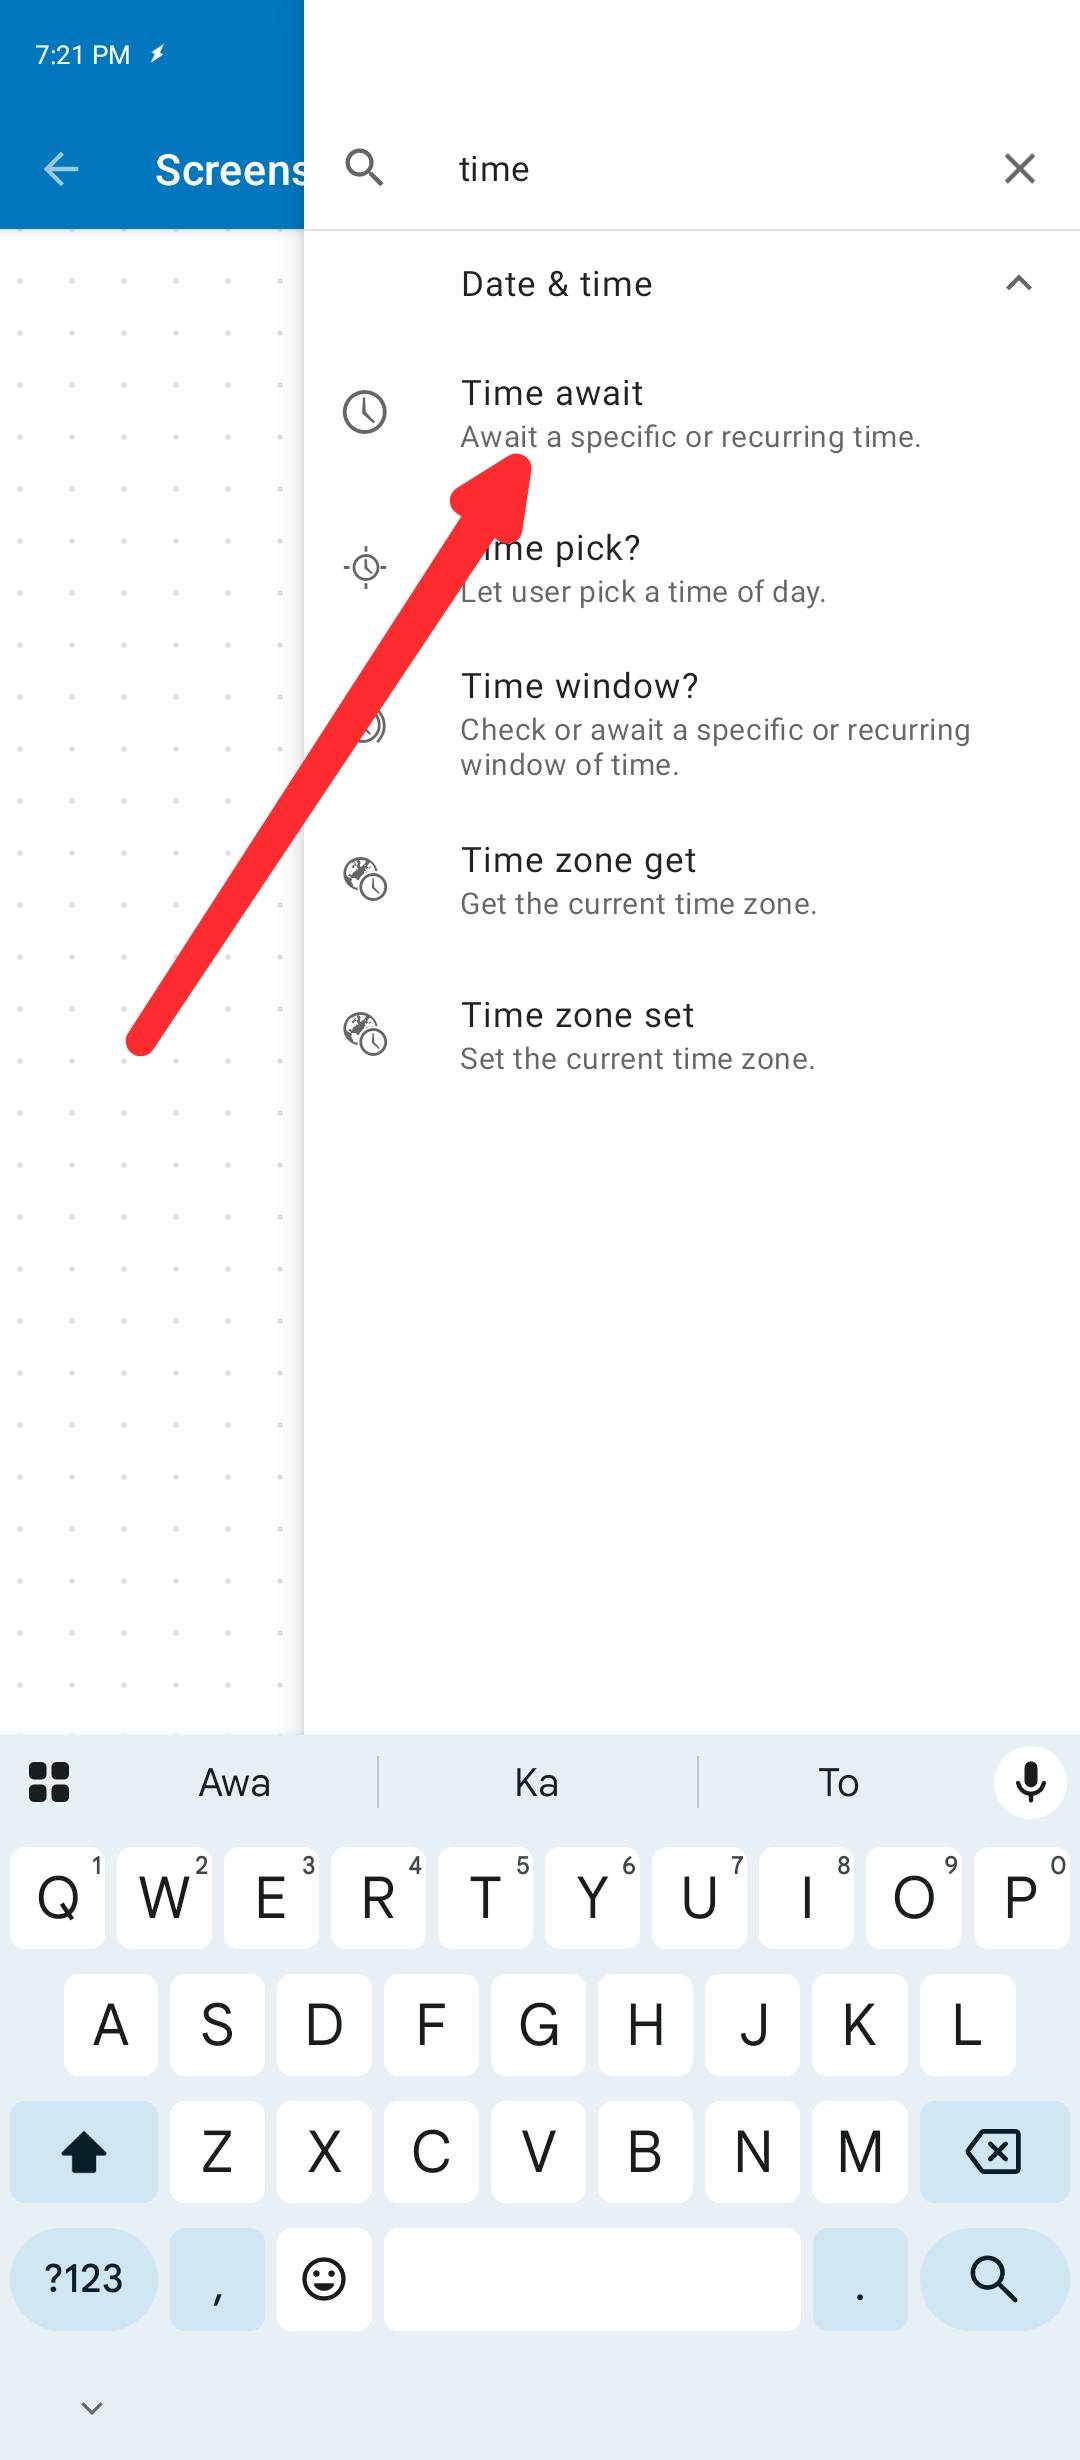
Right now, there is only one block on the canvas called “flow beginning.” That’s the root. Leave it be. Tap the + icon again and tap the “Time Await” block under the Time and Date section. You can also search for “time await” in the search bar.
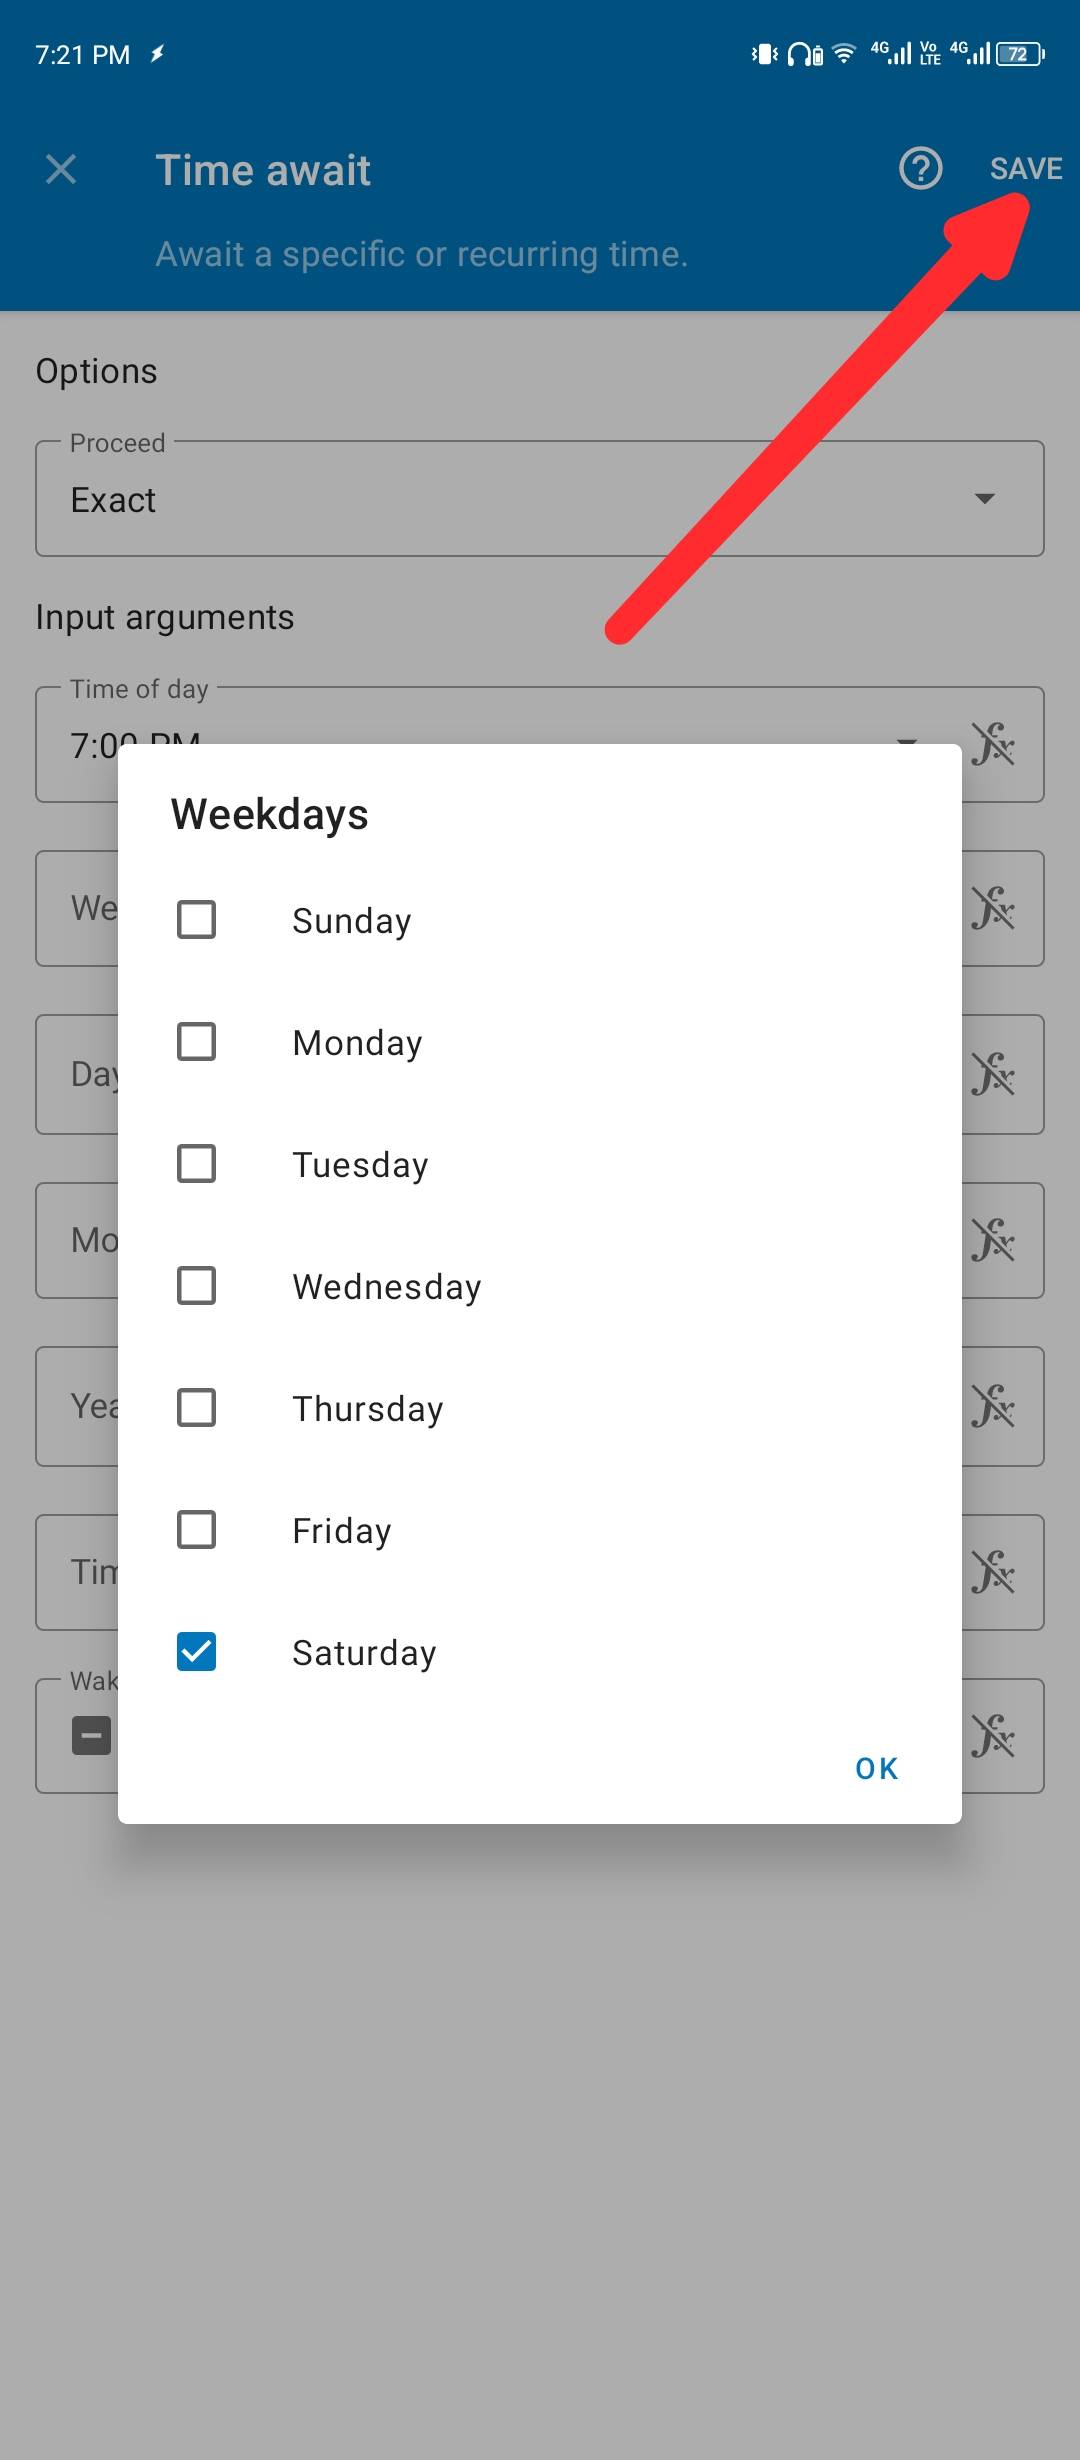
Then tap the block that appears on the canvas and choose the day or days and the time the automation should run. I chose Saturday at 7:00 PM. Now tap “Save”.
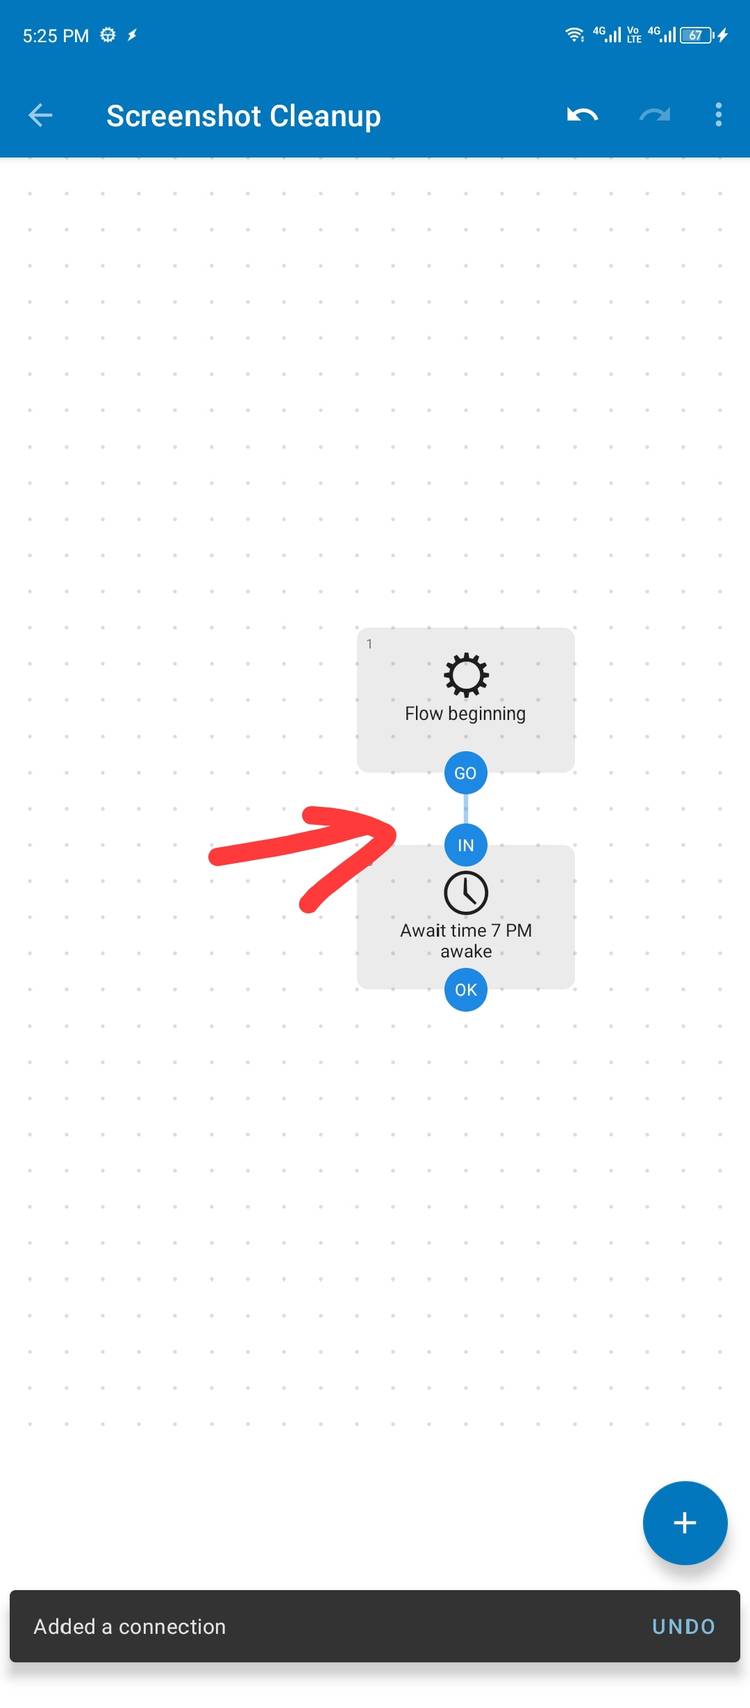
Right now, there’s nothing connecting our two blocks. Use your finger to draw a line between the two blocks to create a connection. Automate will now initialize this flow every Saturday, at 7:00 PM. Save it.
Once it’s initialized, here’s what the flow is supposed to do. It is supposed to find all the screenshot files in storage, and for each file, it needs to delete it. Let’s set that up next.
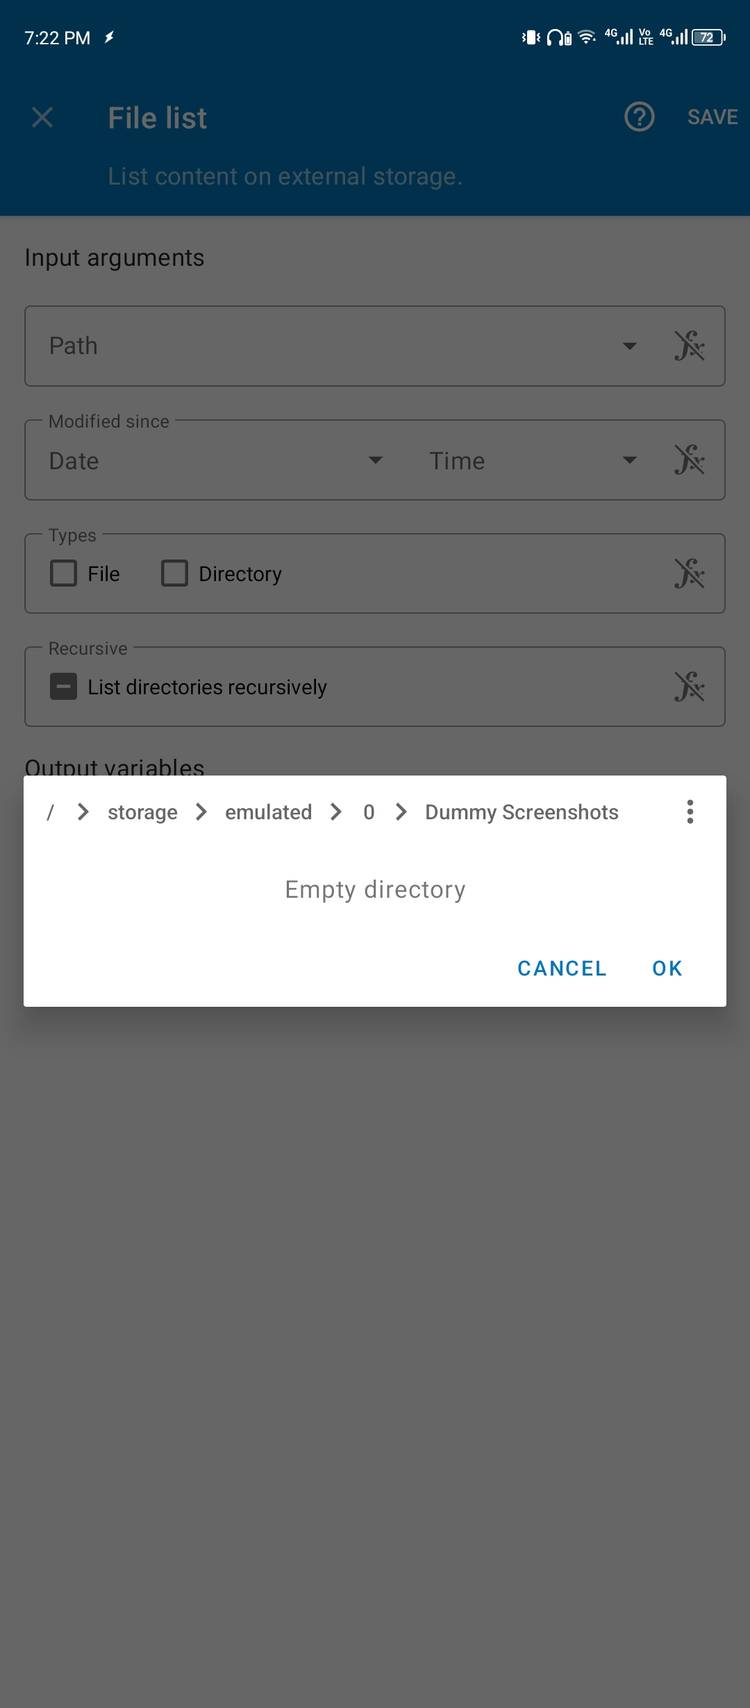
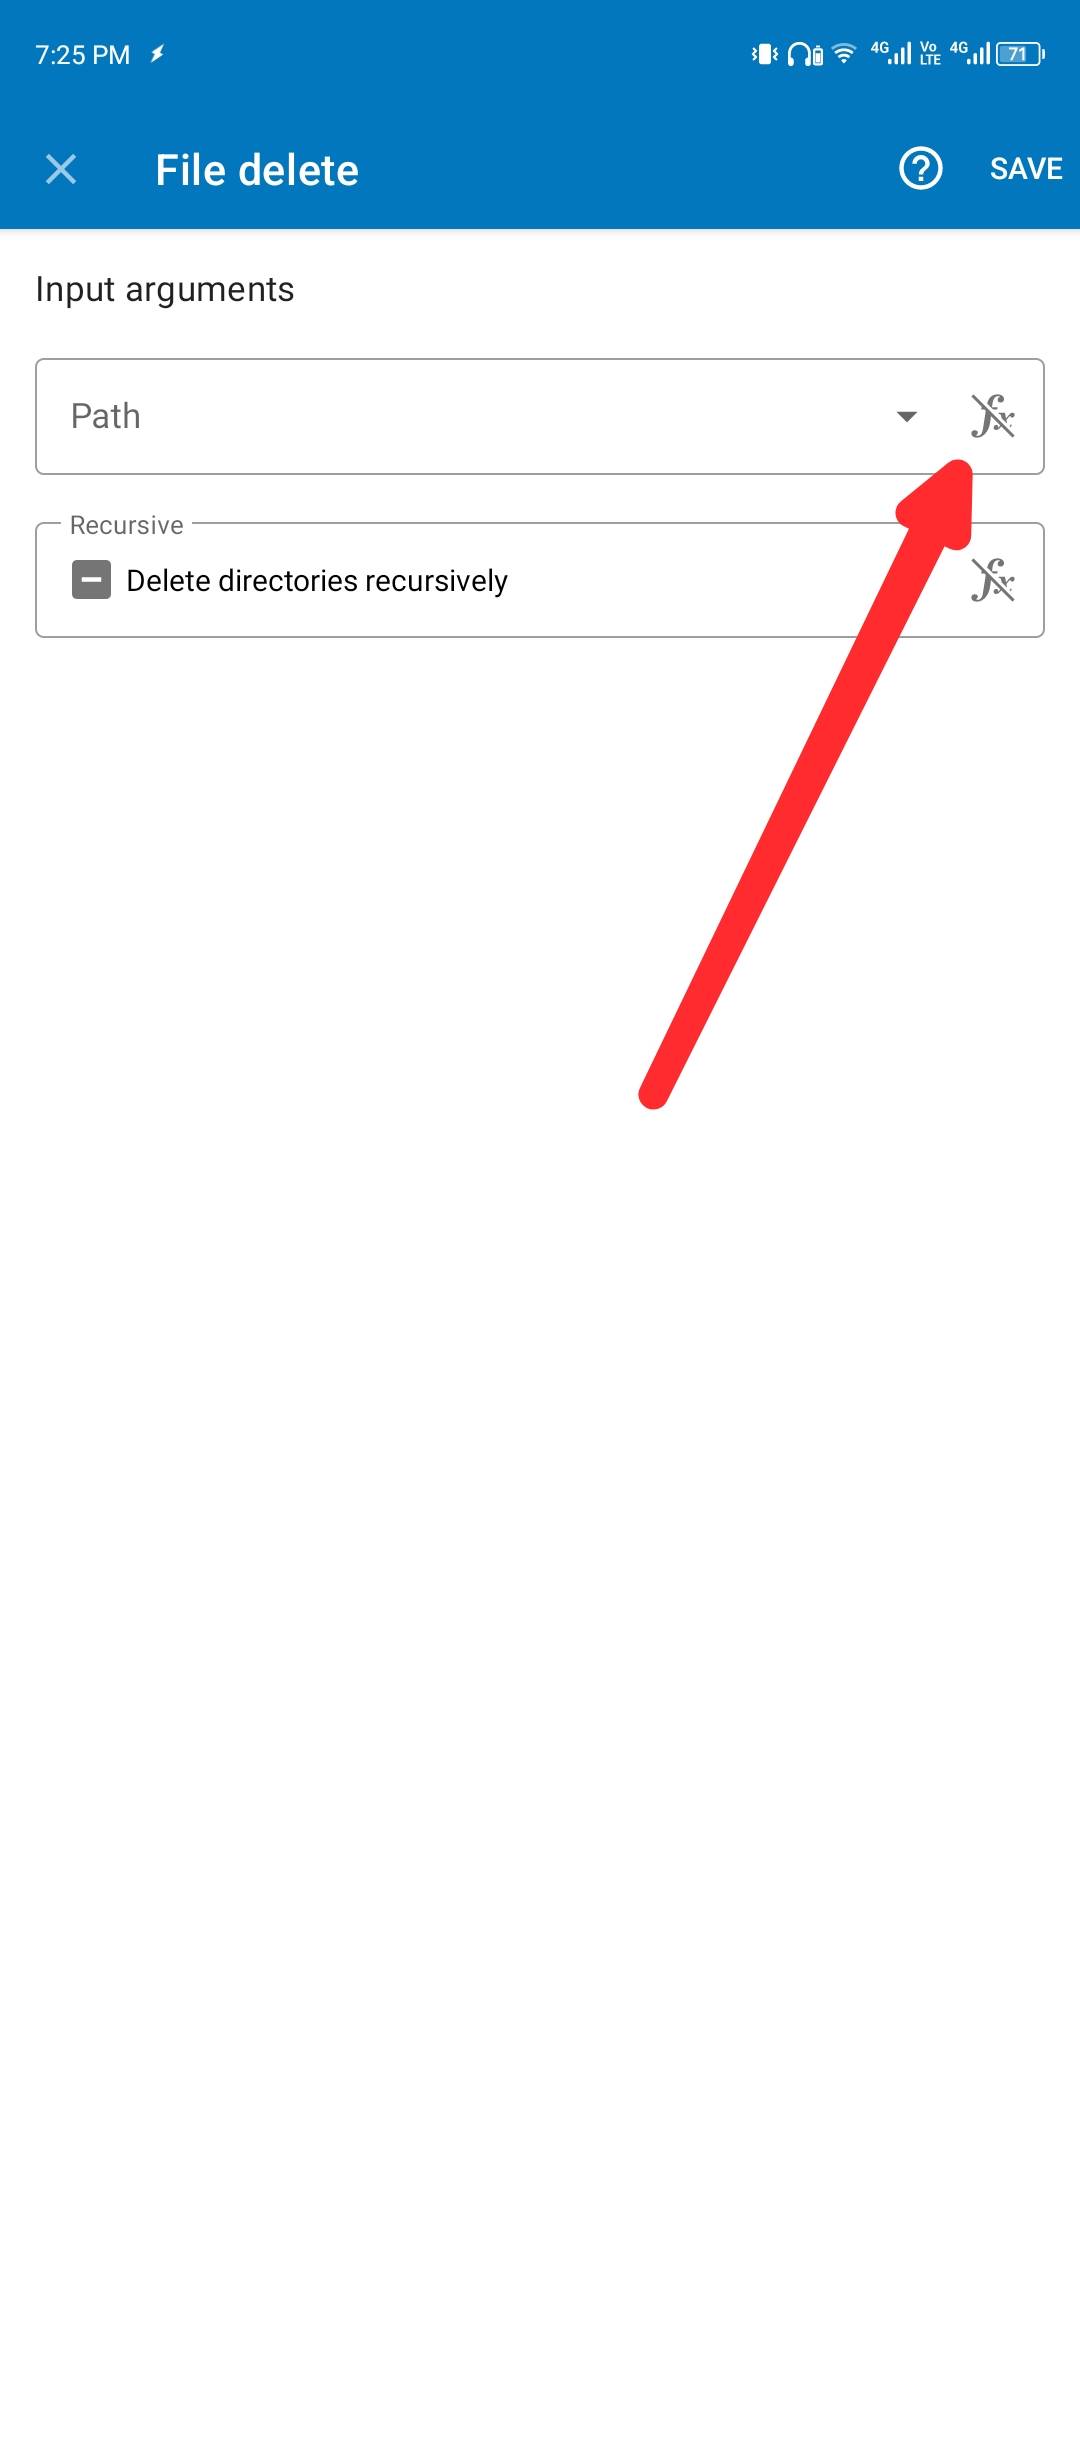
Search “file list” in the pane by tapping the + icon again. Tap the File List block and add the screenshot folder here by navigating to it. Usually, it’s in the Pictures or DCIM directory.
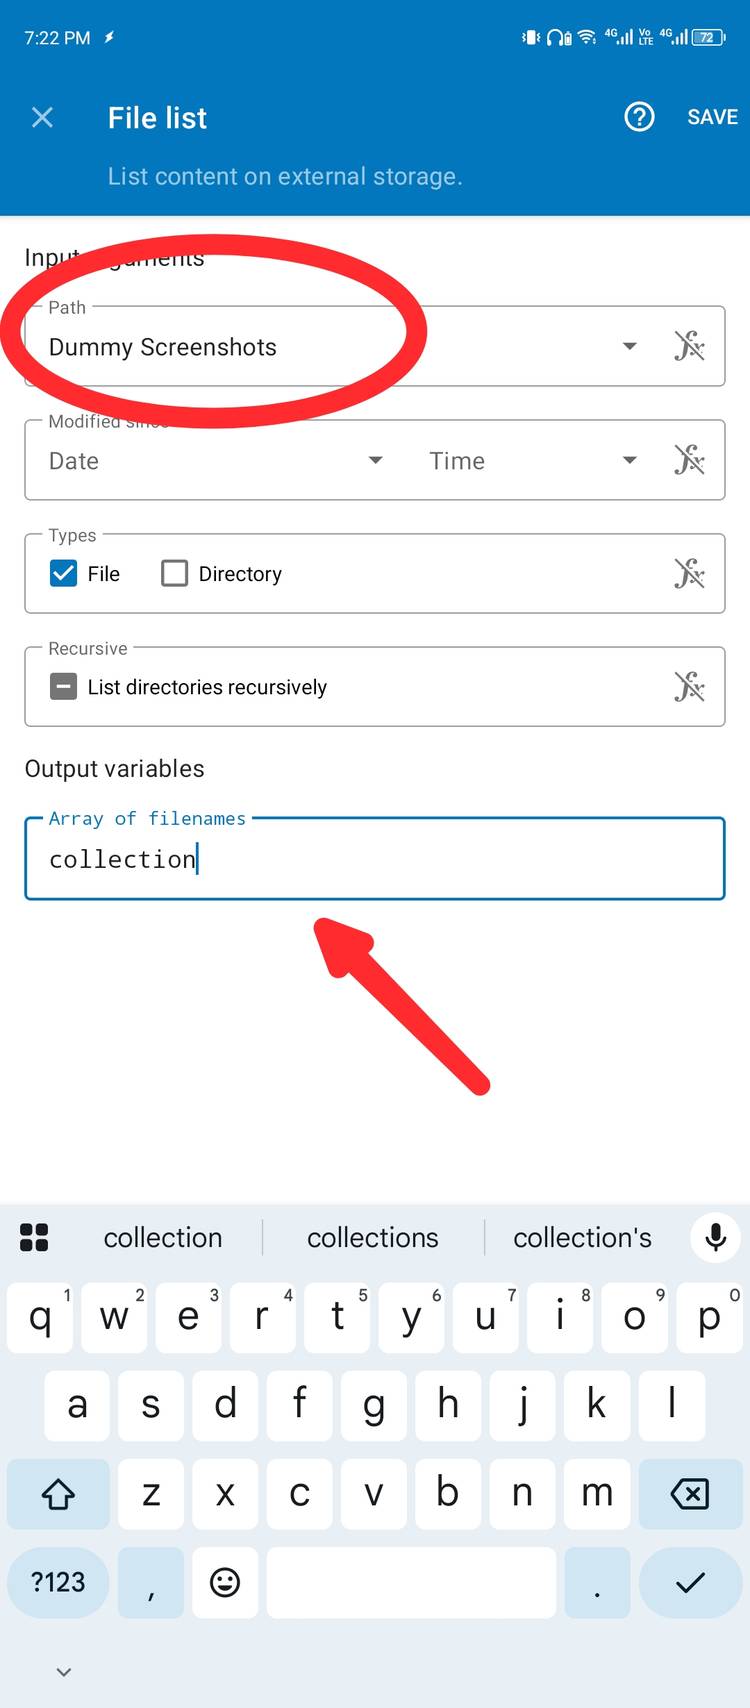
Under Types, select File, and under Output Variables, set it to anything you like. I named the variable “collection”, which will become a table containing a list of all file names in the screenshot folder. Leave the rest of the options blank and unchecked. Hit save.
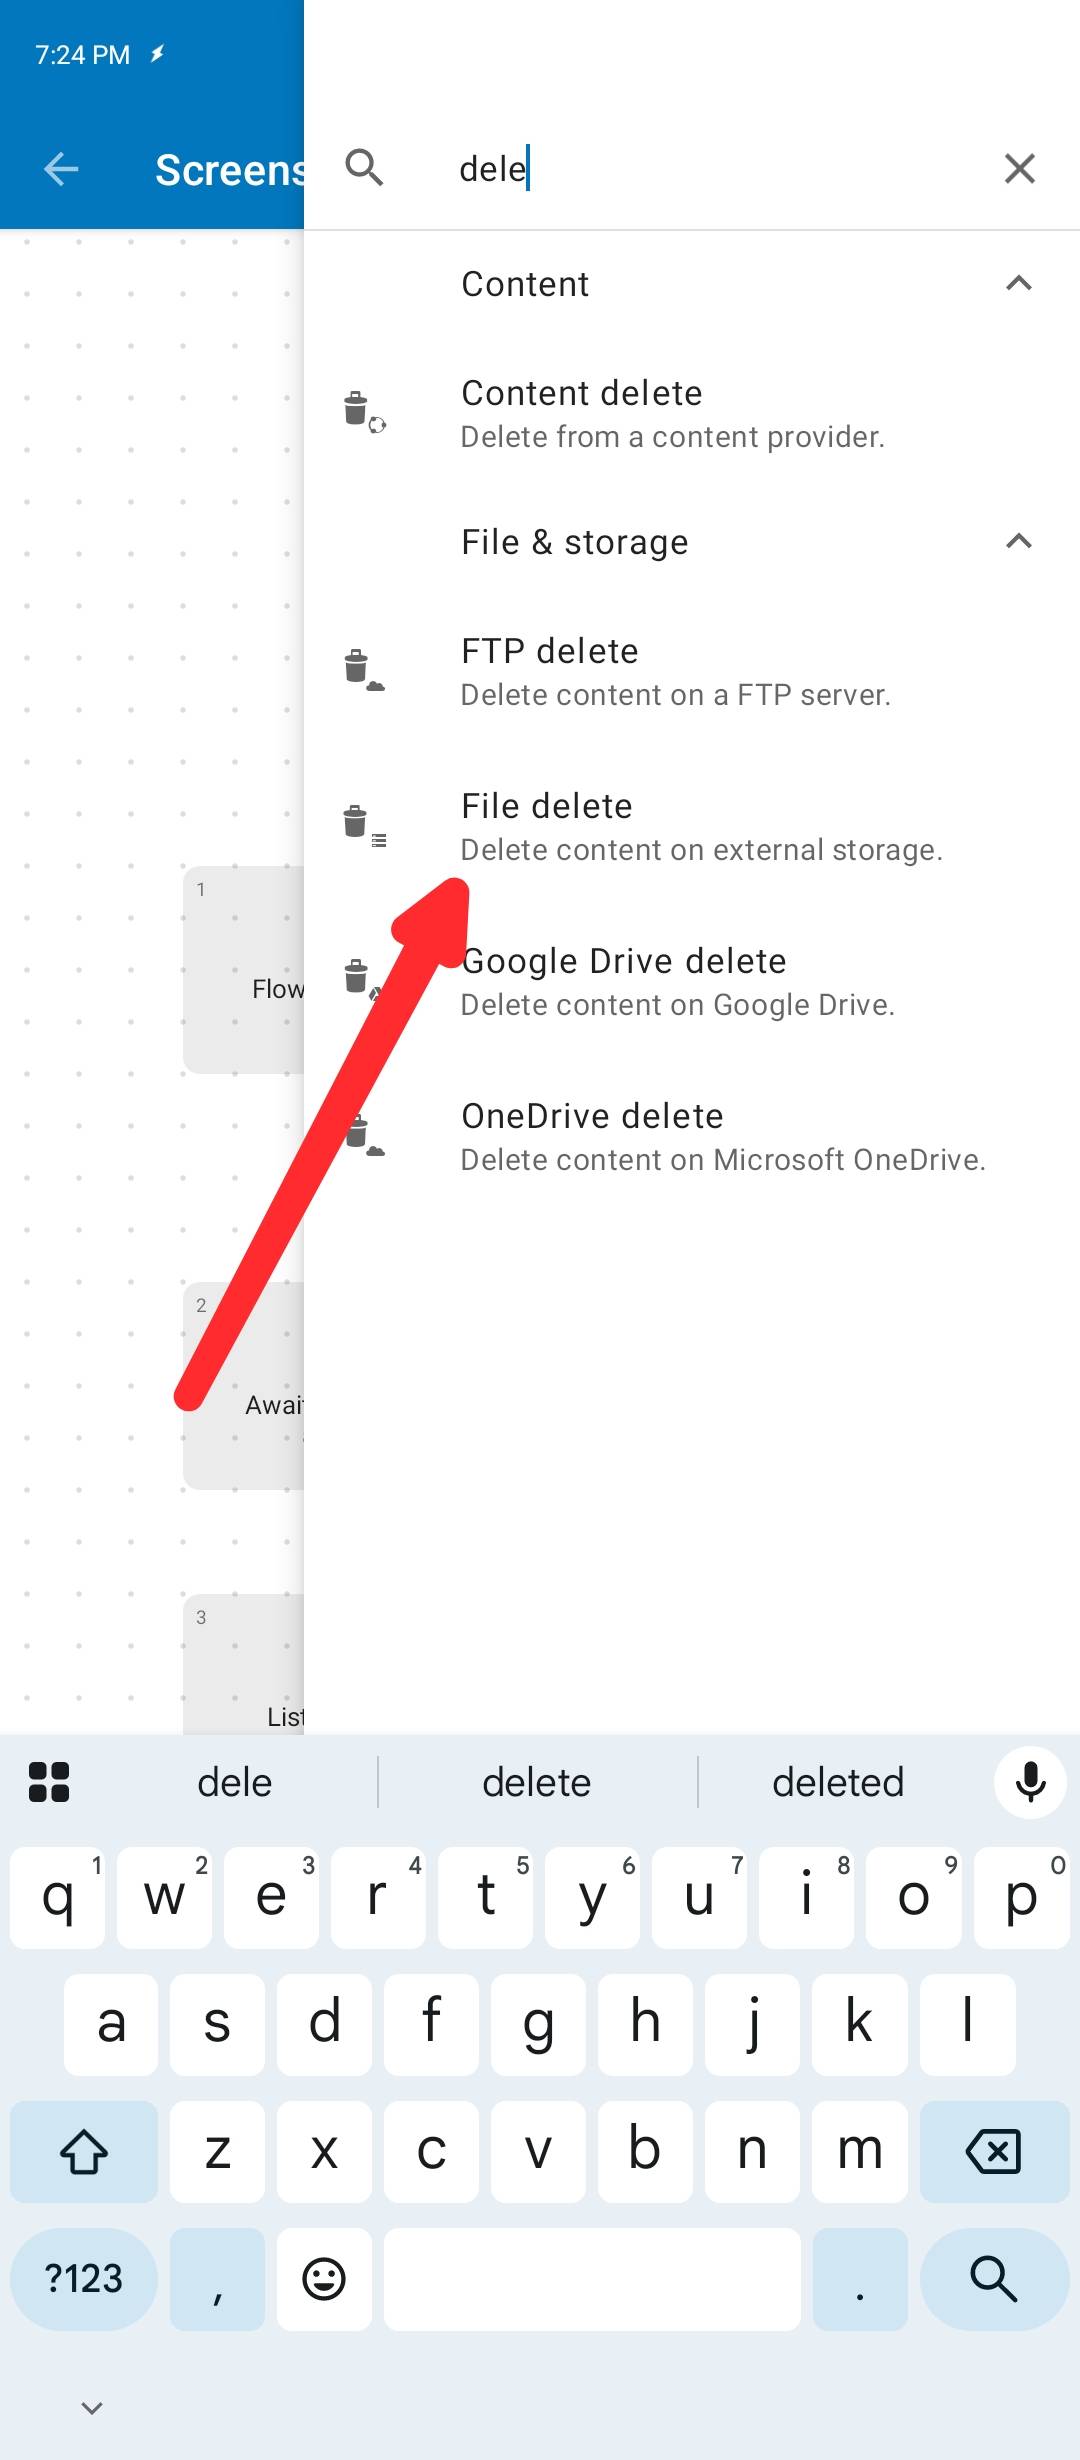
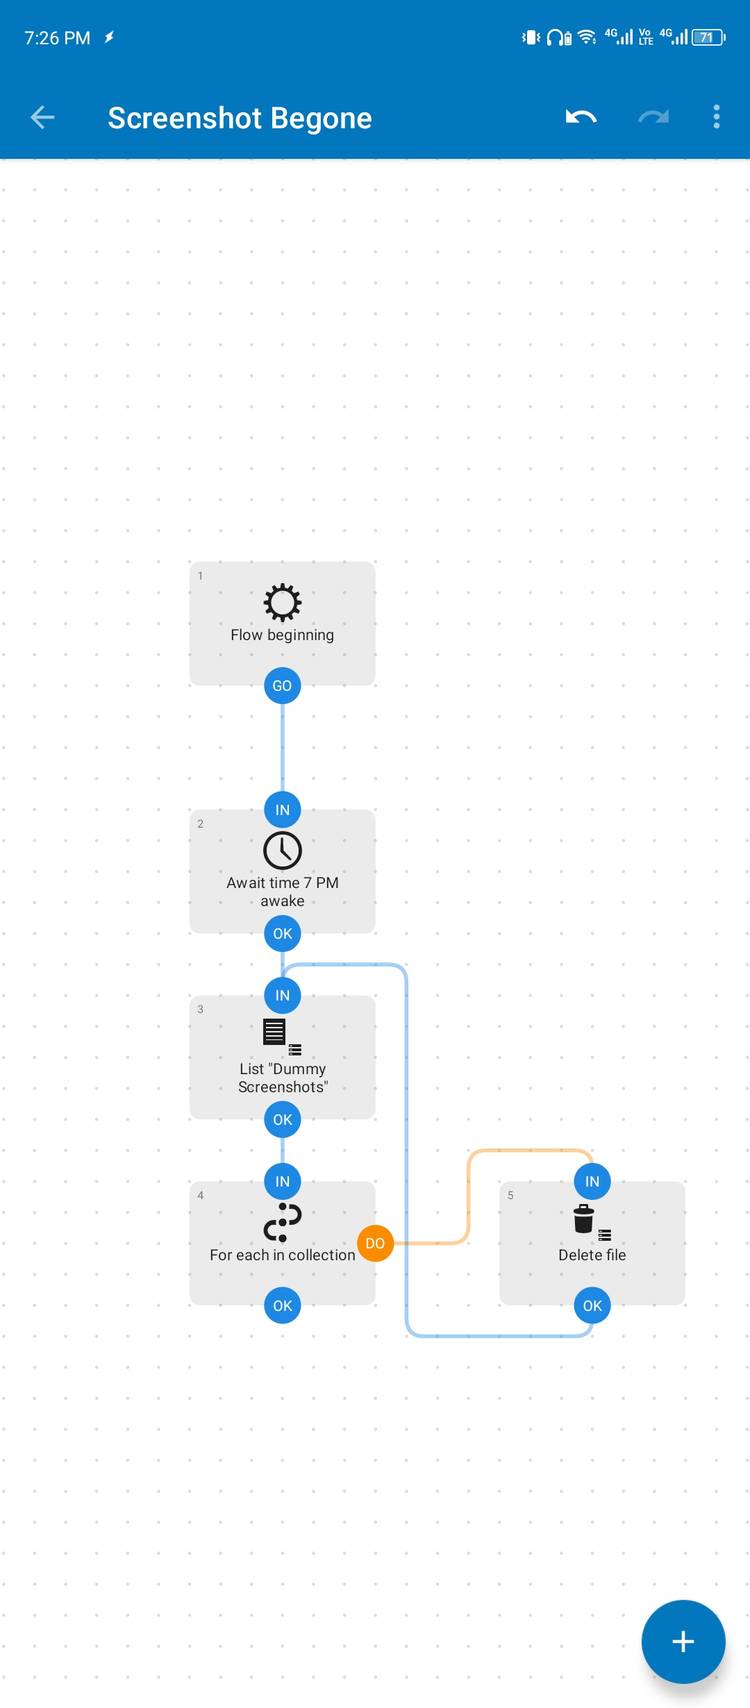
Finally, connect the orange Do plug to the In plug of Delete File, and the OK plug of Delete File to the In plug of the List File block. This makes sure the loop keeps running until all files in the folder are gone. Connect the List block with the Time Await block by drawing a line between the In of the List block and the Out plug of the Await Time block.
Now that Automate has found all the screenshots, we’ll run a loop. This loop will take in a screenshot, delete it, and then move on to the next until there are none left. Tap the + icon again, and this time search “for each” and place it below the File List block. Connect the two. The OK plug of the List connects with the In plug of the For Each block.
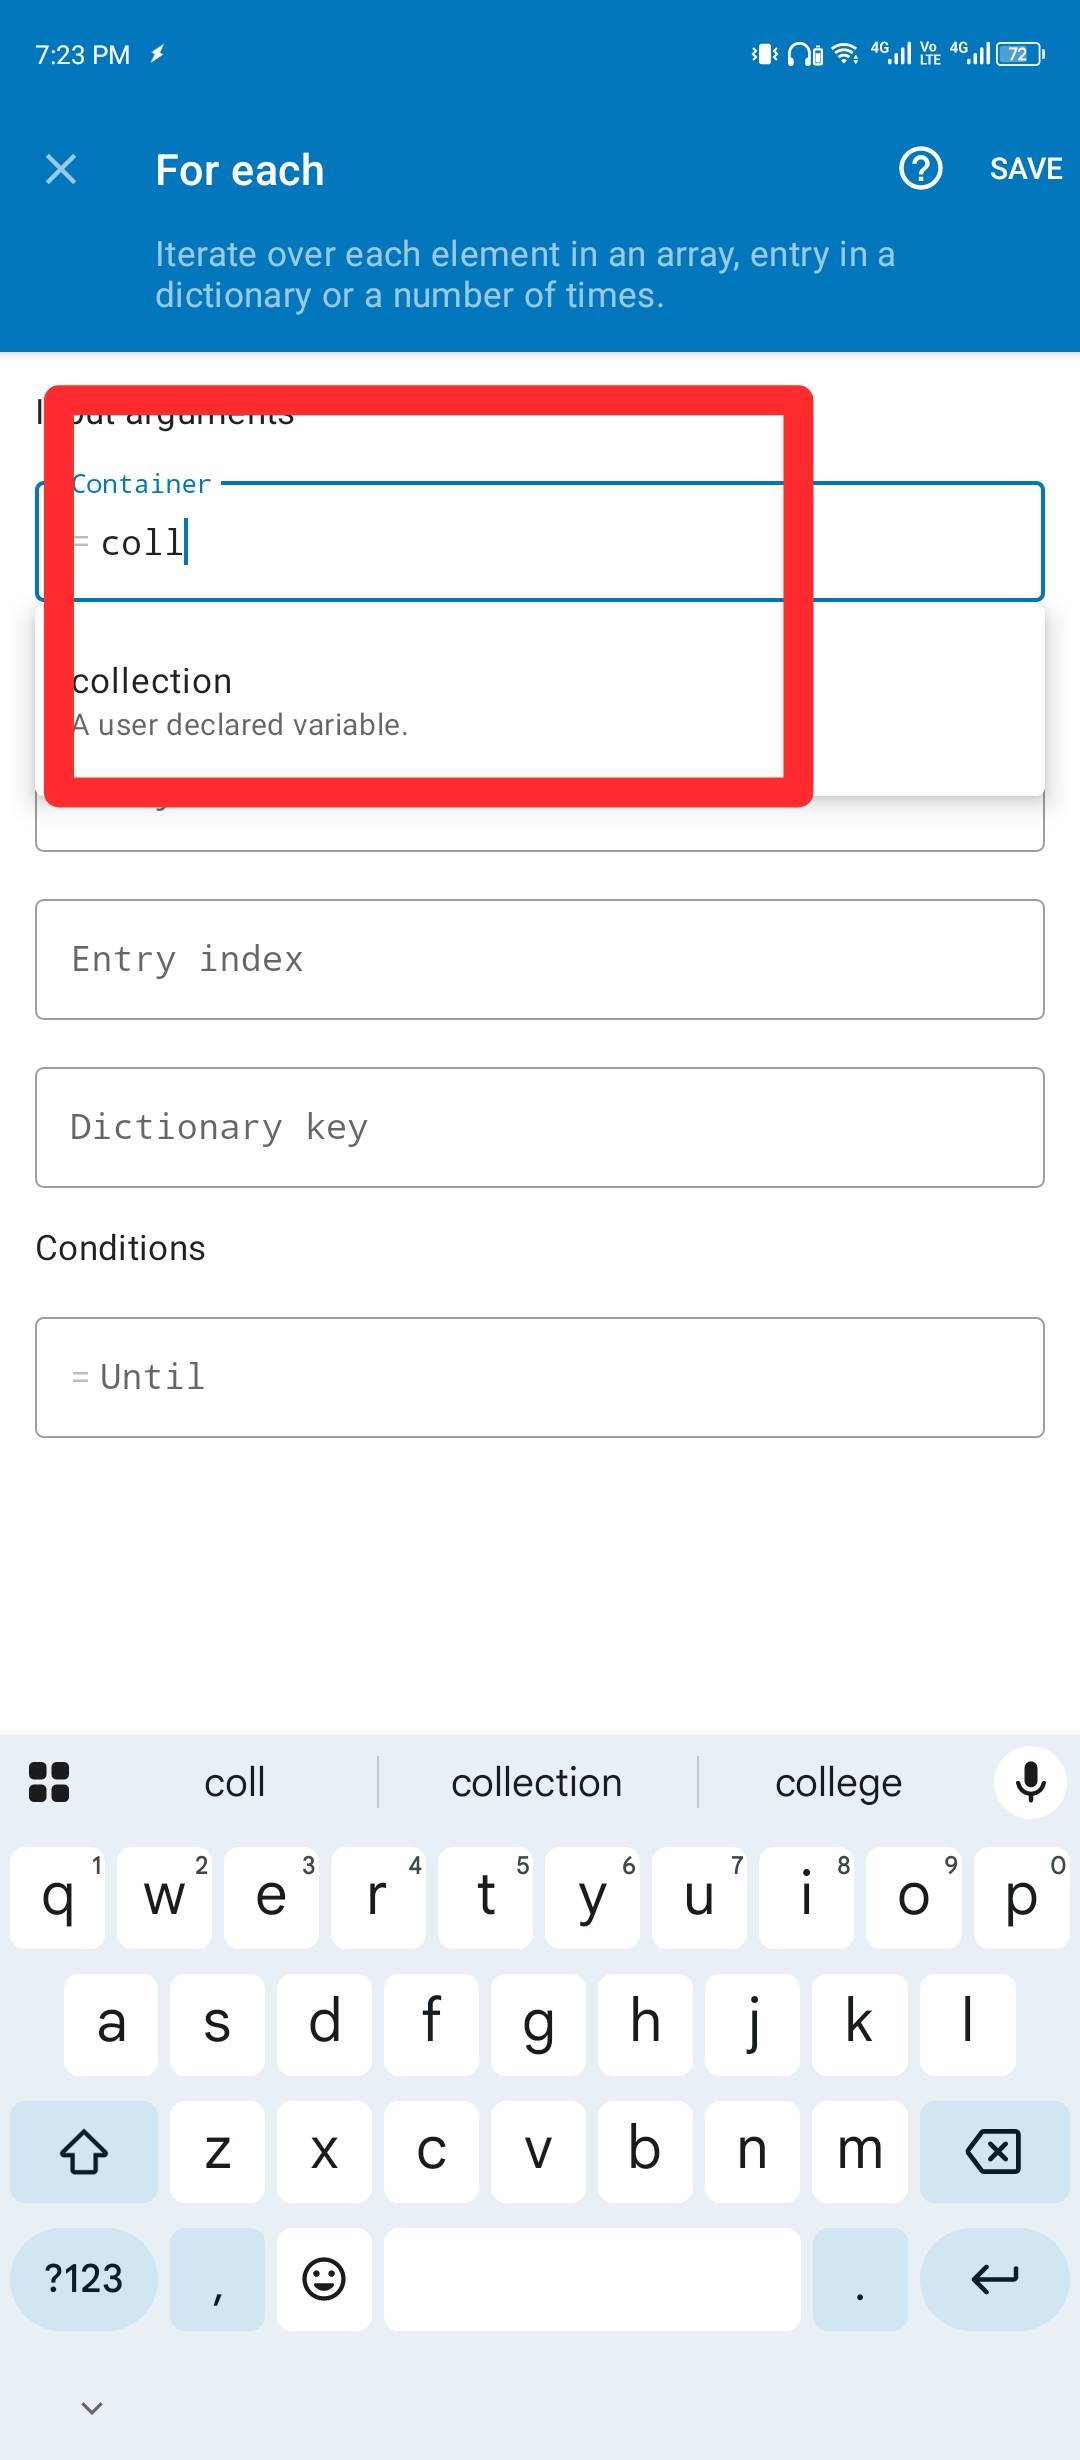
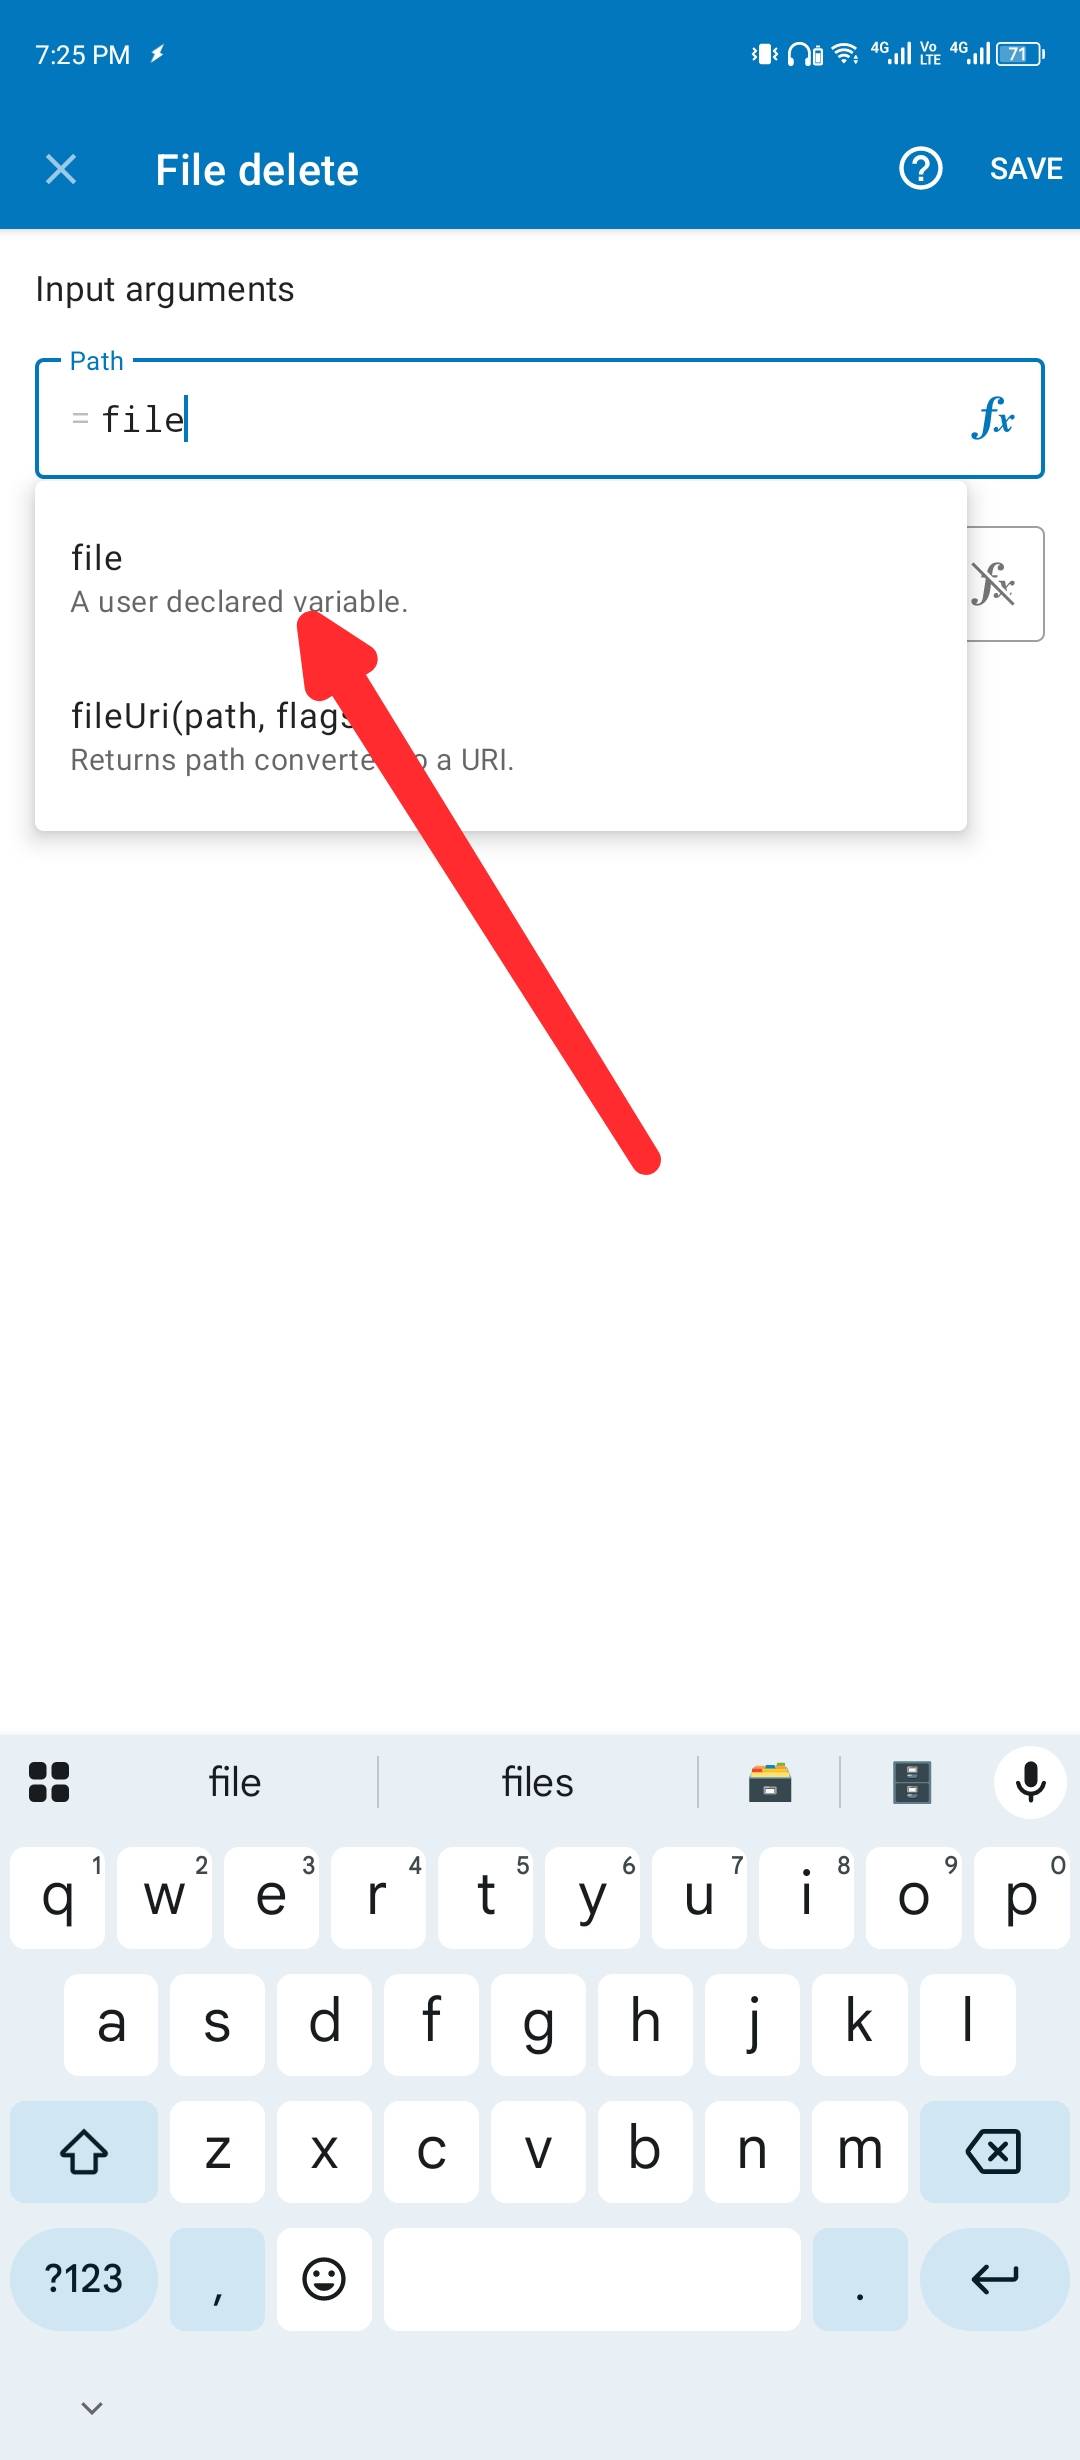
Tap For Each, and here choose “collection” as the input container and output to a new variable that you manually type in. I typed “file” and hit save. This block now goes through the Collections array one by one and outputs each item as a “file” variable one by one.
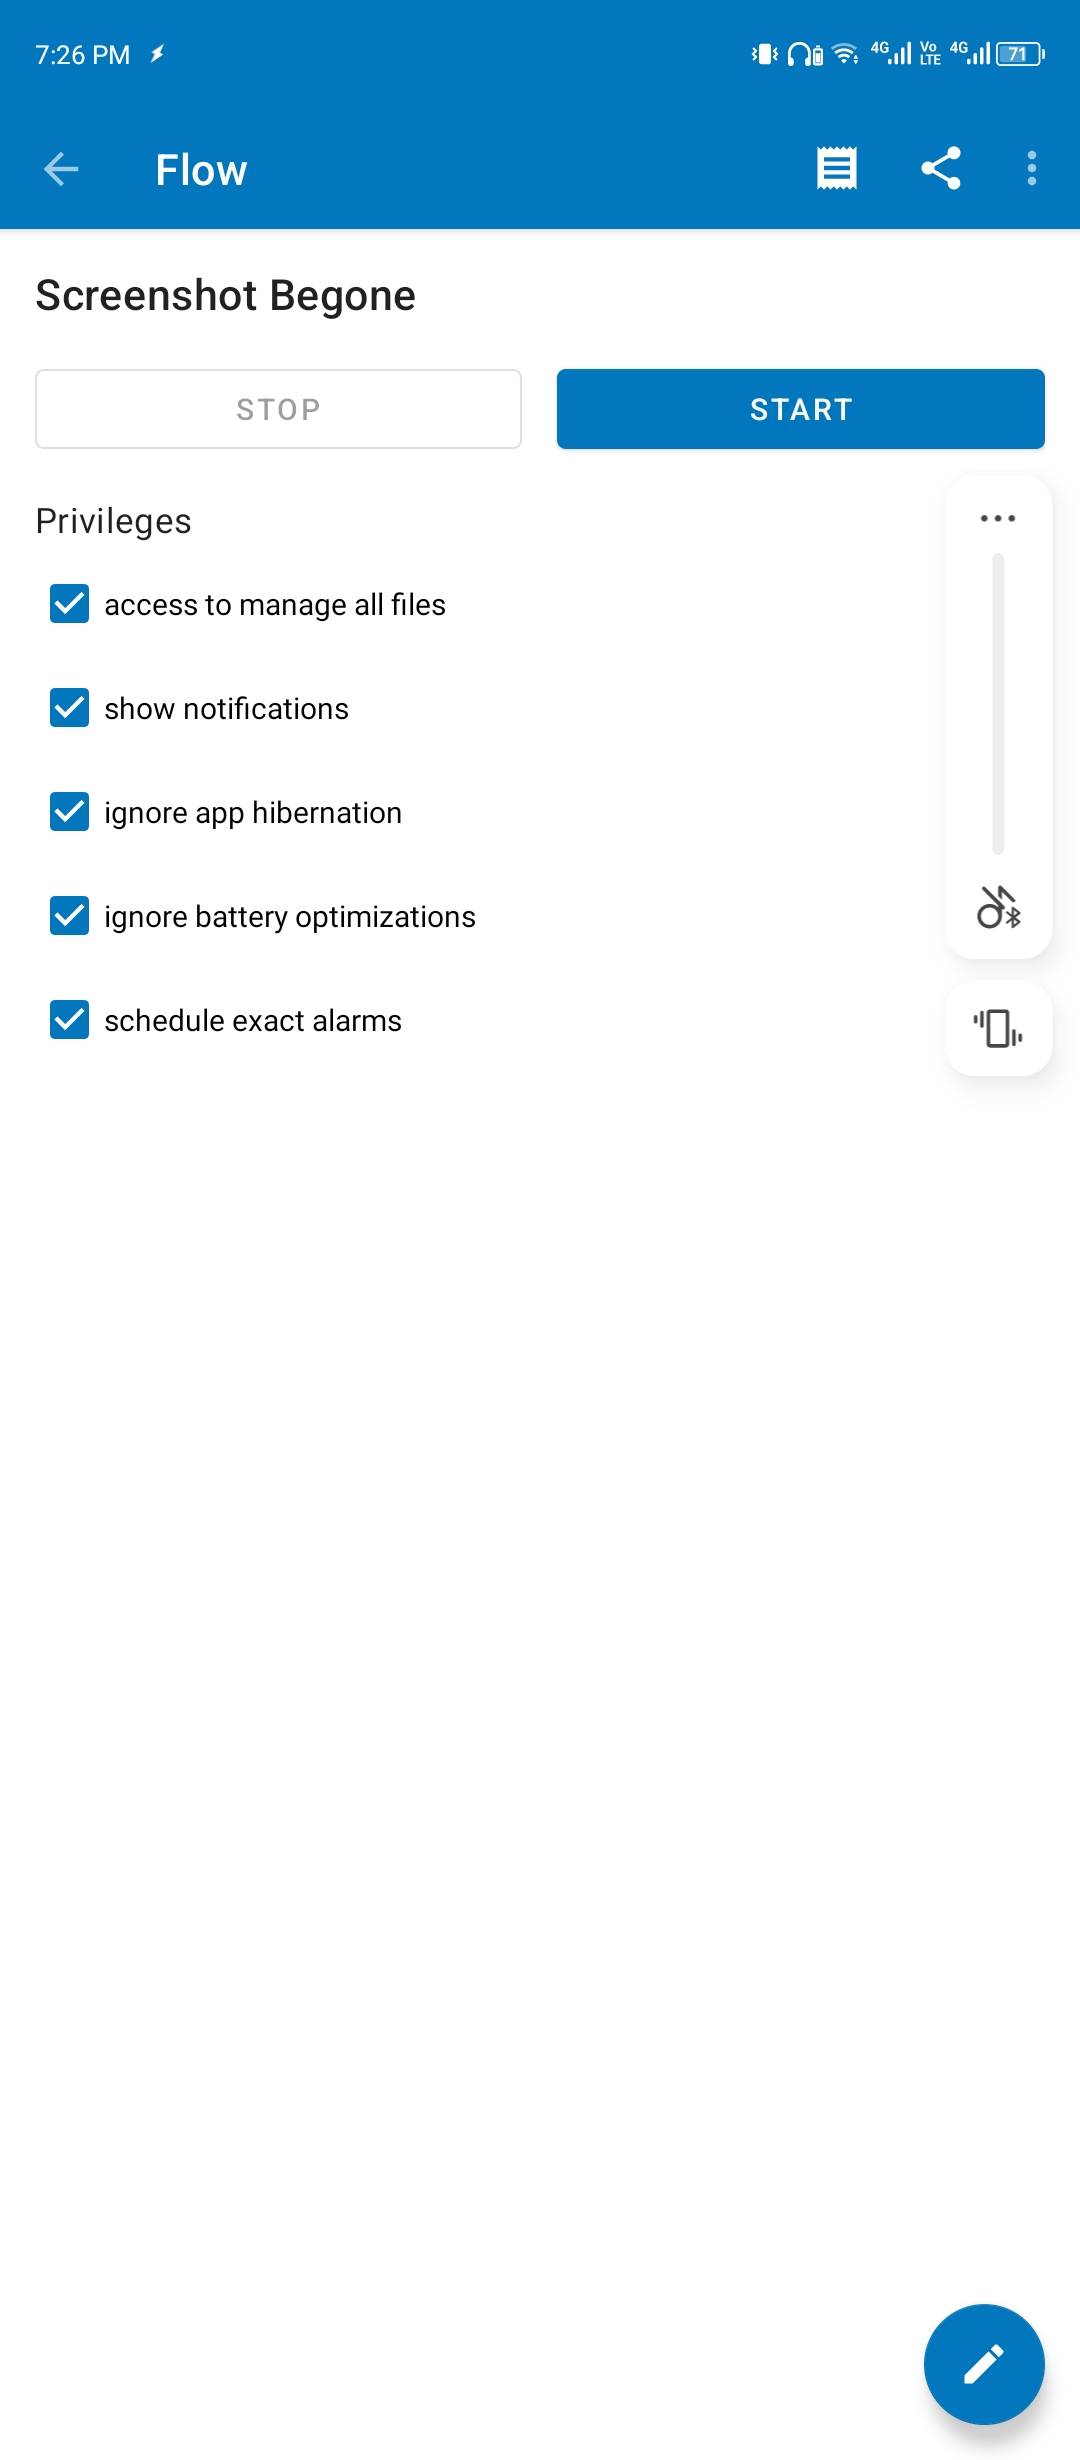
You may be asked to disable battery optimization or grant the necessary permissions to make this work. Automate makes it pretty straightforward to enable and disable those settings and guides you through each step, so it shouldn’t be a problem as long as you grant all the necessary permissions.
Finally, connect the orange Do plug to the In plug of Delete File, and the OK plug of Delete File to the In plug of the List File block. This makes sure the loop keeps running until all files in the folder are gone.
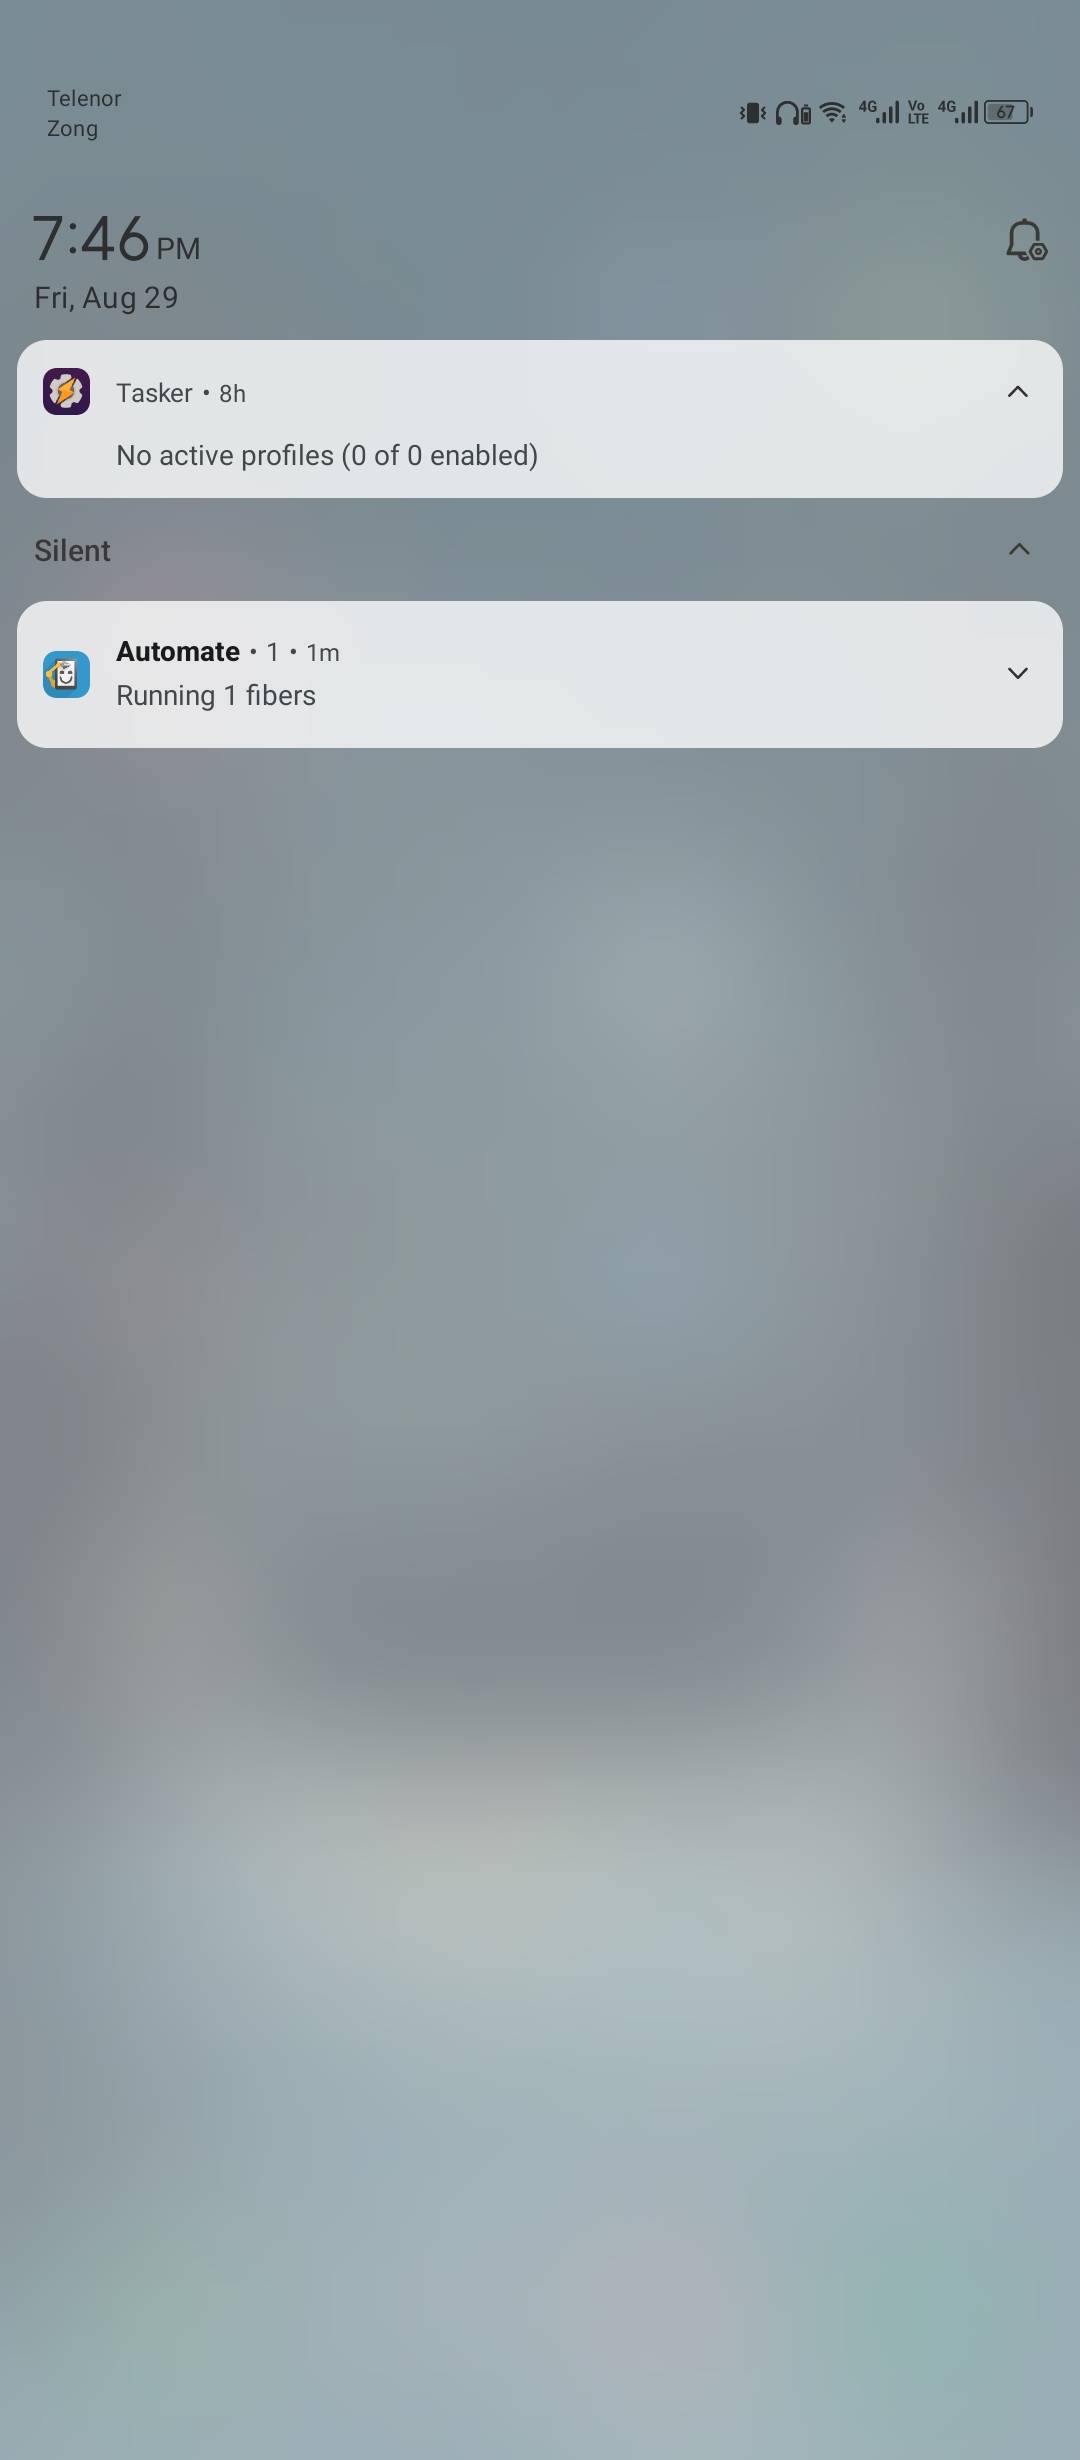
To run it, go back to the flow menu and hit Start. You’ll see a silent notification that a fiber is running.
Your gallery will always stay tidy because Android is now doing housecleaning behind the scenes. This Automate flow works for all file types, not just images, so you can set it up to auto-clean your downloads folder too.
Leave A Comment?