Situatie
Installing Linux inside Windows using VirtualBox
VirtualBox is free and open source virtualization software from Oracle. It enables you to install other operating systems in virtual machines. It is recommended that your system should have at least 4GB of RAM to get decent performance from the virtual operating system.
Requirements
- Good internet connection to download software and Linux ISO. (You can also use some other computer with an internet connection to download these files.)
- Windows system with at least 12 GB of free space.
- Windows system with 4GB of rRAM. (It can work with less RAM as well, but your system will start to lag while using Linux in the virtual machine.)
Step 1: Download and install VirtualBox
Go to the website of Oracle VirtualBox and get the latest stable version from here:
Installing VirtualBox is not rocket science. Just double-click on the downloaded .exe file and follow the instructions on the screen. It is like installing any regular software on Windows.
Step 2: Download the Linux ISO
Next, you need to download the ISO file of the Linux distribution. You can get this image from the official website of the Linux distribution you are trying to use.
I am using Ubuntu in this example, and you can download ISO images for Ubuntu from the link below:
Step 3: Install Linux using VirtualBox
You have installed VirtualBox and you have downloaded the ISO for Linux. You are now set to install Linux in VirtualBox.
Start VirtualBox, and click on the New symbol. Give the virtual OS a relevant name.
Allocate RAM to the virtual OS. My system has 8GB of RAM and I decided to allocate 2GB of it. You can use more RAM if your system has enough extra.

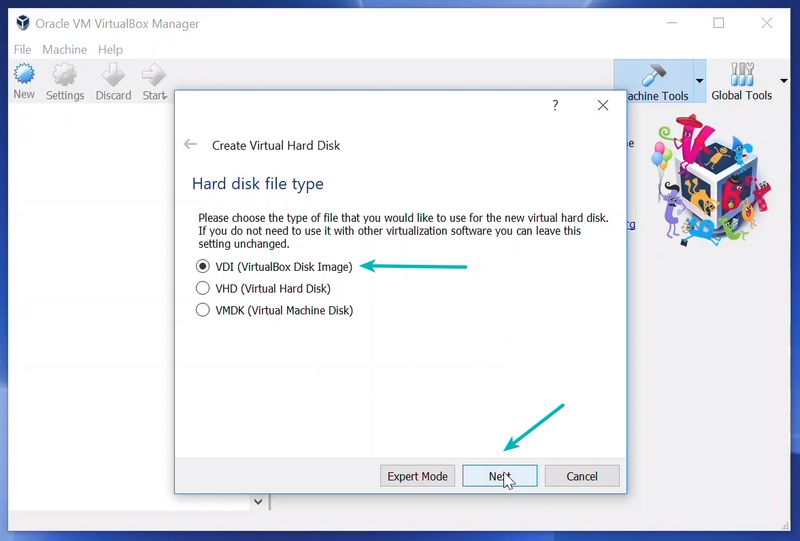
Create a virtual disk. This serves as the hard disk of the virtual Linux system. It is where the virtual system will store its files.

I recommend using the VDI file type here.
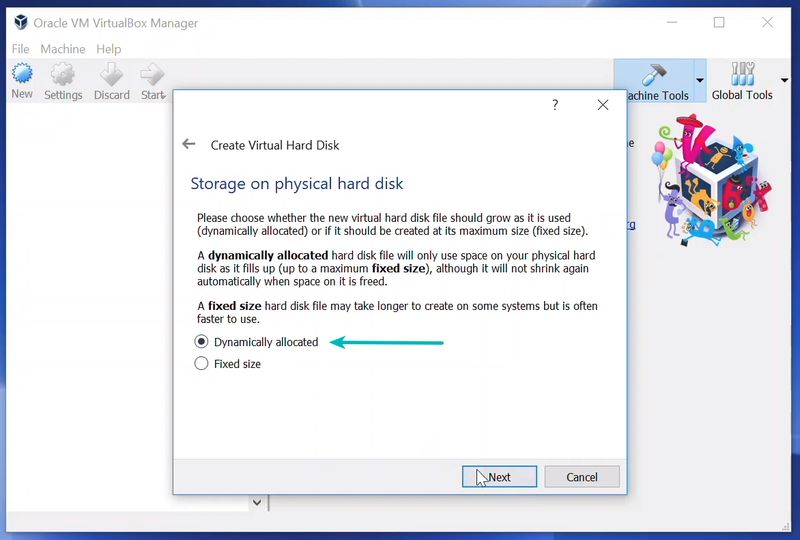
You can choose either the “Dynamically allocated” or the “Fixed size” option for creating the virtual hard disk.
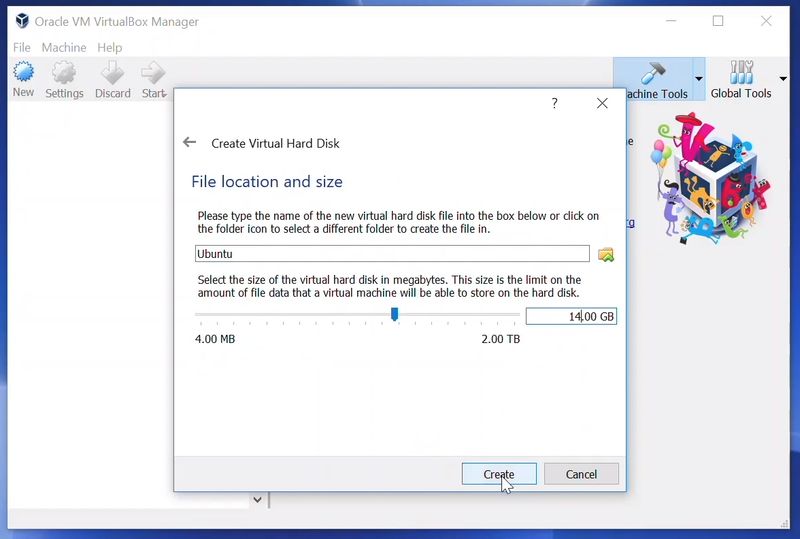
The recommended size is 10 GB. However, I suggest giving it more space if possible. 15-20 GB is preferable.
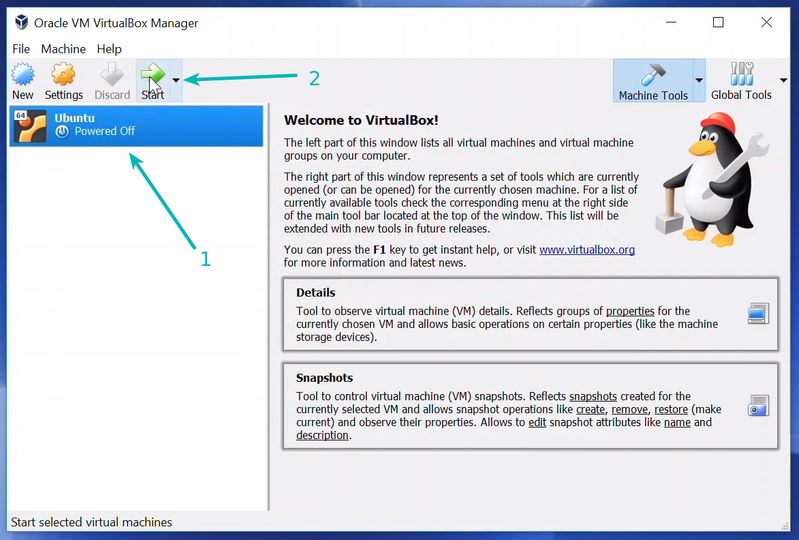
Once everything is in place, it’s time to boot that ISO and install Linux as a virtual operating system.
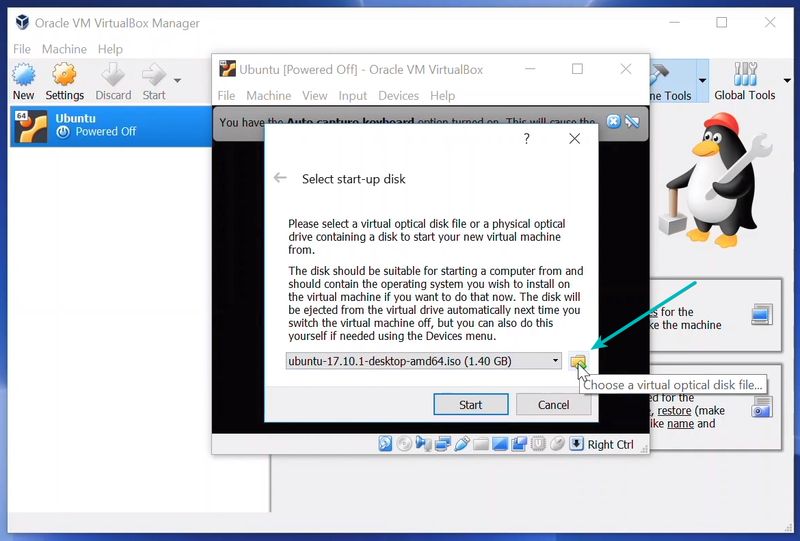
If VirtualBox doesn’t detect the Linux ISO, browse to its location by clicking the folder icon as shown in the picture below:
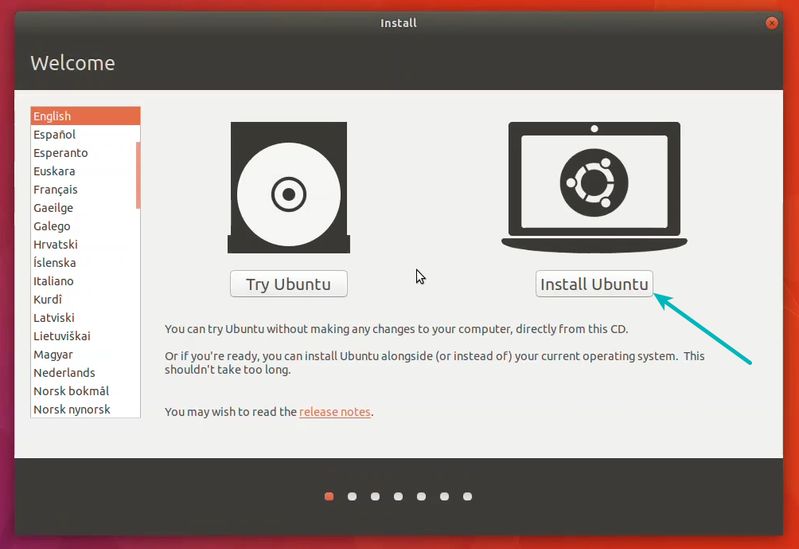
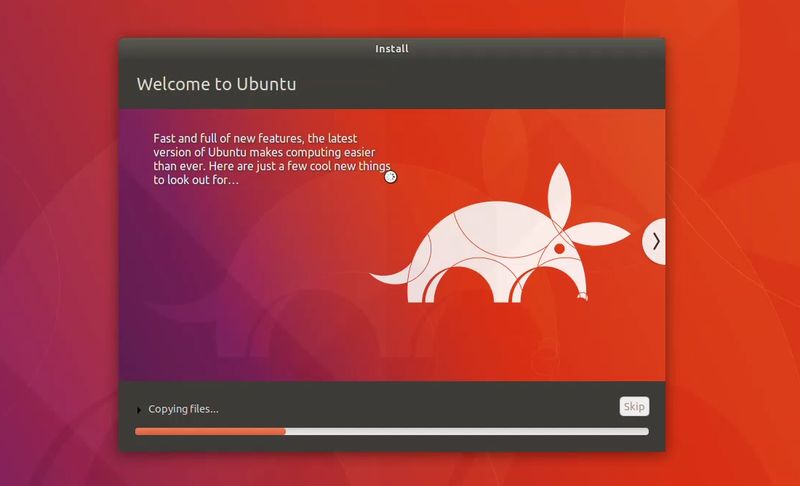
Soon you’ll find yourself inside Linux. You should be presented with the option to install it.
Things from here are Ubuntu-specific. Other Linux distributions may have slightly different looking steps, but it won’t be complicated at all.
You can skip to Continue.

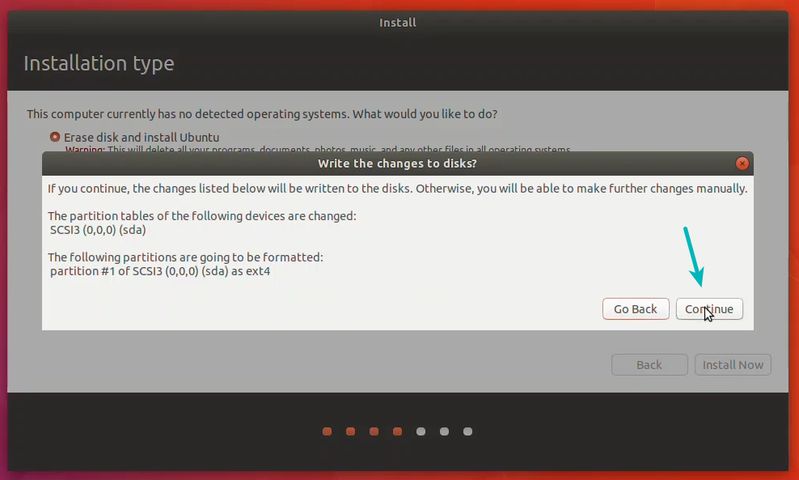
Select ‘Erase disk and install Ubuntu’. Don’t worry. It won’t delete anything on your Windows operating system. You are using the virtual disk space of 15-20GB that we created in previous steps. It won’t impact the real operating system.

Just click on Continue.
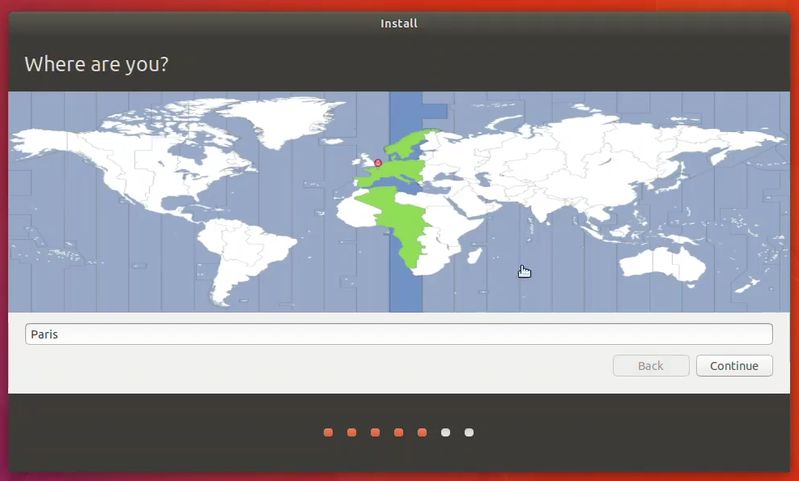
Things are pretty straightforward from here.
You are almost done. It may take 10-15 minutes to complete the installation.
Once the installation finishes, restart the virtual system.

Backup
As backup plan, the best thing to do is to copy your VDI image on external drive.
Solutie
Step 1: Download and install VirtualBox
Go to the website of Oracle VirtualBox and get the latest stable version from here:
Installing VirtualBox is not rocket science. Just double-click on the downloaded .exe file and follow the instructions on the screen. It is like installing any regular software on Windows.
Leave A Comment?