Situatie
Solutie
Before AI, you could only add a splash of color to a regular QR code or throw in a simple icon, but modern generative AI makes that look like amateur work.
What I particularly love is that they’re not trying to replace human artists. AI QR codes have carved out a little domain of their own. Regardless of your stance on AI-made pictures, you can agree that these AI QR codes created by nhciao and HOLUPREDICTIONS are just beautiful.
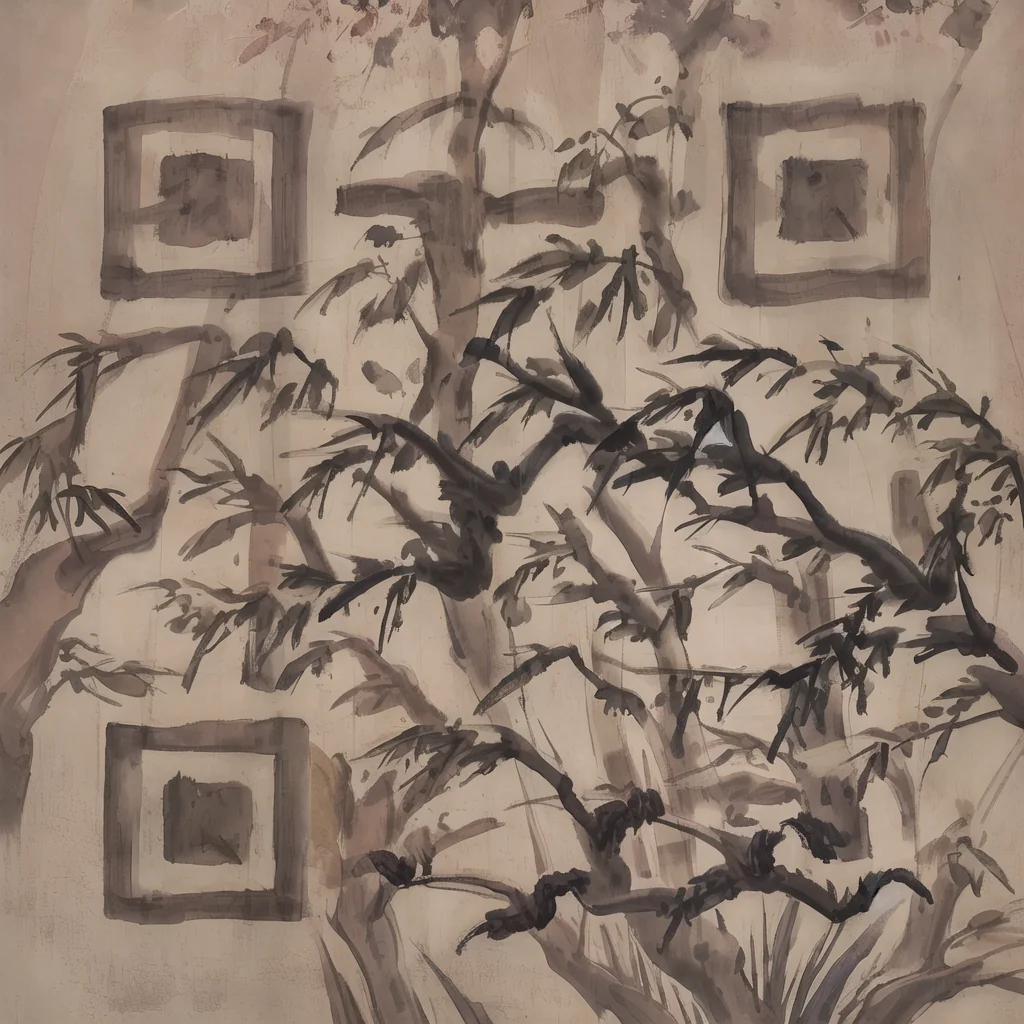

AI-powered QR codes are not just pretty and creative—these QR codes work. You can scan any of them with your phone and see for yourself.
The best part is that you don’t need any technical know-how to create them. Most of the time, it’s as simple as typing a text prompt and hitting Enter. Just as easily as you would create a regular QR code in your browser. So, for your next flyer or poster that needs a QR code, why not turn the whole design into a QR code? Here’s how you can create your own pretty quick response codes using AI.
How to Generate QR Codes Using AI
Replicate is a platform that lets you run AI models within your browser. It’s fast and effortless. I tested every QR code generation AI on Replicate and found a clear winner: Illusion. The Illusion AI is based on Monster Labs’ QR code model, and it’s arguably the most powerful of the bunch.
- Go to Ilusion or Replicate and click “Sign in with GitHub.” You’ll be redirected to GitHub where you can either sign up or sign into GitHub. It only takes a few steps to join.
-
Sometimes Replicate will let you run the model without signing in first. In that case, you’ll see the “Boot + Run” button instead of the “Sign into GitHub” action.
- Once that’s done, open the Replicate page again and click Sign into GitHub. Authorize GitHub to access your Replicate account. You’ll land on the Illusion playground automatically.
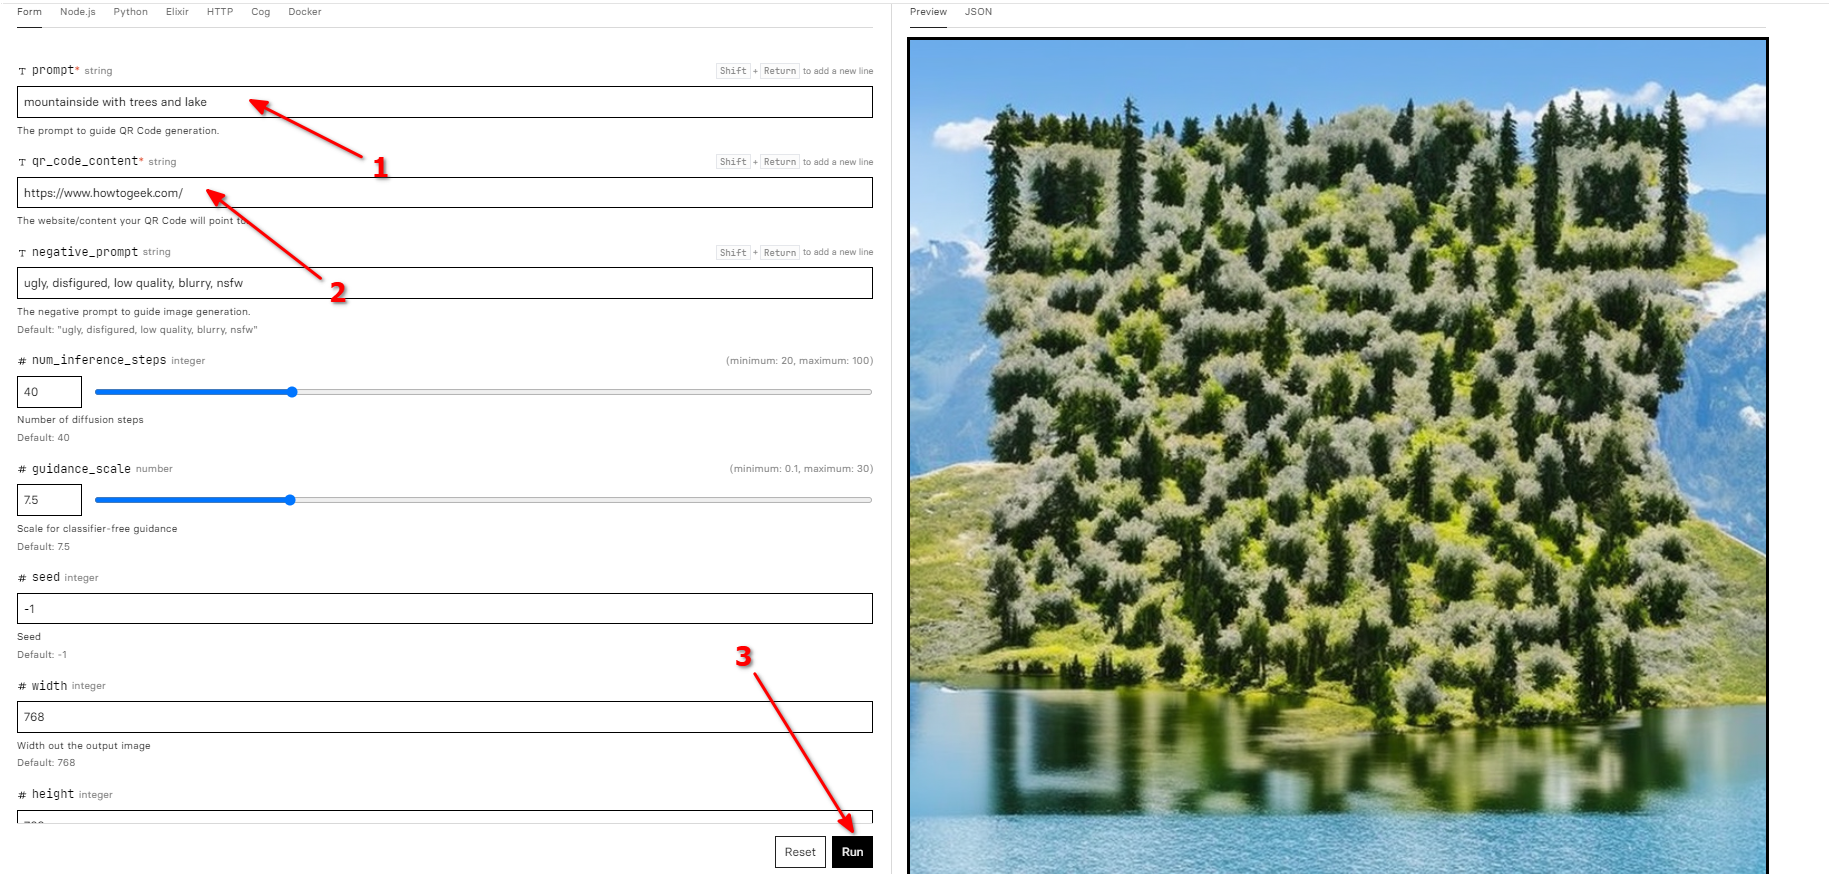
- Now for the fun part. Type your prompt and paste the link under QR Code Content. Scroll down to Image File and delete the link that’s present by default. Now just hit Enter or click “Run.” It’ll take a few seconds to process and output a stunning QR code.
- Scan to test it a couple of times and on a few different screens to see if the QR code is functioning properly.
- The AI can be hit-and-miss sometimes, so you might have to tweak the parameters of your prompt to get a good output.
- The first thing you can adjust is the Negative Prompt. You can write things here that you want to exclude from your output. Keywords like low quality, blurry, or distorted are always good choices.
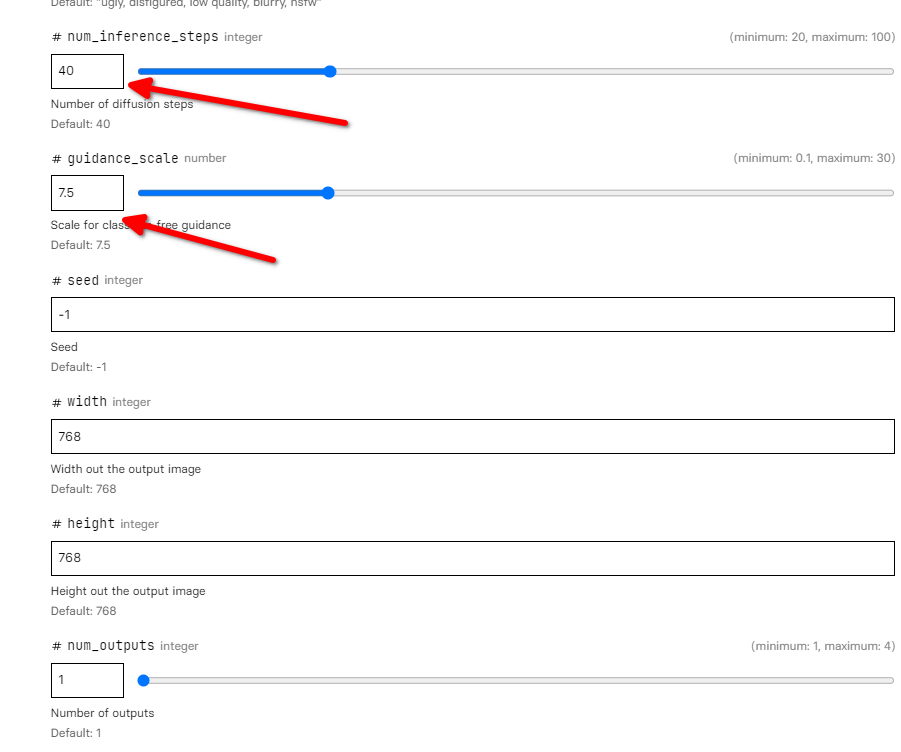
Next up, we have the number of inference steps. Every AI generation starts out as a bunch of noise, and it’s denoised repeatedly to refine that mess and create a clear, coherent picture. The higher this number, the more detailed and higher quality the output. But that’s only up to a point. After a limit, it just adds to the processing time with barely any gains in the quality. The default is 40, but you can safely move the slider between 30 and 50.
The guidance scale is pretty simple. It just determines how closely the output will stick to your initial prompt. You can lower this number to give AI more freedom or set it higher to limit it strictly to your specific prompt. The default is 7.5. But I found that anything between 4 and 8 works just fine.
You can safely leave the Seed settings untouched. The width and height are self-explanatory—that’s how you set the resolution of your output image.
The number of outputs can be set to 4, meaning you can get as many as four generations on every run.
The image tab is where you can upload a pattern (like a spiral) and the AI will generate a complex but recognizable morph of that image. Something like this. You’ll have to leave this section blank to generate QR codes though.
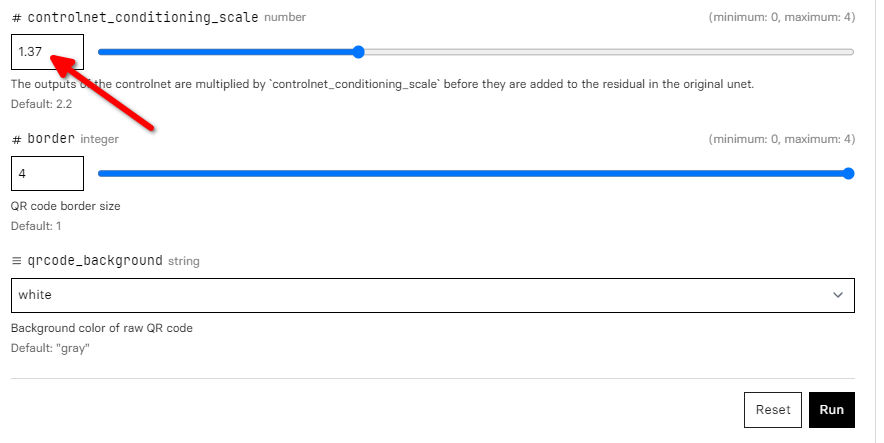
ControlNet Condition Scale is the one setting you’ll be fiddling with the most. It controls how “QR code-like” the final output will look. The higher this number, the more your output looks like a regular QR code. Set it lower, and it’ll create more “artistic” and blended variants.
It’s one “1” by default. Anything above 2 turns the output into a regular black and white QR code. Numbers below 1 usually return a nice picture, but it’s unscannable (pretty much useless). Most prompts have a sweet spot between 1 and 2. I set my input to 1.37.
The border is another interesting setting. You can use a higher number here to get clearly defined edges on the output. Setting it to “1” or “0” returns a boundless code that stretches to cover the entire canvas.
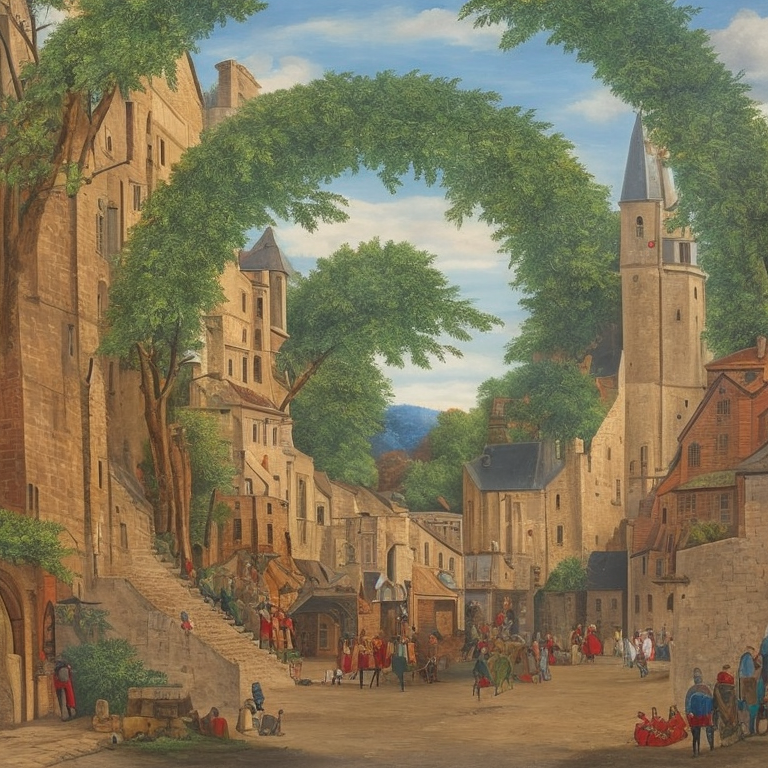
Here is the final result.


Leave A Comment?