Situatie
To set a static IP address in Windows 11, you’ll want to open Settings, go to Network & Internet, and then find the Properties for your network. Inside there you’ll be able to click the Edit button for IP Assignment and then fill out the manual network details.
Solutie
First, open up the Settings app and then find Network & Internet on the left-hand side. You’ll be presented with a panel that shows your current network connection. You can click where it says “Properties” right underneath the network, or if you have multiple network connections you can drill down into the specific network to see the IP address details for each one. In this case it’s called “Ethernet”, but you will most likely see “Wi-Fi” as the option to choose.

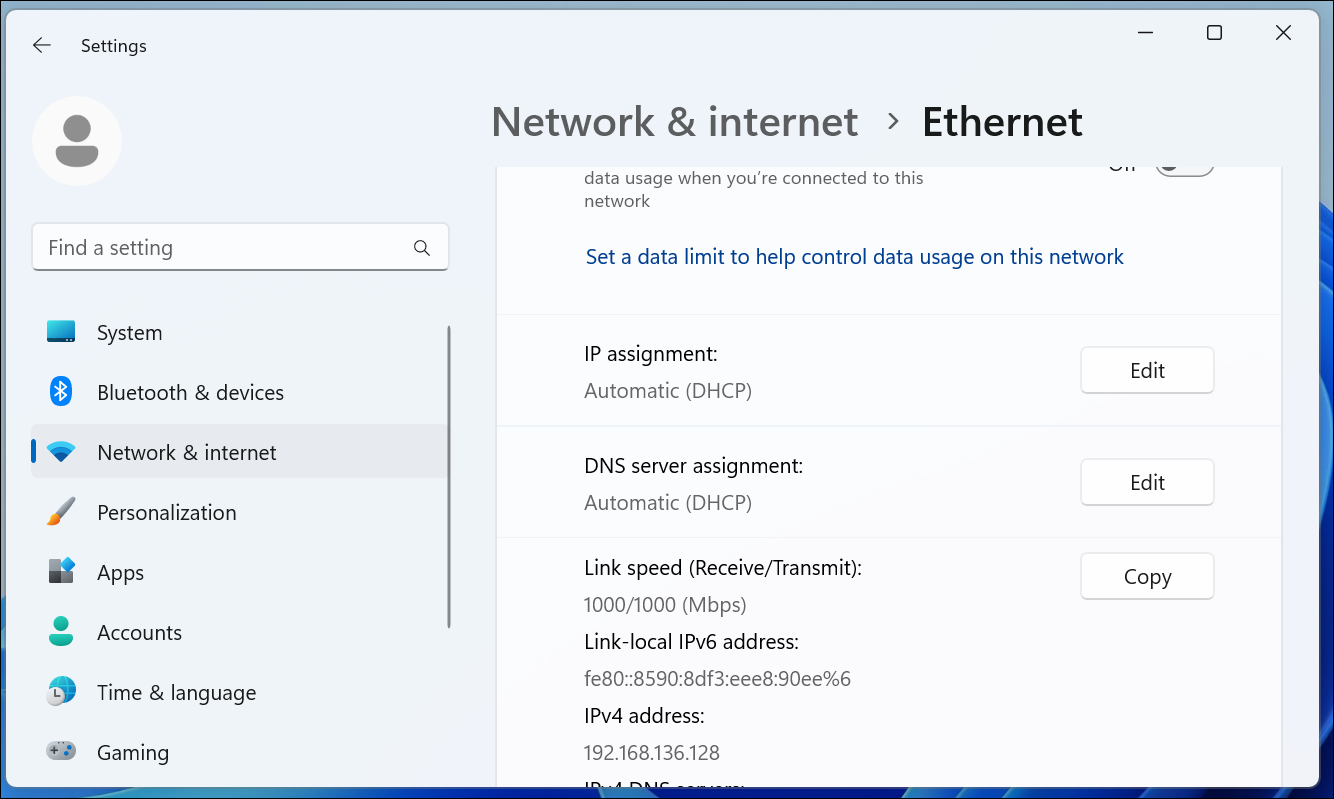
Once you’ve drilled down into the network connection that you want to set a manual IP for, scroll down until you see “IP Assignment” and then click the Edit button to the right.
Once there, you’ll flip the drop-down to “Manual” and switch the IPv4 switch to “On”. At this point you can fill out your network details and click Save to finish.
