Configurare program

How to Delete Downloaded Files on Oculus Go

So you downloaded something really embarrassing on your Oculus Go headset, like a Linux fan club movie. Now you need to clean up your tracks, but where do you go? Here’s how to delete downloaded videos (or other files) on your Oculus Go.

This is a good time to point out that if you’re going to be browsing Linux fan sites on the web using your Oculus headset, you should use the built-in Oculus private browsing mode, or at least clear your browser history when you’re done. Nobody needs to see footage of Linux fans.

It’s also worth noting that even if you are using private browsing mode, if you download media instead of streaming it, you’re going to need to delete the files manually using this technique.

Deleting Downloaded Media on the Oculus Go Headset

First, you’ll want to head into the Gallery, using the menu on the bottom of the home screen. You probably already knew how to get there, but you’re the one reading this, not me, so you get a screenshot.

Once you’re there, hover over the item that you want to delete, and then click on the 3 dot menu to see the Delete option. Click it, and your troubles are over. Unless you have like 942 of these files, in which case it might be easier to delete them from your computer. Keep reading for that.

Deleting Downloaded Oculus Media via Your PC or Mac

It’s a heck of a lot easier to delete a ton of files from your computer, and if you plug your Oculus into your computer, you can delete files much quicker that way as well. So use the included USB cable and plug it right into your PC or Mac. You’ll be prompted on the Oculus with a question on whether you trust your computer, which we’ll assume that you do, so click Accept. It’s your computer, after all.

If you’re using a Mac, you’ll need to download the Android File Transfer tool from the official Android website, install it, and then open it up. You’ll immediately see the embarrassing files, and you can delete them all by selecting and right-clicking or using CMD + Delete. You might want to check Movies as well while you’re at it, depending on what apps you were using.

If you’re using a Windows PC, you’ll find the headset in File Explorer mounted under Computer as VR-Headset. Head into Download, and you can delete files from there. You might want to check Movies as well while you’re at it, depending on what apps you were using.

You can also use the same technique to transfer movies to your Oculus headset that you might want to watch. It’s a heck of a lot easier to download stuff from your PC, after all.

[mai mult...]

Cum inserați o semnătură în Microsoft Word

O linie de semnătură vă oferă dumneavoastră, sau altcuiva, un loc în care puteți semna un document tipărit. Dacă intenționați să tipăriți documentul Word, adăugarea unei linii de semnătură este probabil cea mai simplă modalitate de a adăuga o semnătură.

Pentru a adăuga o linie de semnătură la documentul Word, faceți click pe Insert > Signature Line (Inserare > Linie de semnătură). Această pictogramă este de obicei inclusă în secțiunea “Text” din bara de meniu a panglicii Word.

În caseta “Signature Setup” (Configurarea semnăturii) care apare, completați detaliile semnăturii dumneavoastră. Puteți include numele, titlul și adresa de e-mail a semnatarului. Acesta poate fi dumneavoastră sau altcineva. De asemenea, puteți oferi instrucțiuni pentru semnatar. După ce sunteți gata, faceți click pe “OK” pentru a introduce linia de semnătură.

După ce ați confirmat opțiunile de semnătură, se inserează o linie de semnătură cu o cruce și o linie pentru a indica locul unde trebuie să semnați

Acum puteți plasa acest lucru într-o poziție corespunzătoare în documentul Word. Documentul poate fi semnat în această poziție după imprimare sau, dacă ați salvat documentul Word în formatul de fișier DOCX, puteți insera o semnătură digitală în document în acest moment.

[mai mult...]

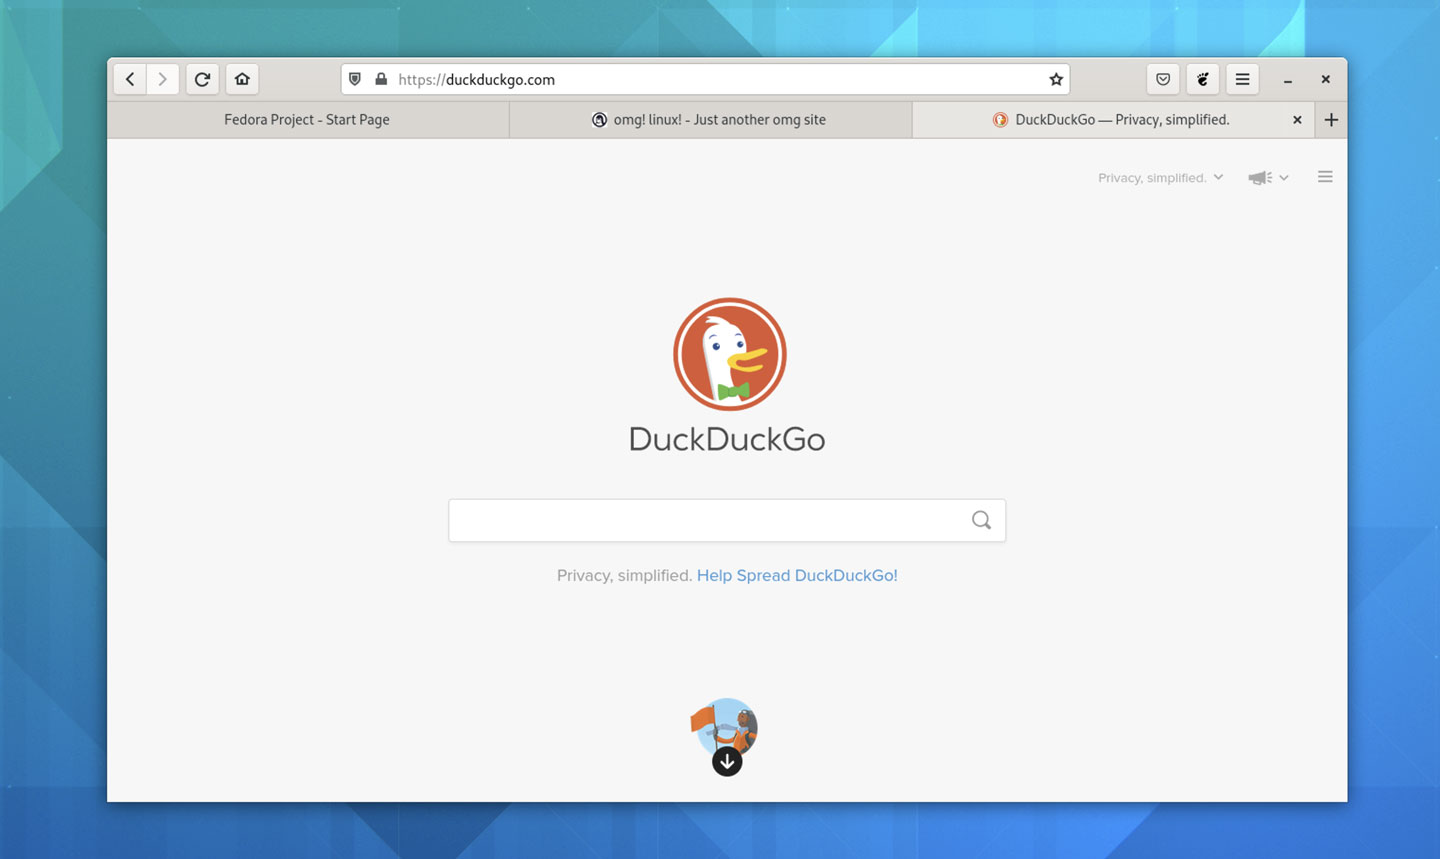
Verificați această temă epică pentru Firefox- Adwaita

Doriți o temă Firefox care să facă browserul să se integreze mai bine cu desktop-ul vanilla GNOME? Dacă o faci, verifică tema Firefox GNOME pe GitHub. Este un pachet de transformare all-in-one care funcționează cu versiunile moderne ale browserului. Când este aplicat, Firefox arată și se simte ca o aplicație GTK obișnuită care aderă la tema Adwaita a GNOME.Vorbim de aceleași degrade, culori și forme de butoane ca și Adwaita și acceptă aspectul luminos standard al lui Adwaita, precum și modul  întunecat.

Pe măsură ce Adwaita trece de la o temă GTK pe care o folosesc unii oameni la o foaie de stil integrantă a experienței de bază GNOME cu libadwaita, acest tip de efort va deveni mai important.

screenshot of a Firefox Adwaita theme on fedora

[mai mult...]