Situatie
Solutie
Pasi de urmat
In Windows 11, virtual desktops are just a click away. To get started with them, click the Task View button in your taskbar, which looks like a square overlapping another. Or you can press Windows+Tab on your keyboard.
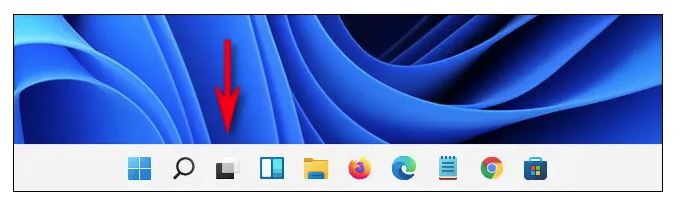
(If you don’t see the Task View button in your taskbar, right click the taskbar and select “Taskbar Settings,” then flip the switch beside “Task View” to the “On” position.)
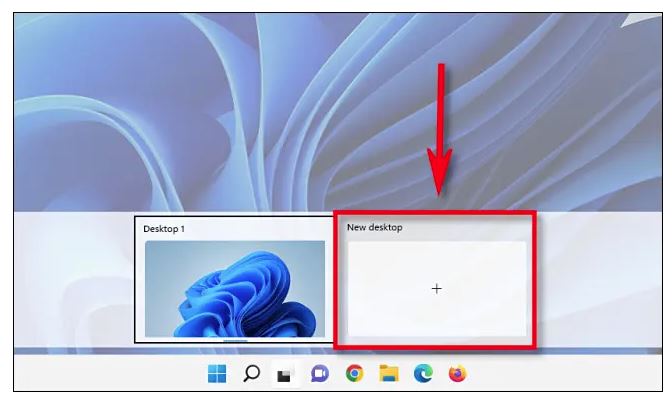
To add a new virtual desktop, click the “New Desktop” button with a plus sign (“+”) on it. Or you can press Windows+Ctrl+D on your keyboard.
A new desktop (numbered sequentially higher, such as “Desktop 2”) will appear in the list. To switch to it, click its thumbnail in Task View.
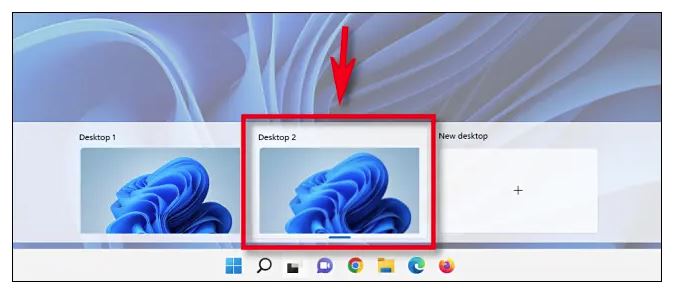
The new desktop will take over your view on the screen, and it will act just like your first desktop. You can open apps and position their windows any way you want. Apps you open will appear on the taskbar in the virtual desktop as well. When you switch to another virtual desktop, that arrangement will be preserved, and you can switch back to it later by clicking Task View again and selecting the virtual desktop’s thumbnail.
Leave A Comment?