Situatie
Exploring older operating systems and trying out different Linux distros on a virtual machine is one of my ongoing hobby projects (I have a lot of those). One of the main issues I’ve had is shuttling different ISO files between VMs.
Solutie
The first time I used an ISO file was when I first learned how to use a virtual machine. VMs often need an ISO of the guest operating system to install them properly (although you can use physical media or boot from an existing disk image in some circumstances). The first time I made one was to move ancient, forgotten utilities, games, and programs. Now, I use a USB Stick to transport different ISOs of various operating systems between my Linux machine and my hobby-oriented Windows machine.
Every virtual machine app I’ve used has the option to mount and unmount optical media, so I started using ISOs as a means of transporting programs over to them, like when I set up NESticle and WinAmp for a retro experiment on my WIndows 95 VM.
On Windows, Anyburn is a beginner-friendly, go-to app
I move a large quantity of files between my virtual machines. I also try to test out a new (or older) operating system at least every few weeks on my VM. I’ve found Anyburn to be fast, efficient, and to do exactly what I want every time.
Anyburn is not open-source, and it offers a free version along with paid options. I use the free version.
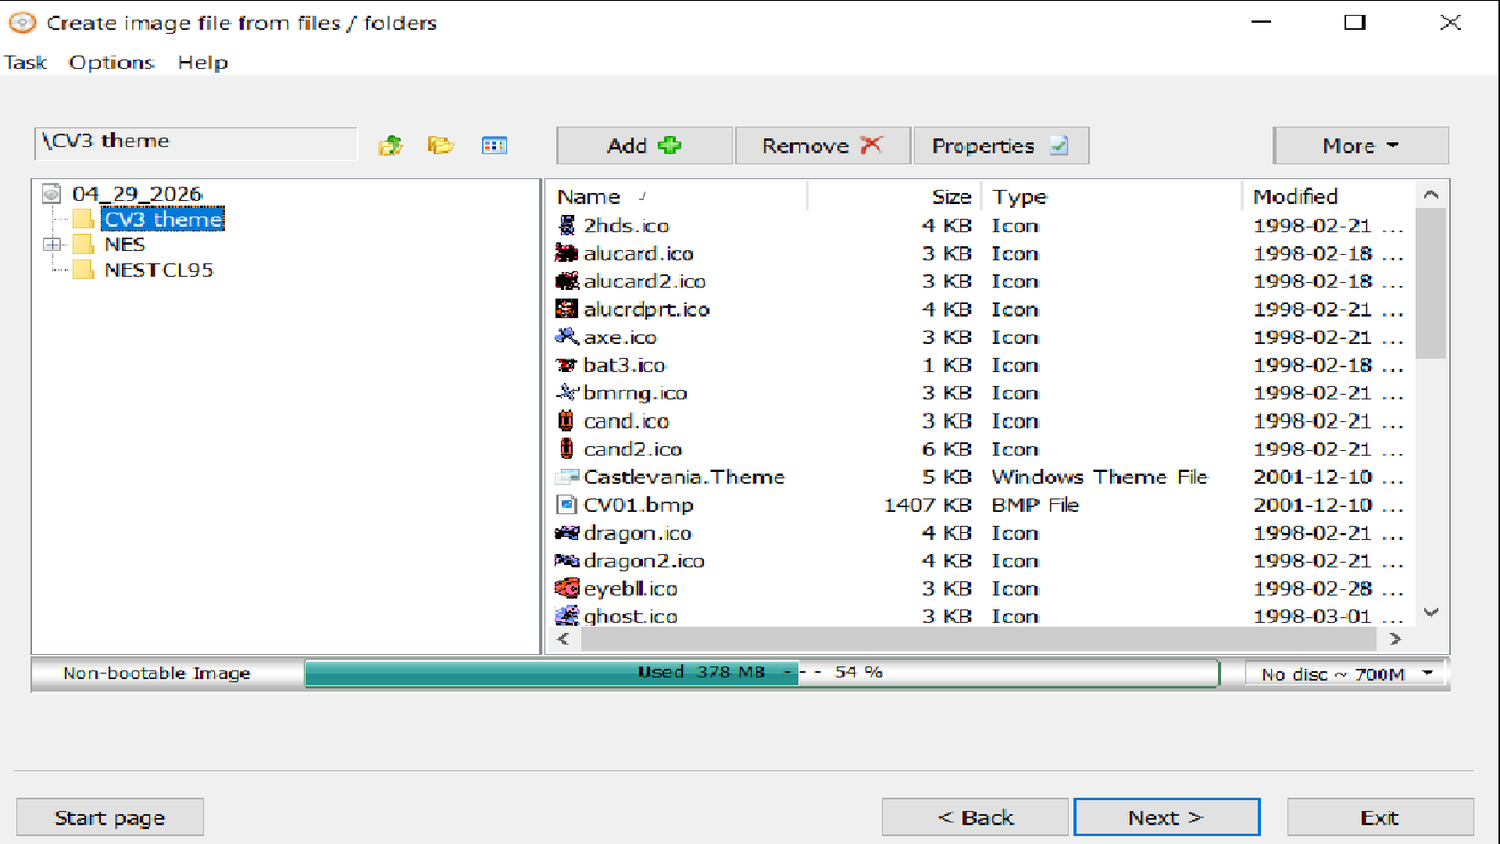
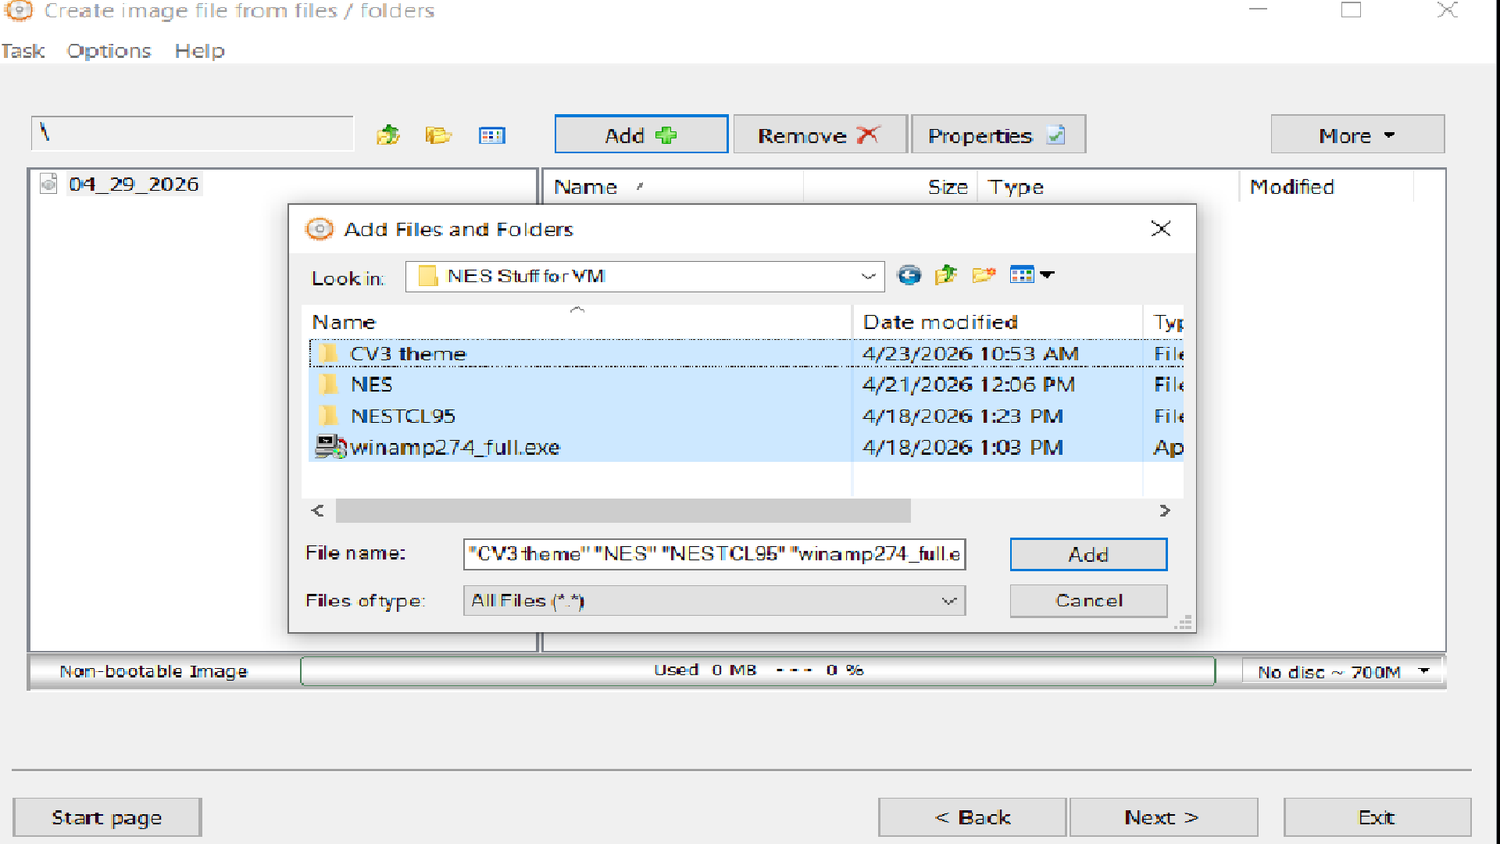
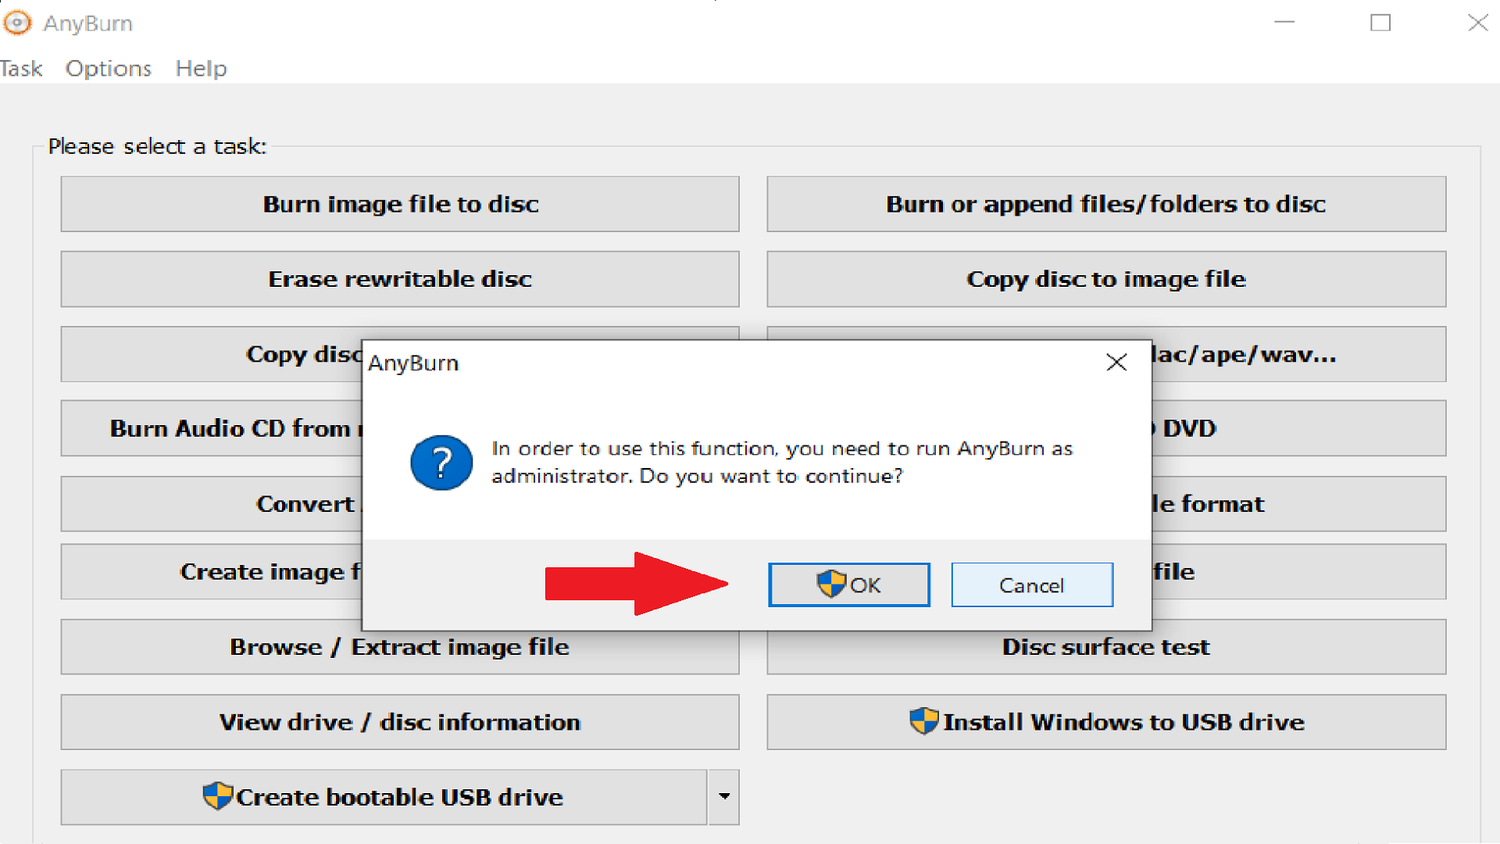
When you first open it, there are two columns’ worth of options. I use create image file from files/folder, Burn Audio CD, and create bootable USB drive most frequently. Creating a rewritable ISO is as simple as clicking the button. On the next menu, you select which files to add.
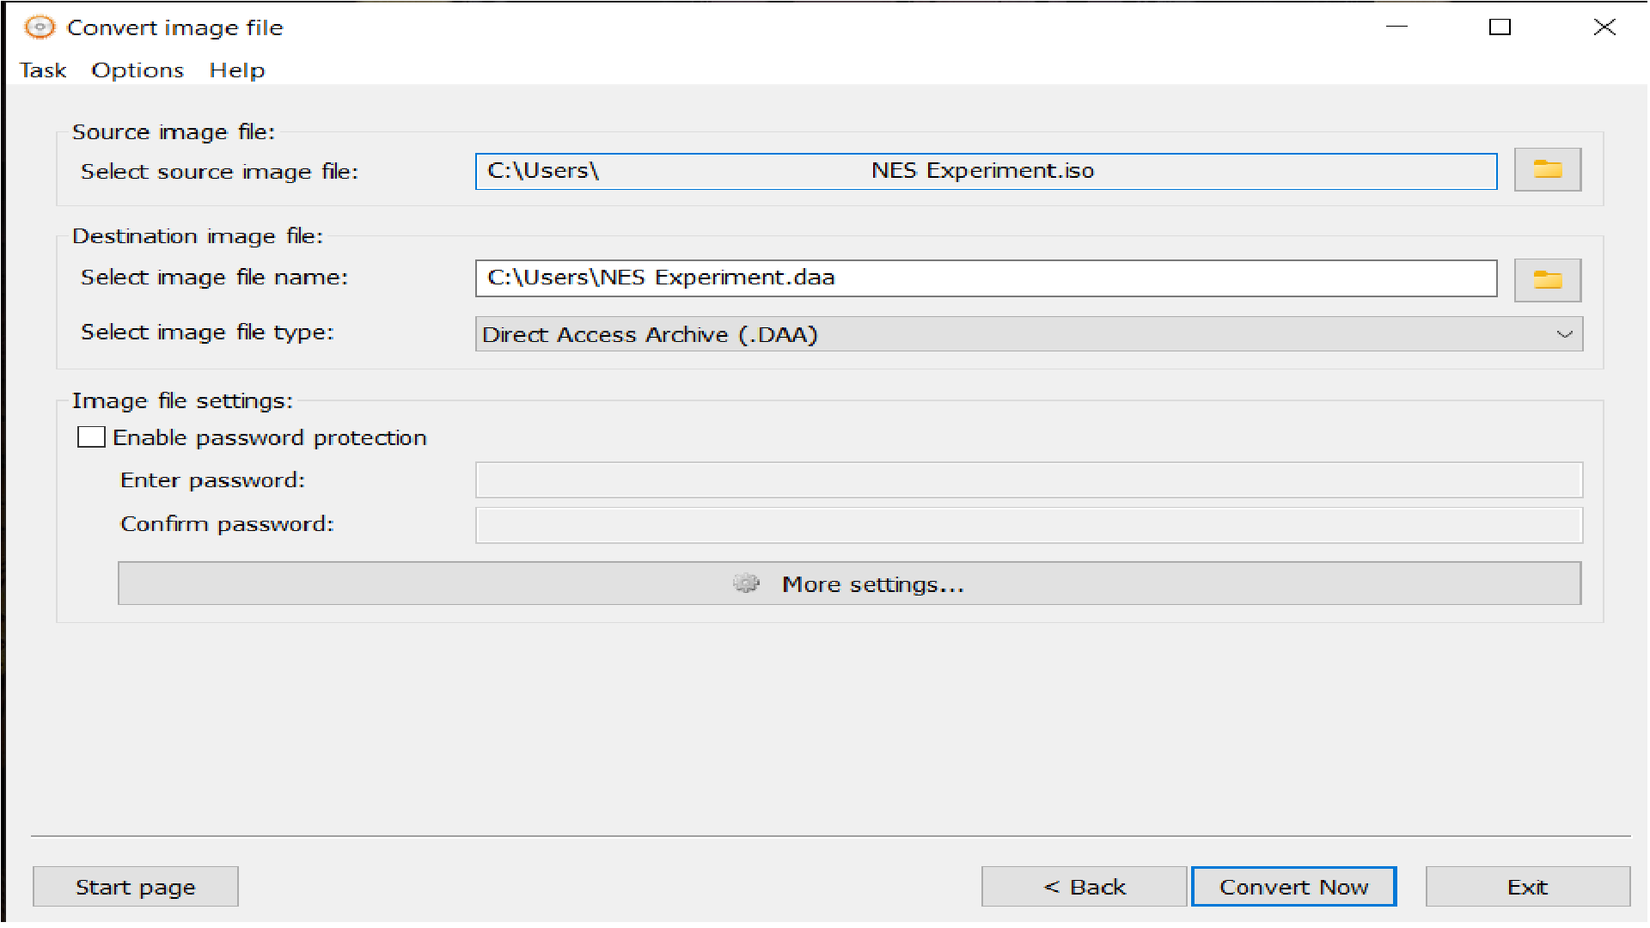
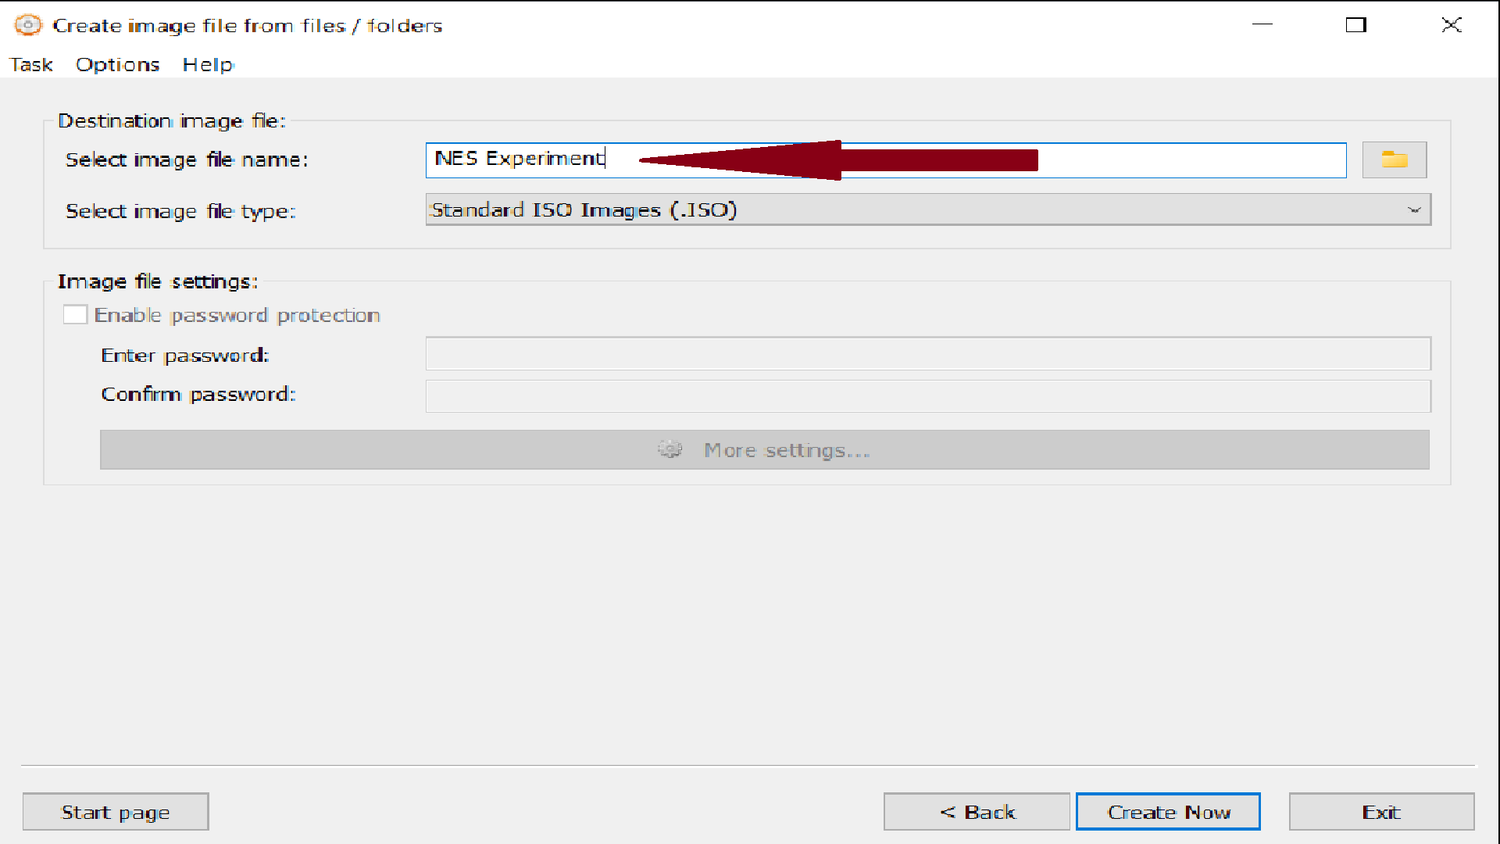
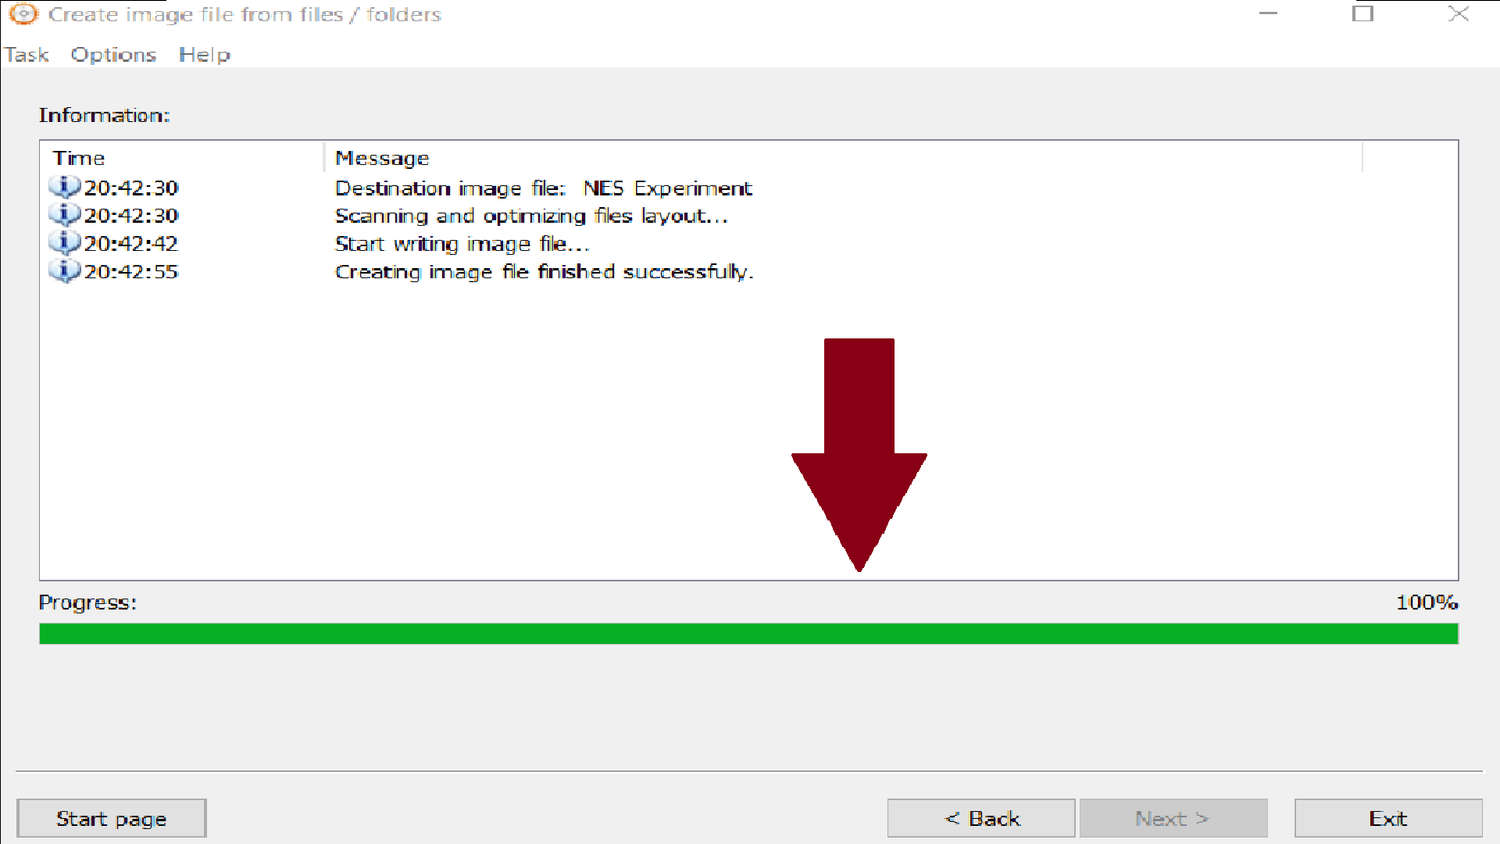
I’m making a rewritable ISO that I can use to transfer some NES homebrew games and a custom Castlevania 3 theme into a virtual machine for a retro gaming project. So I selected all my files and clicked next. In the following screen, I double-checked my settings and selected create now. In a few minutes, my rewritable image file was ready to go.

I’ve also used Anyburn to examine ISO files and rip CDs from my personal collection, which it handles quite well, and it has a permanent place on my hobby machine.
The popular app for having multiple ISOs on one USB drive earns its reputation
Testing out different Linux distros can be fun, rewarding, and a fantastic learning oportunity. That hobby has extensive overlap with my love of experiencing/revisiting legacy operating systems. Ventoy is a powerhouse, must-have app for Linux. It’s not like Rufus or Anyburn, where you can only make one bootable drive at a time. Ventoy lets you make a single bootable USB stick that contains multiple ISO files, which is what we’ll be doing today.
- Copy ISO files directly to your designated Ventoy USB drive using a bash script.
- Open and use Ventoy’s web version in your browser.
- Run the GUI directly from the Terminal.
Ventoy also offers various plugins, dependent on your needs.
I had a few OS’ I planned to test and/or experiment with, so I grabbed a large USB drive, plugged it in, and let Ventoy do its thing. I like to use the GUI in the terminal, so I loaded that by navigating to my Ventoy folder and typing ./VentoyGUI.x86_64 to execute the program and install it to a new USB drive.
Next, I cleared a 30GB USB drive to use. Then I chose the disk I wanted and clicked install. Two minutes later, I had Ventoy installed on my USB drive. And here’s where Ventoy excels: a few minutes later, I navigated over to my other USB drive that contained my current slate of ISOs. Then, all I had to do was drag and drop them onto the Ventoy USB.
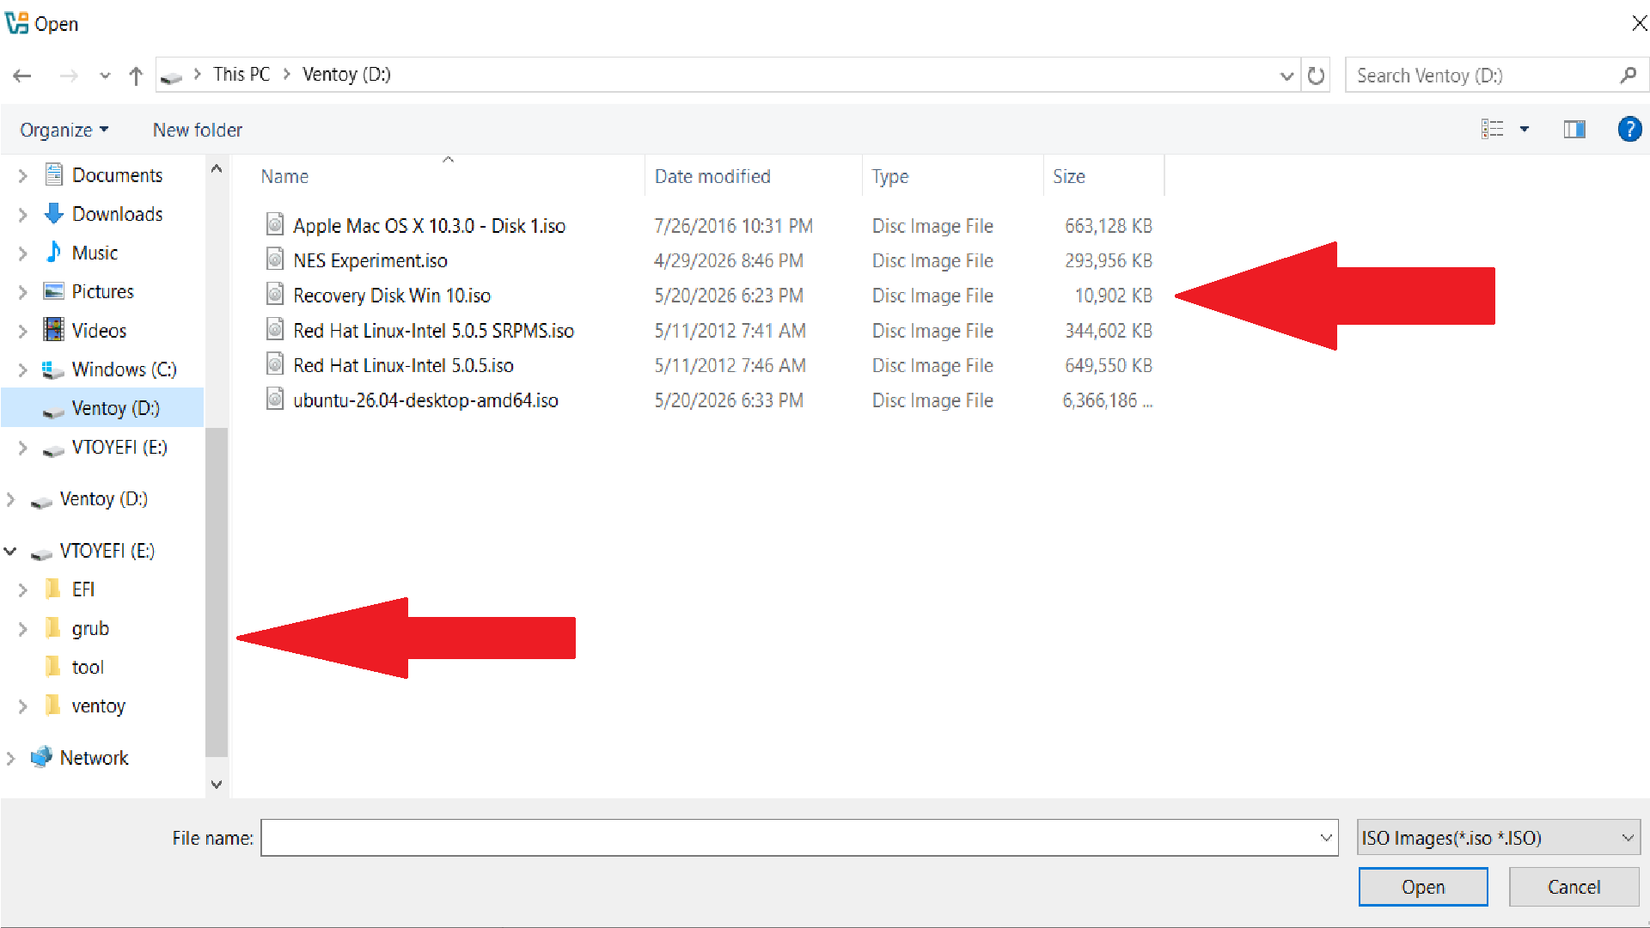
I had six ISO files: a rewritable experiment disk, a recovery disk for my hobby machine, and four different OS ISOs that I want to experiment with (including Ubuntu). Don’t forget to safely eject your device before testing it out. I took my newly loaded USB drive to a different machine, and it worked like a charm.
There’s no shortage of amazing tools to use when you’re working with ISOs. While Rufus is definitely a viable option, you’re not always chained to it. Try exploring different options for what you’re trying to accomplish. I did, and I’ll never go without my Ventoy USB drive or Anyburn when using Windows.
Your experience may differ depending on your needs, goals, operating system, and device. But the idea here is the same: these two tools can handle most of my hobbyist needs and offer more powerful tools when you need them, depending on the project.
Leave A Comment?