Situatie
In this tutorial we’ll show you an easy way to export a power plan to a .pow file, and then import the .pow file to restore the power plan on Windows 11 / 10.
Solutie
Pasi de urmat
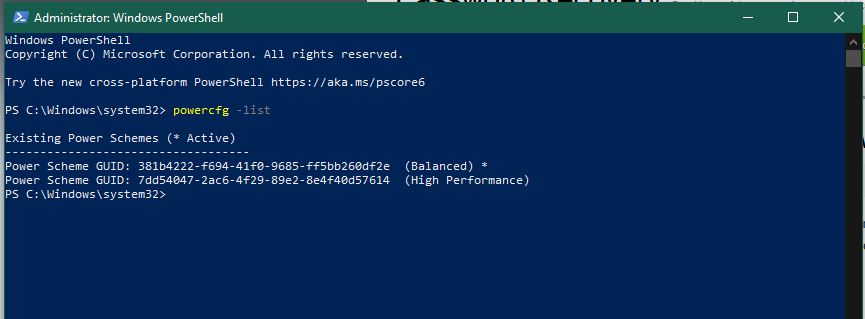
Open an elevated Command Prompt, Windows PowerShell or Windows Terminal. Run the powercfg -list command to display all the power plans available in your system. Each power plan has its own unique GUID.
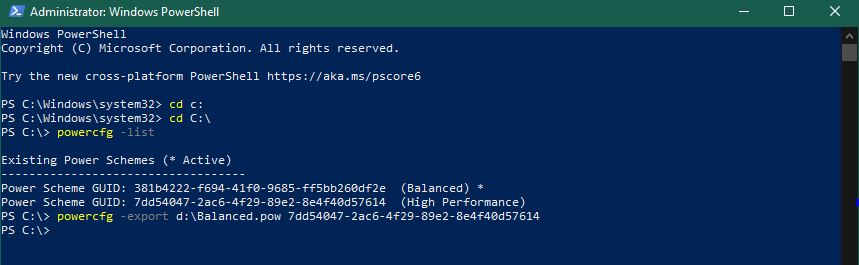
Execute the following command to export a power plan to the file d:\Balanced.pow. The Your GUID needs to be replaced with the actual GUID of the power plan you want to export.
powercfg -export d:\Balanced.pow Your_GUID
Open File Explorer and browse to the location where your .pow file is stored. It’s actually a binary registry file which saves all your power scheme settings such as display, sleep, etc. You can transfer this file to other Windows PCs for restoring your power plan.

To import a power plan, simple type the following command and hit Enter. Replace d:\demo\Balanced.pow with the location where your .pow file is saved.
powercfg -import d:\demo\Balanced.pow
Leave A Comment?