Situatie
When you create cell styles in Microsoft Excel, those styles are available in all sheets for your current workbook. But there is a way to share those styles you spend time creating and editing with other Excel workbooks. If you create a style for a custom border or number format that you want to reuse, you can merge styles and use them over and over. And if you make modifications to one of the premade cell styles, you can share those changes across workbooks as well. Both can save you time from recreating or remodifying those same styles.
Solutie
Merge Cell Styles in Excel
Launch Excel and open the workbook that contains the styles you want to share with other workbooks. We’ll call this workbook Share 1. Then, open the workbook that you want to copy the styles to, which we’ll call Share 2. With both workbooks open at the same time, select the workbook you want to share the styles with. Here, that’s Share 2.
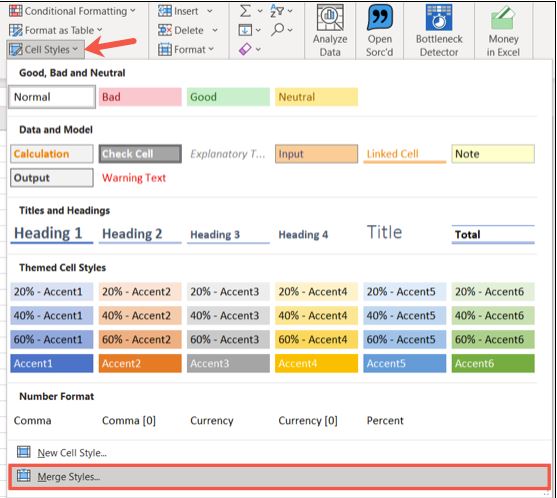
Go to the Home tab and click the Cell Styles drop-down arrow. Pick “Merge Styles.”
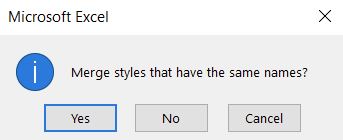
In the small pop-up window, select the workbook containing the cell styles you want to copy. Here, that’s Share 1. Click “OK.” If you’ve made changes to premade cell styles in the first workbook, you’ll be asked if you want to merge styles that have the same name. Click “Yes” to merge those as well or “No” to only merge custom styles you’ve created.
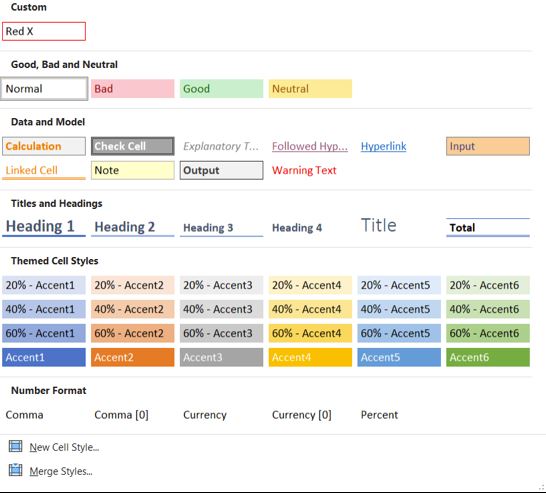
Now, you should see all merged styles in your second workbook, Share 2. Click “Cell Styles” on the Home tab to view them all.
You can continue to merge cells with each new workbook you open the same way.
Modify or Delete Cell Styles
If you’ve only worked with new cell styles so far, remember that you can modify or delete existing cell styles in any workbook. Click “Cell Styles” on the Home tab. Then, right-click the style and choose “Modify” to make changes to it or “Delete” to remove it.
