Situatie
On Windows 10, sharing a folder on the network is a great way to share files with other users, instead of having to email files back and forth or using a USB flash drive.
However, the day may come when you need to stop sharing a folder for various reasons, and whatever the reason it may be, Windows 10 includes at least three ways to quickly stop sharing folders using File Explorer, Computer Management, and Command Prompt.
Solutie
Pasi de urmat
Stop sharing network folder using File Explorer
To stop sharing a network folder, use these steps:
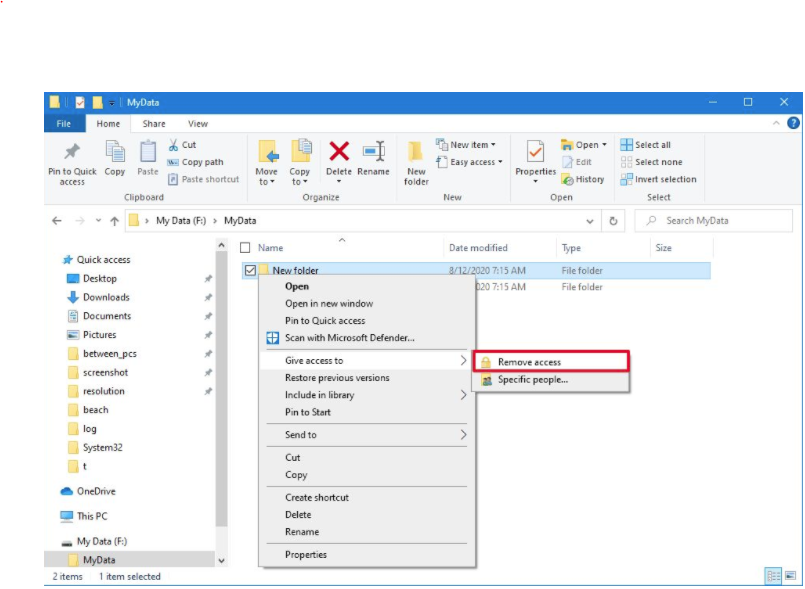
- Open File Explorer.
- Browse to the folder location.
- Right-click the folder, select the Give access to submenu, and select the Remove access option.
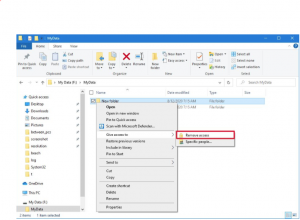
- Click the Stop sharing option.

Once you complete the steps, the folder will no longer be available in the network for other users to access it.
Stop sharing network folder using Computer Management
To stop sharing any folder with Computer Management, use these steps:
- Open Start on Windows 10.
- Search for Computer Management and click the top result to open the console.
- Expand the Shared Folders branch from the left pane.
- Click the Shares item.
- Right-click the folder and select the Stop Sharing option.\
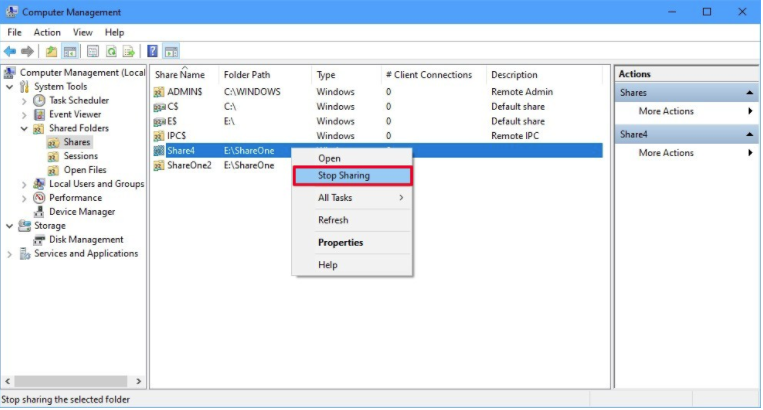
6.Click the Yes button.
After you complete the steps, the folder will no longer be accessible by anyone in the network.
Although you can stop sharing a folder within the location of the folder, using Computer Management is the best option, because it allows you to see and stop all the shares from one location.
Stop sharing network folder using Command Prompt
To stop a share folder with Command Prompt, use these steps:
- Open Start.
- Search for Command Prompt, right-click the top result and select the Run as administrator option.
- Type the following command to see all the shared folders on your computer and press Enter:
net share
- Type the following command to stop sharing a specific folder and press Enter:
net share ShareOne2 /delete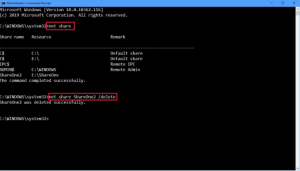 In the command, make sure to change ShareOne2 for the name of folder that you’re sharing. (This isn’t the “Resource” name.)
After you complete the steps, the folder that you specified in the command will no longer be available for network users.
While you have multiple options to stop sharing a folder on Windows 10, using the Command Prompt option can come in handy if you’re having problems trying to disable a share using File Explorer or Computer Management.

Leave A Comment?