Cum se dezactiveaza fereastra pop-up de salvare a credentialelor din Mozilla Firefox
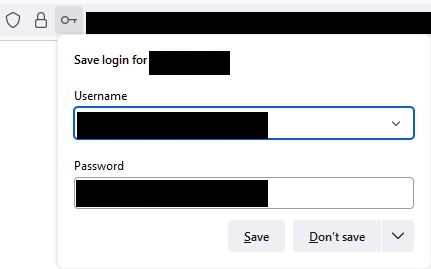
Salvarea parolelor pe direct in browser poate reprezenta o simplificare a accesarii site-urilor la care aveti deja conturi create, dar nu este cel mai bun lucru pe care il puteti face cand vine vorba de securitate.De asemenea, poate fi enervant atunci cand browserele va arata un pop-up in care va intreaba daca doriti sa salveze informatiile de conectare pe care tocmai le-ati introdus pentru site-ul respectiv.
Dezactivand completarea automata a parolei, puteti opri browserele sa solicite salvarea informatiilor adaugate la logarea pe un site.Acest lucru impiedica, de asemenea, salvarea accidentala a credentialelor de conectare in timp ce lucrati pe un computer partajat.
Pentru dezactivarea acestui pop-up se vor urma pasii de mai jos: