Situatie
Clone an M.2 SSD to a larger M.2 SSD with EaseUS disk cloning software
The system files, installed applications, and personal data can easily eat up your M.2 SSD space and slow down your PC, especially when you are using an M.2 SSD with small storage capacity. When the low disk space appears, you need to clone an M.2 SSD to a larger M.2 SSD to upgrade the disk for better performance.
1. Install the M.2 SSD
Before you install the SSD drive though, first make sure that the SSD drive you bought is compatible with your laptop motherboard.
On a laptop
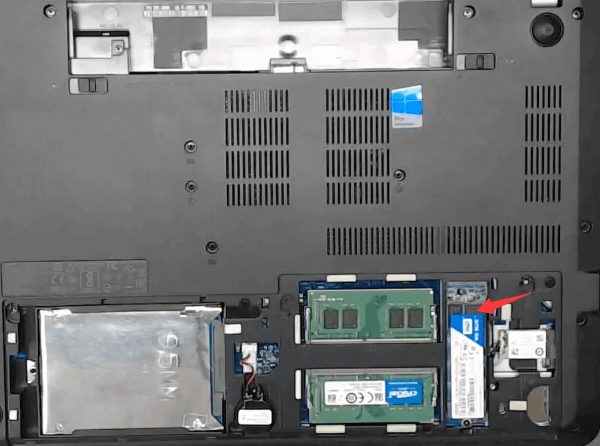
- Open M.2 slot
- Slide the M.2 SSD drive inside slot
- Screw the SSD drive in
- Finalize and cover
On a desktop computer
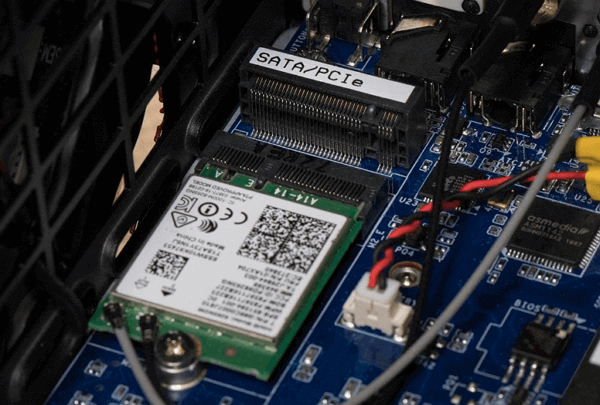
- On the motherboard, look for an M.2 connector, usually labeled with “PCIe”.
- Carefully insert the M.2 SSD into its slot and then secure the M.2 SSD using the mounting screw.
2. Clone via EaseUS Todo Backup
Make sure that both the SSDs are recognized by your computer. Download and install the essential disk cloning software, or you may treat it as an M.2 SSD to M.2 SSD duplicator
To clone one M.2 SSD to another larger M.2 SSD, follow these steps:
Step 1. Launch EaseUS SSD cloning software and choose “Clone” to start cloning one SSD to the other larger SSD.
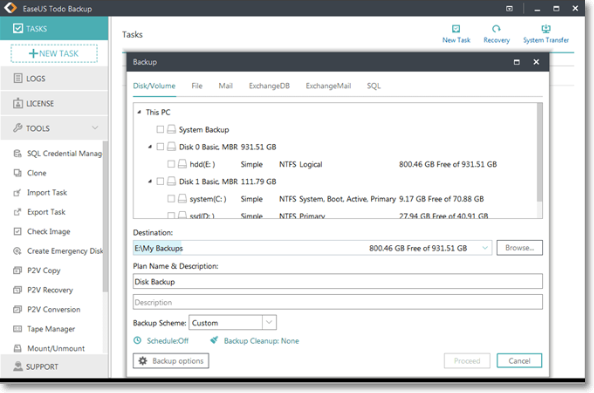
Step 2. Choose the smaller SSD as the source disk and click “Next”.
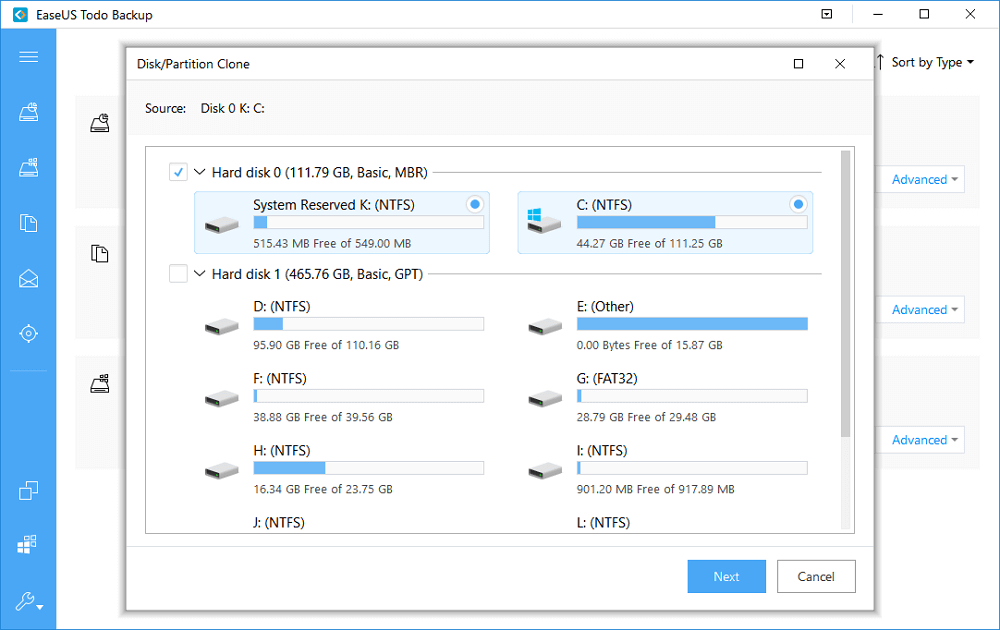
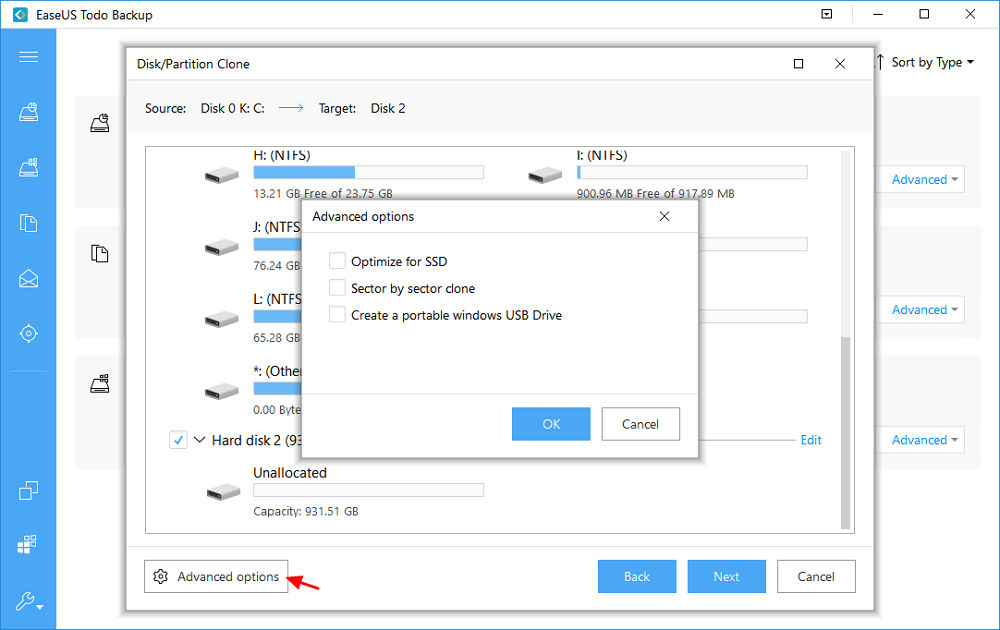
Step 3. Choose the larger SSD as the destination disk. Here, we highly suggest you tick the option “Optimize for SSD” within “Advanced options” in the bottom left corner. Click “OK” and then click “Next”.
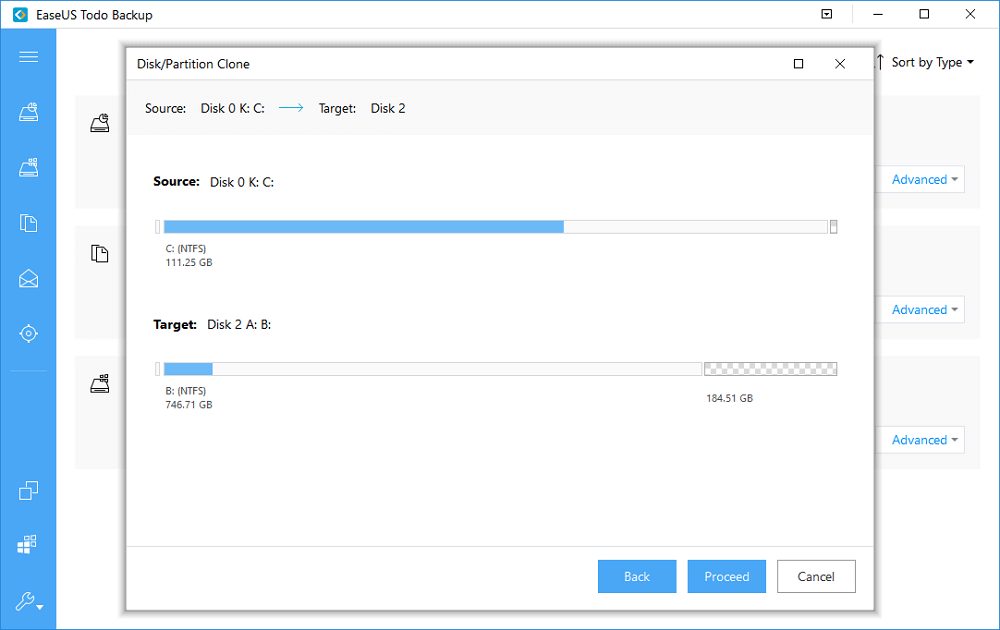
Step 4. If nothing’s wrong on the disk layout, click “Proceed”. It won’t take long to clone a smaller SSD to a larger SSD.
3. Boot from the cloned M.2 SSD
At last, if you cloned the operating system to the new SSD and wish to boot Windows from it, try to disconnect the old SSD from your computer.
Leave A Comment?