Situatie
If you’ve encountered an “An error occurred while troubleshooting” error while launching a troubleshooter, worry not, as fixing this issue is easy in most cases. After applying each fix, launch your troubleshooter to check if it’s working.
Solutie
Pasi de urmat
Run the Troubleshooter From Settings
While Windows allows you to launch the built-in troubleshooters from the Run dialog box, we recommend opening those tools from Settings, as this is where the tools are hosted.
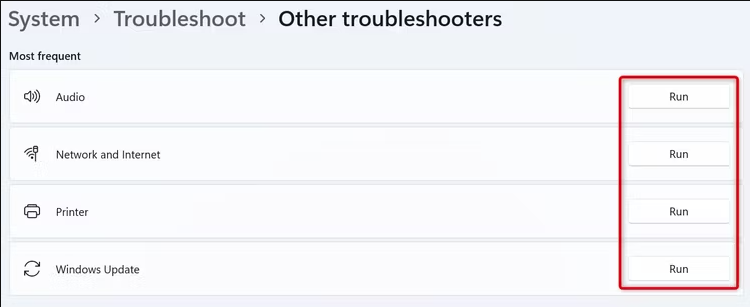
To do that, open the Settings app by pressing Windows+i. On Windows 11, head into System > Troubleshoot > Other Troubleshooters. On Windows 10, go to Update & Security > Troubleshoot > Additional Troubleshooters.
Find the troubleshooting tool to launch. On Windows 11, next to the troubleshooter, select “Run”
On Windows 10, click the troubleshooter and choose “Run the Troubleshooter”

The tool will launch.
Restart the Required Windows Services
The built-in troubleshooters rely on various Windows services to function. These services might not be working correctly, causing an error. Give these services a reboot to fix the problem.
Open the Run dialog box by pressing Windows+R, then type the following in the box and press Enter:
services.msc
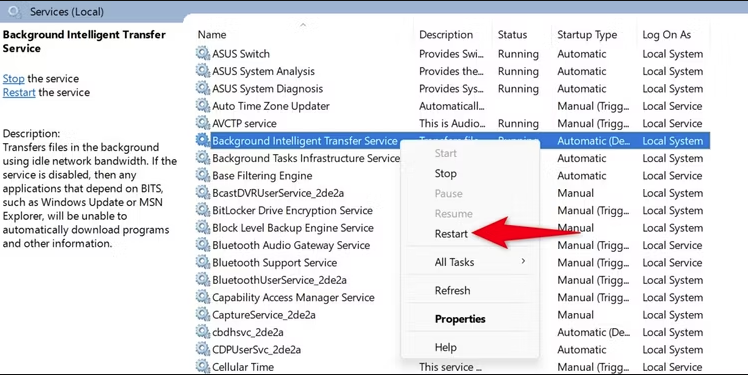
Find the service named "Background Intelligent Transfer Service.
" Right-click it and select "Restart."
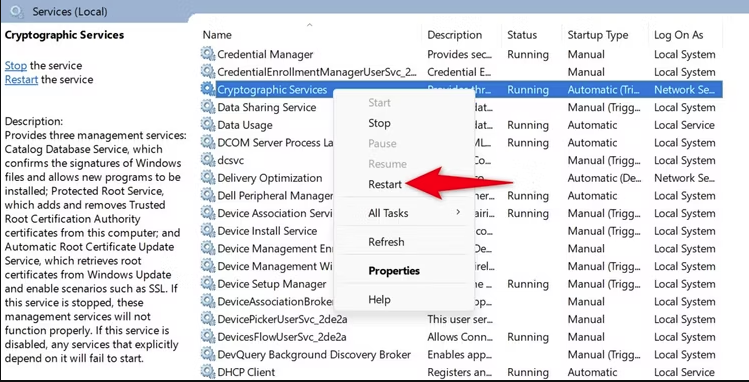
Similarly, right-click the “Cryptographic Services” service and select “Restart.”
Close the Services window.
It’s possible Windows’ system files are corrupted, causing the troubleshooters to malfunction. In this case, you must repair the damaged core files using the built-in System File Checker (SFC) tool.
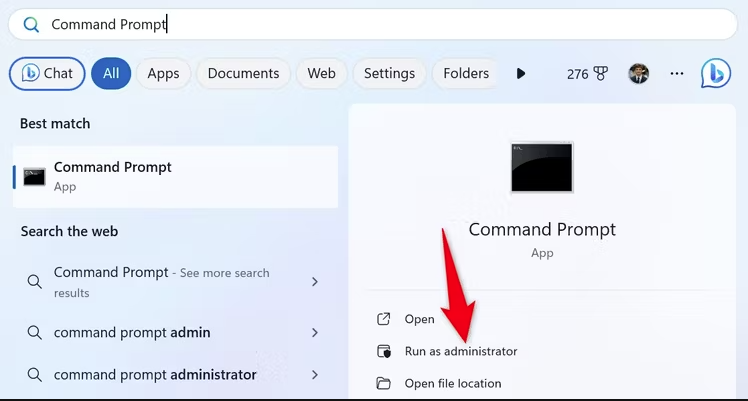
To do that, open the Start Menu, search for Command Prompt, and select “Run as Administrator”
In the User Account Control”(UAC) prompt, select “Yes.”
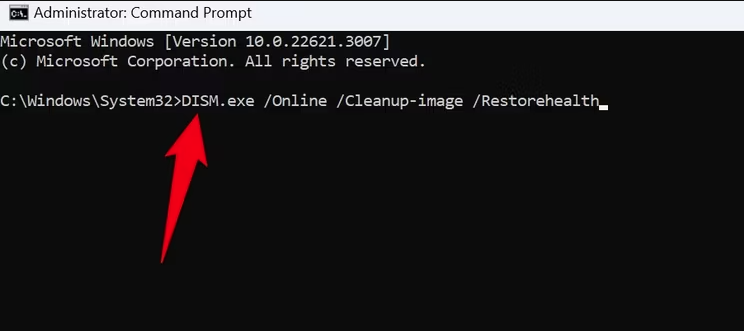
In Command Prompt, type the following command and press Enter. This command will download the files required to fix the broken system files.
DISM.exe /Online /Cleanup-image /Restorehealth
Next up, run the following command to begin finding and repairing the damaged system files:
sfc /scannow
Restart your Windows 11 or Windows 10 PC once it finishes.
Safe mode on Windows lets you check if third-party apps are preventing you from performing your tasks. In safe mode, Windows only loads the essential files to boot the system, letting you check for interference from any third-party programs or drivers.
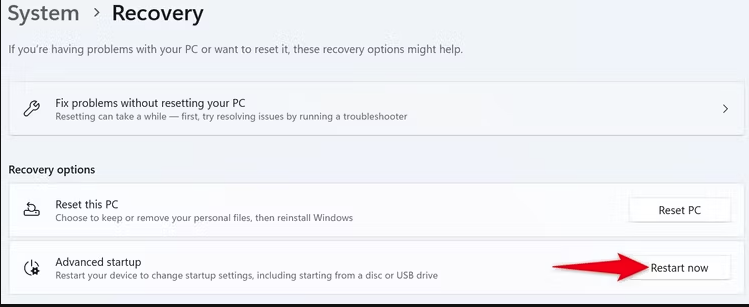
To start your Windows 11 PC in safe mode, go to Settings > System > Recovery. Next to “Advanced Startup,” click “Restart Now.”
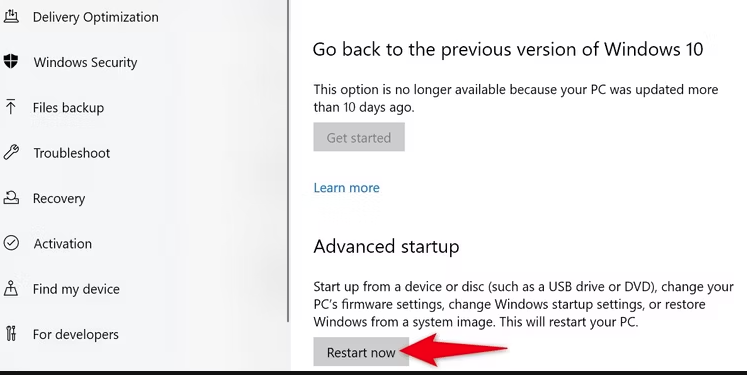
To boot your Windows 10 PC in safe mode, head into Settings > Update & Security > Recovery. In the “Advanced Startup” section, click “Get Started.”
When your PC reboots, navigate to Troubleshoot > Advanced Options > Startup Settings and select “Restart.” Then, choose the number for safe mode to boot into that mode. When your PC enters safe mode, launch the troubleshooter you wanted to use.
If nothing else works, you can reset your Windows 11 or Windows 10 PC to the factory defaults. Resetting the system will fix any issues related to settings or corrupted files, but it should only be used as an last resort.
To reset a Windows 11 PC, navigate to Settings > System > Recovery. Next to “Reset This PC,” click “Reset PC.”

To reset a Windows 10 PC, go to Settings > Update & Security > Recovery. In the “Reset This PC” section, click “Get Started.”

On the open window, select “Keep My Files” so Windows doesn’t delete your personal files. Then, follow the on-screen instructions to finish resetting your computer. Your troubleshooting tool should work once your machine is back to the default settings.
Leave A Comment?