Situatie
It’s now easier than ever to run Windows on a modern Mac and get great performance without spending a penny. This is the first place you should start when you’re looking to run Windows on a modern Apple Silicon Mac.
Solutie
1. Download Your Windows .ISO
To install Windows, you’ll need to download an .ISO disk image. These are provided by Microsoft “free” of charge under the assumption that you’ll buy and register the operating system. You don’t have to buy and register Windows, it will work fine (albeit with some pesky reminders) if you don’t.
Download CrystalFetch from the Mac App Store and run it. Select the version of Windows that you want to download (in this instance, that’s Windows 11 for Apple Silicon in your choice of language). Click “Download” and wait for the .ISO to transfer.

Once the download is complete you’ll be asked where you want to put the .ISO file. Choose somewhere convenient that you’ll remember, like your Downloads folder (you can delete the .ISO once Windows is installed to regain disk space), and then close CrystalFetch.
2. Create Your Virtual Machine with UTM
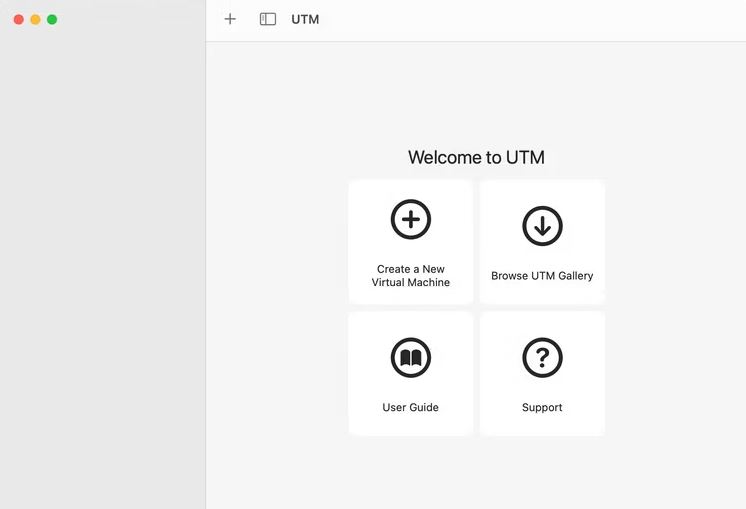
Download and install UTM if you haven’t already. Launch the app and click “Create a New Virtual Machine”.
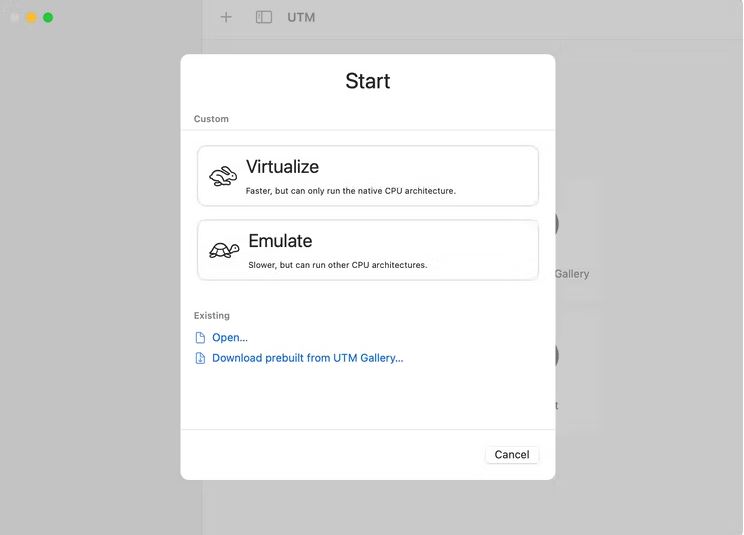
Choose “Virtualize” when prompted to indicate that you want to use a hypervisor for best performance.
Now Select “Windows” from the list of operating systems. If you also want to install Linux or macOS you can create a new virtual machine later and use those options instead.
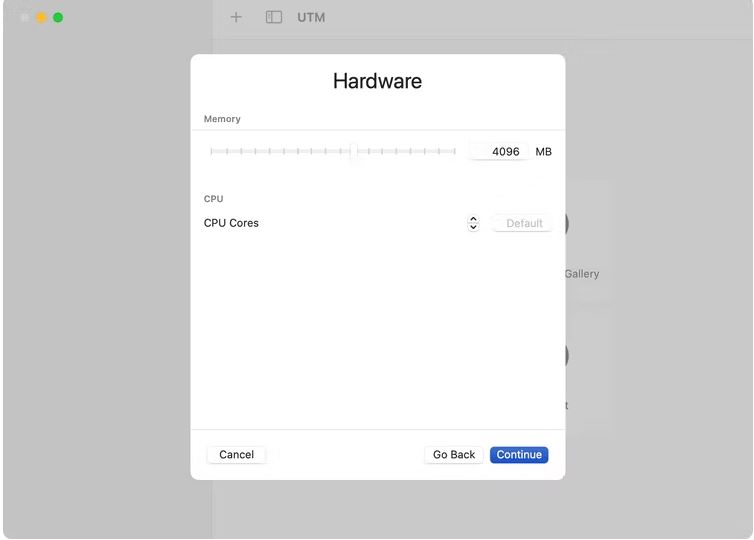
Now make sure that “Install Windows 10 or Higher” is checked, and then click “Browse” and navigate to the Windows 11 .ISO you downloaded earlier. Click “Continue” when you’re ready. UTM will then ask you to allocate memory (RAM) and CPU cores. You can leave this where it is if you’re unsure what you’re doing or increase the RAM if you know you have a fair amount installed on your Mac. It’s possible to change this later on by editing your virtual machine within UTM.
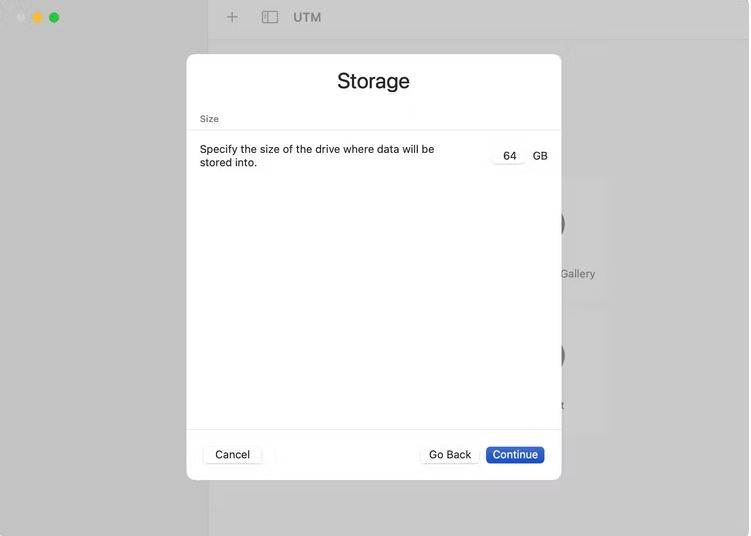
Hit “Continue” and define a drive capacity for your boot volume. This isn’t the amount of space on your drive that your Windows virtual machine will occupy, but rather it’s a limit on the amount of capacity it could occupy.
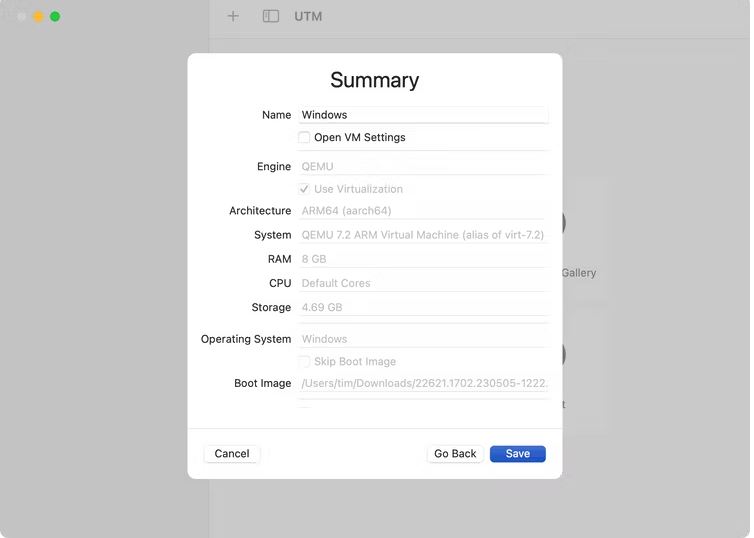
Hit “Continue” and you’ll be asked to define a shared directory. This is handy as it makes passing files like installers between your Mac desktop and Windows virtual machine easier, but you can skip it if you’d rather. Finally, you’ll be asked to review your VM, rename it, and hit “Save” to finalize.
3. Install Windows 11
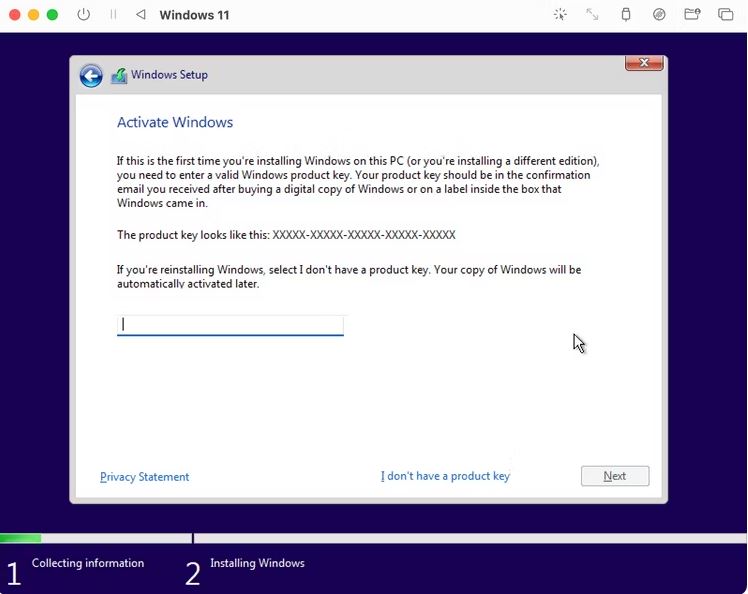
Hit the “Play” button on your virtual machine within UTM to start. When you see “Press any key to boot from CD or DVD” then hit a key on your keyboard. If you miss this prompt, you’ll need to restart the VM and try again (if UTM keeps crashing, kill the app entirely and start from cold). You should now see the Windows 11 setup wizard appear. Follow this setup process as you would on a regular PC. When prompted for a serial number choose the “I don’t have a product key” option
Eventually, you’ll be asked to choose a volume onto which you can install Windows 11. You should be able to select the volume you created with the UTM setup wizard earlier, and you won’t need to format it either. Let the Windows 11 installer run, during which time it will restart a few times. There’s no need to do anything until you are prompted to select a region, keyboard layout, and other similar options.
Set up Windows 11 to your liking and you’ll eventually see the Windows 11 desktop. The first thing you’ll be asked to do is install the SPICE Guest Tools, an open-source utility for remotely accessing your virtual machine (if you want).Congratulations, you now have a working Windows 11 installation. Most things should “just work” including internet connectivity (you may need to disable your VPN within macOS for this), mouse scrolling (albeit reversed), and the keyboard (just remember your Windows shortcuts).
Leave A Comment?