Stații de lucru

OS - Windows 8718 Solutii

Reguli si plangeri 9 Solutii

OS - OS X 407 Solutii

Reguli de configurare 11 Solutii

Licentiere 18 Solutii

Securitate 179 Solutii

Copie de rezerva (Backup) 68 Solutii

Antivirus 71 Solutii

Aplicatii specifice 4918 Solutii

Hardware 288 Solutii

How to scan for open ports (security reasons) on Windows 11

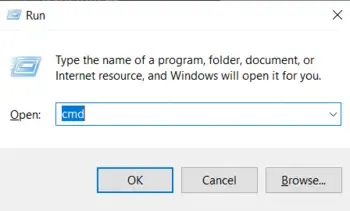
Step 1: Open CMD or Command Prompt

  • Press Win + R from your keyboard > Type cmd > Click on the Enter button
cmd_1
Open CMD

Step 2: Implement the “netstat” Command

An effective tool for keeping an eye on open ports within the system and configured network connections is the netstat command to simplify. It offers comprehensive details on all open connections and system servers, such as the protocol in use, and local and international addresses to control or verify all the connection’s status.

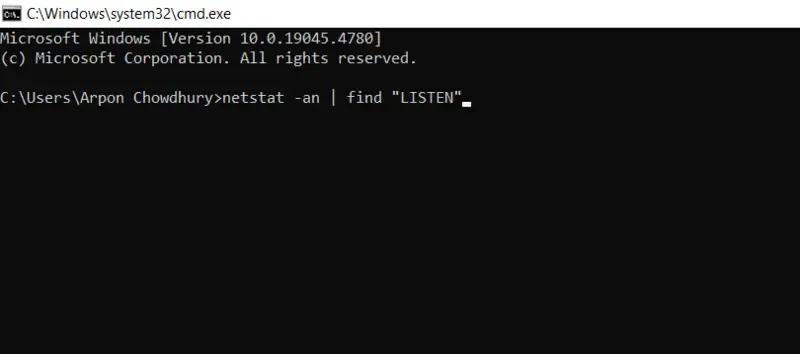
  • Type the below command in the cmd to check the open port functions > Press Enter
netstat -an | find "LISTEN"
cmd_2
netstat
  • See the output below
TCP    0.0.0.0:135        0.0.0.0:0        LISTENING
TCP    0.0.0.0:445       0.0.0.0:0        LISTENING
TCP    0.0.0.0:902       0.0.0.0:0        LISTENING
cmd_3
netstat list

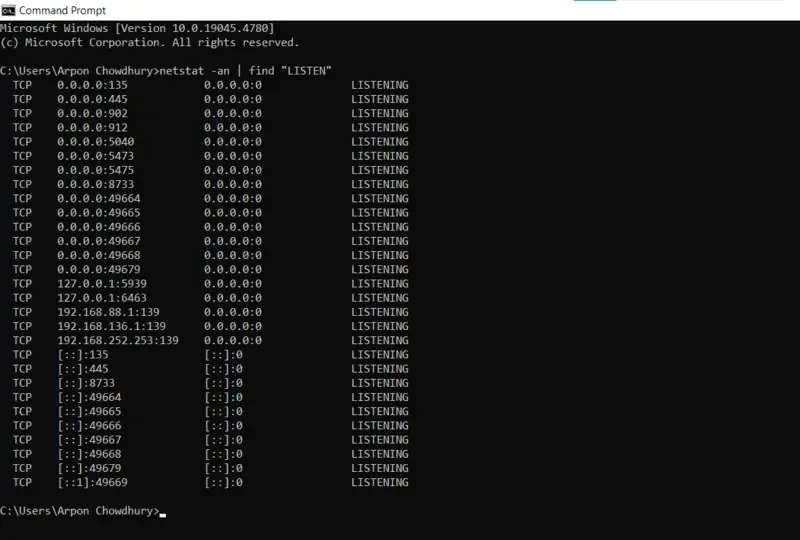
In this case, 0.0.0.0 designates that all pre-processed network interfaces are listening on the port, which is open for the internal system server. The port number is the number that comes after the colon of the system commands (e.g., 135, 445, 3389).

Step 3: Observe the functional Process using the Port

  • Write the following command to identify which application or process is using a specific port within the system.
netstat -ano | find "LISTEN"
cmd_4
LISTEN

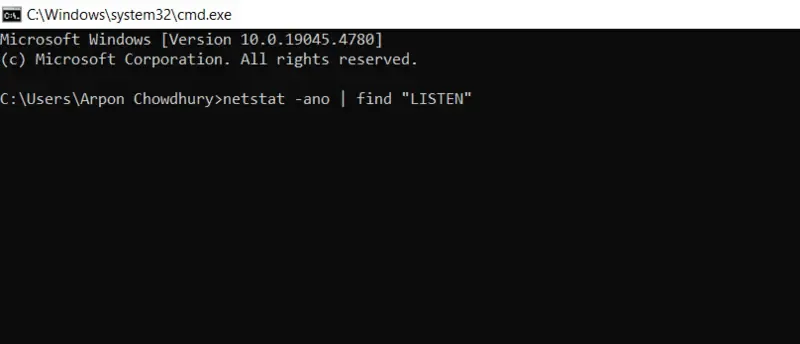
An extra -o flag is included with this command while processed, which shows the Process ID (PID) connected to each port manually.

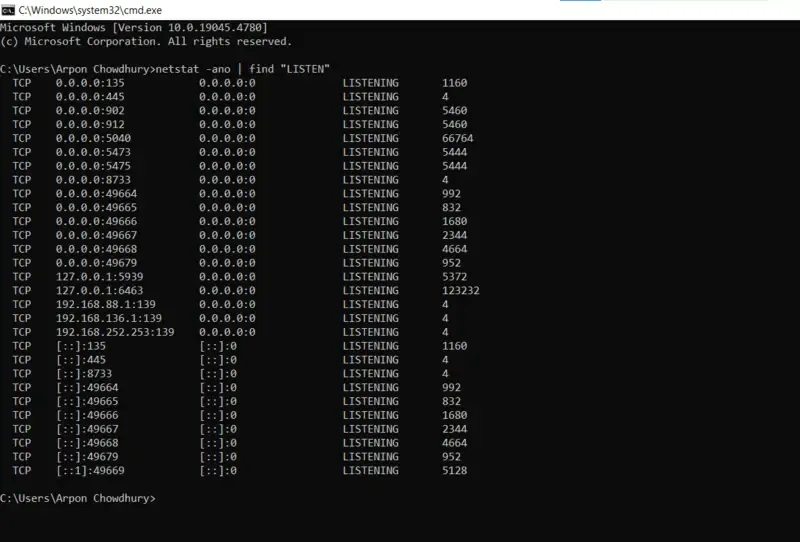
  • See the output within a PID column
TCP    0.0.0.0:135        0.0.0.0:0        LISTENING      1160
TCP    0.0.0.0:445       0.0.0.0:0        LISTENING      4
  • Search and Open Task Manager > Go to Details option > See the PID column
cmd_5
LISTEN LIst

Step 4: Check Specific Port in cmd

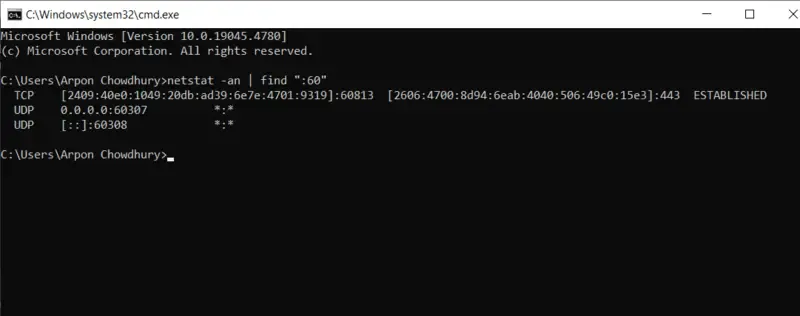
  • You can change the implemented command to focus on a particular port if you want to see if it’s open or not within the system configuration. For instance, use this to see if port 60 is open to identify the process:
netstat -an | find ":60"
  • See the final entry below –
cmd_6
find entry
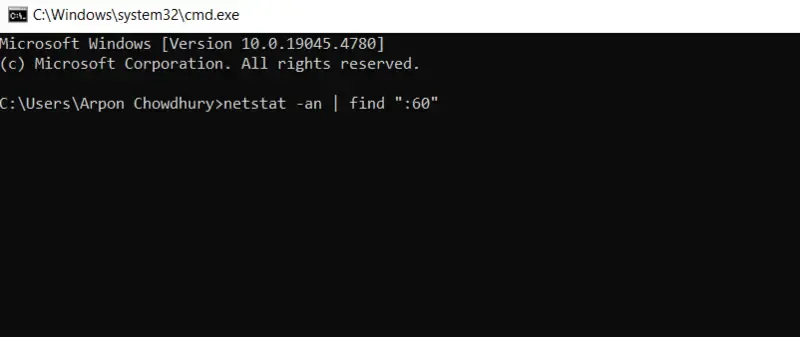
TCP    0.0.0.0:40         0.0.0.0:0        LISTENING
cmd_7
find ports
[mai mult...]

How to make your own loopback adapter for testing your switch ports

First things first you’ll need to gather the following equipment:

  • A small length of ethernet cable. Less than one foot is preferred.
  • One RJ45 connector. We recommend using one with load bars. These load bars will make the terminating process extremely easy.
  • A crimp tool, a stripping tool, and a pair of precision cutters.
  • A switch for testing.

Step one: Strip the cable

To build this loopback adapter we’re going to need to use the conductors that are inside ethernet cabling. Accessing the conductors is a simple process. Simply strip away part of the jacket. This can be an inch or two at the end of the cable or right in the middle. Once the incision is made pull away the jacket and then pull out all the conductors.

You’ll be left with 4 pairs of wires. These are the conductors that make up all patch cables. Set aside three of the pairs. Keep one pair ready for termination. We’ll be using the white & orange pair.

Step Two: Line up the conductors

A standard ethernet connection uses 4 pins to complete the connection. Pins 1 & 2 are used for sending while pins 3 & 6 are used for receiving. To set up this loopback adapter we’ll have to connect pins 1 & 3 and then 2 & 6. Trim the wires down to around 6 inches. Untwist both ends of the pairs a little bit to allow the wires to be lined up. Set the first white conductor and the first orange conductor next to each other. Then add the second white conductor next. Lastly comes the second orange conductor. You’ll have to leave enough space between this conductor and the second white conductor.

Step Three: Termination time

Now it’s time to insert these conductors into the load bar and terminate the connector. Keeping the wires lined up, slowly insert them into the load bar. Making sure the wires stay in the correct order may be slightly difficult. Once they are in the correct position push the load bar down onto the wires as far as it can go. Trim any excess wire. Insert the load bar into the connector. Use your crimp tool to crimp the RJ45 connector.

Step Four: Testing

Let’s test this thing out. Grab your switch and plug in your new loopback adapter into one of the ports. The connectivity light on the corresponding port should light up indicating a proper connection. If it does not light up check your pinout and make sure the wires are in the correct position.

It should look like this after you did every steps presented above:

Building your own loopback adapters can end up being more expensive than just buying one outright if you don’t have the equipment on hand already.

[mai mult...]

Cum automatizezi sarcinile zilnice cu ajutorul AI-ului

Automatizarea prin AI înseamnă utilizarea algoritmilor și tehnologiilor de învățare automată pentru a executa sarcini care altfel ar necesita intervenția umană. De la automatizarea unor procese simple, precum trimiterea unui e-mail la ore fixe, până la sarcini mai complexe, precum analiza datelor financiare, AI poate prelua și îmbunătăți modul în care interacționăm cu tehnologia.

[mai mult...]

Cum se instalează Rancher pe serverul Debian 12

Rancher este o platformă open-source de gestionare a containerelor, concepută pentru a facilita implementarea, gestionarea și guvernarea clusterelor Kubernetes. Spre deosebire de o distribuție Kubernetes care înlocuiește Kubernetes în sine, Rancher acționează ca o soluție de management care se află deasupra unuia sau mai multor clustere Kubernetes, oferind o platformă centralizată de pe care administratorii își pot supraveghea întreaga infrastructură de containere.

Înainte de a instala Rancher, trebuie să vă asigurați că Docker este instalat pe sistemul dvs. În această secțiune, veți instala Docker Engine prin intermediul depozitului oficial Docker în sistemul Debian.

Mai întâi, rulați comanda de mai jos pentru a vă actualiza indexul pachetelor și pentru a instala pachete precum „ca-certificates” și „curl”.

sudo apt update && sudo apt install ca-certificates curl -y

Acum executați următoarea comandă pentru a adăuga cheia GPG pentru depozitul Docker.

sudo install -m 0755 -d /etc/apt/keyrings 
sudo curl -fsSL https://download.docker.com/linux/debian/gpg -o /etc/apt/keyrings/docker.asc 
sudo chmod a+r /etc/apt/keyrings/docker.asc

Apoi, rulați următoarea comandă pentru a adăuga depozitul Docker la sistemul dumneavoastră Debian. Aceasta va detecta automat versiunea dvs. Debian.

echo \ 
"deb [arch=$(dpkg --print-architecture) signed-by=/etc/apt/keyrings/docker.asc] https://download.docker.com/linux/debian \ 
$(. /etc/os-release && echo "$VERSION_CODENAME") stabil" | \ 
sudo tee /etc/apt/sources.list.d/docker.list > /dev/null


Acum că ați adăugat depozitul Docker și cheia GPG, executați comanda de mai jos pentru a vă reîmprospăta indexul pachetului și pentru a instala Docker Engine în sistem. În acest exemplu, veți instala Docker Engine cu pachete suplimentare, cum ar fi Docker Compose și pluginul Docker Buildx.

sudo apt update && sudo apt install docker-ce docker-ce-cli containerd.io docker-buildx-plugin docker-compose-plugin

Introduceți „Y” pentru a continua instalarea.

Odată ce instalarea este finalizată, verificați starea serviciului Docker folosind comanda „systemctl” de mai jos. Veți vedea că Docker rulează și este activat pe mașina dvs. Debian.

sudo systemctl este activat docker 
sudo systemctl status docker

În cele din urmă, puteți executa comanda „docker” de mai jos pentru a rula containerul „hello-word”.

sudo docker rulează hello-world

Dacă aveți succes, veți primi următorul mesaj „ hello world ” de la Docker.

Acum că Docker este instalat, sunteți gata să instalați Rancher. În această secțiune, veți descărca imaginea Rancher, apoi veți rula containerul Rancher prin Docker. În acest exemplu, vom folosi certificatele autosemnate care sunt generate automat de containerul Rancher. Vom folosi, de asemenea, cea mai recentă versiune a imaginii Rancher.

Descărcați imaginea Rancher folosind comanda „docker pull” de mai jos. În acest exemplu, vom folosi cea mai recentă versiune Rancher.

sudo docker pull rancher/rancher:latest

Odată ce imaginea Rancher este descărcată, executați comanda „docker run” pentru a rula Rancher. Cu aceasta, containerul Rancher va rula în fundal și va exporta porturile 80 și 443 pe serverul Debian gazdă.

sudo docker run -d --restart=unless-stop \ 
-p 80:80 -p 443:443 \ 
--privileged \ 
rancher/rancher:latest

Verificați starea containerului folosind comanda de mai jos.

sudo docker ps

În rezultatul de mai jos, puteți vedea că Rancher rulează pe portul 443 . De asemenea, puteți vedea ID-ul containerului și numele containerului.

În plus, dacă aveți o eroare, puteți verifica jurnalul Racher cu următoarea comandă „docker”.

docker ps -a 
docker log container-name sau container id

Opțiunea „ps -a” vă va afișa containerele care rulează și au ieșit, iar comanda „docker log” este folosită pentru a verifica jurnalele containerului.

În acest moment, Rancher rulează pe sistemul dumneavoastră Debian ca container. Pentru următorul pas, vă veți conecta la tabloul de bord Rancher pentru a vedea nodul unic Kubernetes care rulează deasupra instalării Rancher.

Deschideți browserul web și vizitați adresa IP a serverului Debian, urmată de portul 8080 , cum ar fi https://192.168.10.41:8080/ . Dacă instalarea dvs. este reușită, veți primi următoarea pagină de conectare la Rancher.

Înapoi la terminal și rulați comanda de mai jos pentru a obține parola Rancher. Asigurați-vă că schimbați ID-ul containerului cu instalarea și copiați parola.

sudo docker înregistrează CONTAINER ID 2>&1 | grep „Bootstrap Password:”

Acum introduceți parola și faceți clic pe Conectare cu utilizatorul local.

Apoi, copiați parola generată pentru rancherul dvs. și asigurați-vă că acceptați termenii și licența.

Acum veți vedea următorul tablou de bord Rancher. În exemplul de mai jos, puteți vedea clusterul Kubernetes cu un singur nod creat cu K3s.

Faceți click pe clusterul Kubernetes local și veți obține mai multe informații despre clusterul dvs. Kubernetes.

Mai întâi, descărcați KubeConfig pe computerul local. Din tabloul de bord Rancher, faceți clic pe meniul fișier de mai jos.

Instalați „kubectl” pe sistemul dumneavoastră cu comanda de mai jos. Pe Debian 12, puteți instala pachetul „ kubernetes-client ” prin APT.

sudo apt install kubernetes-client -y


Setați KUBECONFIG implicit la fișierul dvs. În acest exemplu, fișierul KubeConfig este „kubeconfig.yaml”.

exportă KUBECONFIG=~/kubeconfig.yaml

În cele din urmă, rulați comanda „kubectl” de mai jos pentru a obține poduri de listă pe toate spațiile de nume Kubernetes.

kubectl obține pods --all-namespaces

Veți vedea că fiecare pod pentru clusterul Kubernetes din Rancher rulează.

[mai mult...]