Situatie
In Windows 11, sleeping and turning off your screen are two different (but related) things. If you put your PC to sleep, it goes into a low-power mode that temporarily shuts off certain parts of the hardware to save power.
Solutie
Pasi de urmat
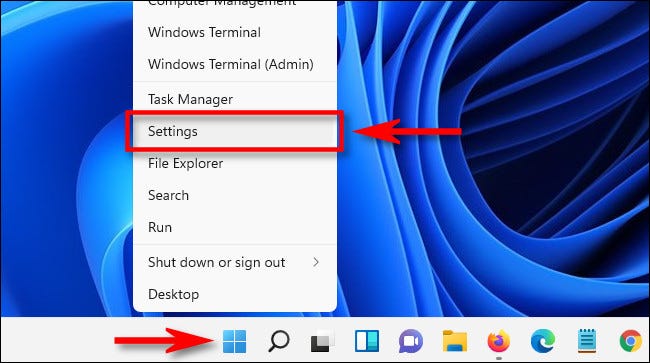
To change how long it takes for your PC to go sleep, first launch Settings by pressing Windows+i on your keyboard. Or right-click the Start button and select “Settings” in the menu that appears.
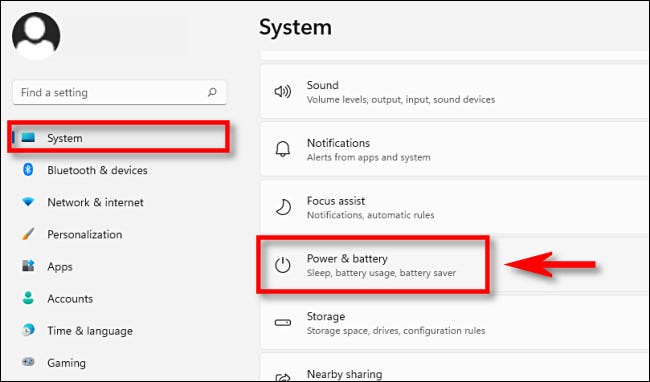
In Settings, click “System” in the sidebar, then select “Power & Battery.”
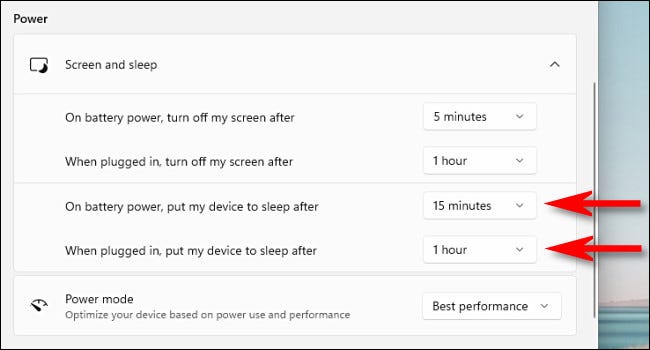
In Power and Battery options, if the “Screen and Sleep” section is closed, expand it with a click. The menu will reveal several options. If you have a battery-powered portable PC or tablet, you’ll see four of them. If you have a desktop PC, you’ll see only two options.

To adjust how long it takes for your portable PC to go to sleep, click the drop-down menu beside “On battery power, put my device to sleep after” and select a time period, such as “15 minutes.” You can also choose “Never” to turn off sleep completely when running on battery power.
Likewise, to change the sleep delay when your PC is plugged in, use the drop-down menu labeled “When plugged in, put my device to sleep after” and choose a time. If you never want your PC to go to sleep, choose “Never.”
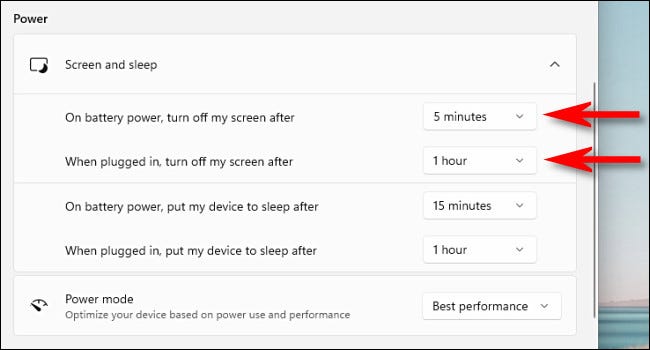
Just above the sleep options on the same Settings page, you can use the “turn my screen off after” options to select a time delay for when your screen will turn off, independent of going to sleep.
After that, close Settings. Your changes have already been saved. If you selected a specific time for any of the options, your PC will either turn off its screen or go to sleep after that time period.
Leave A Comment?